I was sitting in my home office, trying to focus on a complex debugging session, when I heard it: that faint, relentless hissing sound coming from the hallway. It’s the sound of money literally going down the drain. Most people think a constant trickle means you need to call an expensive plumber or replace the entire tank, but honestly? That’s a total myth. Usually, learning how to fix a running toilet is just a matter of identifying one or two tiny, replaceable parts. I’ve spent my career solving intricate software bugs, but I’ve found that tackling a little bit of household maintenance provides a different, more tangible kind of satisfaction.
In this guide, I’m stripping away all the technical jargon to give you a straight-to-the-point roadmap for getting your bathroom back to normal. I’ll walk you through the most common culprits—from a faulty flapper to a misaligned fill valve—and show you exactly how to swap them out without breaking a sweat. My goal is to give you the confidence to DIY this fix so you can stop stressing about your water bill and get back to your day.
Table of Contents
Guide Overview
Tools & Supplies
- Adjustable wrench for tightening bolts
- Screwdriver for securing tank components
- Sponge for removing excess water
- Replacement flapper (1 unit)
- Replacement fill valve (1 unit)
- Replacement toilet tank repair kit (1 kit)
Step-by-Step Instructions
- 1. Before you grab your tools, the first thing you need to do is stop the water flow. Reach behind the toilet base and turn the silver oval handle (the shut-off valve) clockwise until it stops. If it feels stuck due to old mineral buildup, don’t force it too hard—just a gentle, steady turn should do the trick. Once the water is off, flush the toilet to empty the tank so you aren’t working in a miniature swimming pool.
- 2. Next, take a peek inside the tank to identify the likely culprit. Most of the time, a running toilet is just a faulty flapper—that rubber plug at the bottom that lifts when you flush. Check to see if the chain connecting the handle to the flapper is too tight (pulling it up prematurely) or too long (getting caught under the seal). Sometimes, it’s as simple as unhooking the chain and reattaching it to a different link to get that perfect tension.
- 3. If the chain looks fine, it’s time to inspect the flapper itself. Reach in and feel the rubber; if it feels slimy, warped, or has visible cracks, it’s time for a replacement. These little guys are notoriously cheap to replace, and you can find them at any local hardware store. Just make sure to bring your old one with you to the store so you can match the size and model exactly—there’s nothing more frustrating than getting home and realizing you bought the wrong part.
- 4. Now, let’s swap it out. Disconnect the old flapper from its pegs on the overflow tube and lift it out. Before you install the new one, give the bottom of the tank a quick wipe with a sponge to clear away any sediment or debris that might prevent a tight seal. Set the new flapper in place, attach the chain, and make sure there’s just a tiny bit of slack when the flapper is at rest.
- 5. If the flapper seems okay but the water is still trickling, you might be dealing with a misaligned fill valve. This is the tall assembly on the left side of the tank. Check the water level: if it’s pouring into the overflow tube (that open pipe in the middle), your float is set too high. You can usually adjust this by turning a screw on top of the fill valve or sliding the float clip down a notch to tell the water to stop sooner.
- 6. Once you’ve made your adjustments, it’s time for the moment of truth. Turn the water valve behind the toilet back on slowly and listen. You should hear the tank fill up and then go silent once it reaches the correct level. Give the toilet a test flush and watch closely to ensure the water stops running immediately after the tank refills.
- 7. Finally, take a second to do a “dry run” check. Don’t just walk away! Sit there for a minute and listen for any tiny hissing or trickling sounds. If everything stays quiet, you’ve just successfully tackled a home maintenance task that would have cost a plumber a small fortune. Grab your notebook, jot down the date you replaced the part, and enjoy the peace and quiet (and the lower water bill).
A Toilet Tank Components Guide for New Diyers
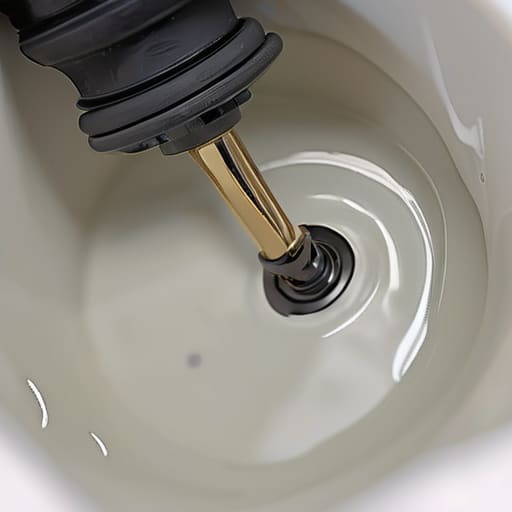
Before you dive in with your wrench, I find it really helps to take a quick “inventory” of what’s actually happening inside that tank. I always keep a little notebook handy to sketch out what I’m seeing, and you should too! Think of this as your personal toilet tank components guide. Most of the time, you’re dealing with one of three main players: the flapper (that rubber seal at the bottom), the fill valve (which brings the water in), or the float (which tells the water when to stop). If you notice toilet water leaking into the bowl even when you aren’t flushing, there’s a high chance your flapper isn’t sealing correctly.
Understanding these parts makes the whole process feel much less intimidating. For instance, if the water level is constantly climbing too high, you likely just need a quick toilet fill valve adjustment rather than a full replacement. It’s all about identifying the culprit before you start buying parts. Once you can name the components, you’ll realize that most repairs are just simple logic puzzles waiting to be solved!
Troubleshooting the Clogged Toilet Tank Mechanism
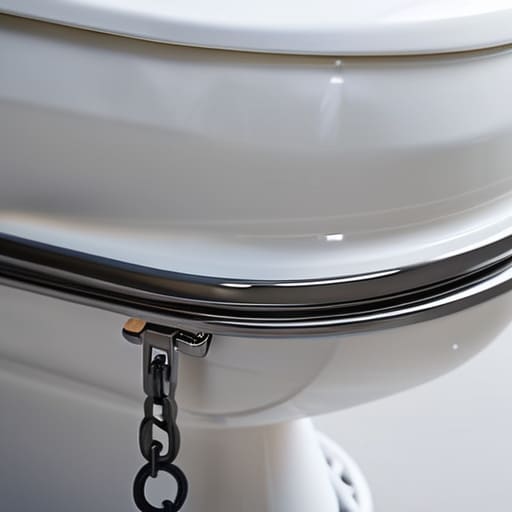
Sometimes, even after you’ve gone through the basics, that phantom running sound persists. If you’ve already checked your water levels, you might be dealing with a more stubborn clogged toilet tank mechanism. I’ve definitely been there—staring at a tank that looks fine on the surface but just won’t stop cycling. Often, the culprit is a simple misalignment. Take a close look at the chain connecting your handle to the flapper; if it’s too tight, it keeps the seal open, but if it’s too long, it can get caught underneath. A little bit of flush lever troubleshooting usually clears this right up.
Another common headache is when you notice toilet water leaking into bowl even when it’s not being used. This is a classic sign that your flapper has reached the end of its lifespan. Over time, the rubber degrades and warps, making a watertight seal impossible. If the rubber feels slimy or looks pitted, it’s time to replace toilet flapper entirely. It’s a quick, inexpensive fix that feels like a massive win once that constant trickle finally stops.
Pro-Tips to Keep Your Bathroom Running Smoothly
- Check your water level before you start swapping parts—if the water is spilling into the overflow tube, you probably just need to adjust the float rather than buying a whole new assembly.
- Keep a small tub of plumber’s grease handy; applying a little to the rubber gaskets can prevent them from drying out and cracking, which saves you from having to redo the job in six months.
- Don’t over-tighten those bolts! It’s tempting to crank everything down, but with plastic components, being too aggressive can actually cause cracks that lead to even more leaks.
- Before you dive into a full repair, try the “dye test”—drop a little food coloring in the tank and wait 20 minutes; if it seeps into the bowl, you know for sure it’s a flapper issue and not something more complex.
- Take a quick photo of your tank setup before you take anything apart; even if you think you’ll remember where that tiny screw goes, having a visual reference in your notebook is a total lifesaver.
Quick Wins for Your Toolbox
Don’t panic if you see water running; most toilet issues are just simple mechanical hiccups like a worn-out flapper or a misaligned chain that you can fix in minutes.
Take a quick peek inside your tank before you head to the hardware store—knowing exactly which part is acting up will save you a wasted trip and a lot of frustration.
Treat these small repairs as a confidence builder; mastering a basic DIY task like this is the perfect way to realize you’re more capable of handling home maintenance than you think.
## A Little Win for Your Weekend
“Honestly, there’s something so satisfying about tackling a plumbing issue yourself; it’s not just about saving a few bucks on a plumber, it’s about that quiet moment of realizing you actually have the tools and the know-how to fix your own world.”
Sarah Mitchell
You’ve Got This!
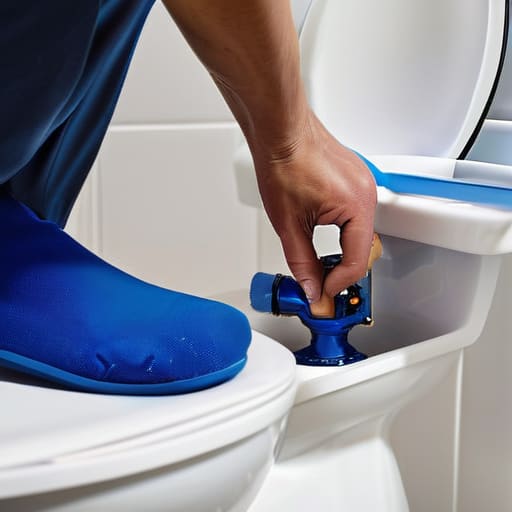
Honestly, once you’ve taken a look under the hood and identified whether it’s a faulty flapper, a misaligned float, or a stubborn fill valve, the hardest part is already behind you. We’ve walked through the components, diagnosed the most common culprits, and hopefully, you’ve already got your hands a little dirty getting that mechanism back in sync. Remember, most of these fixes are just a matter of swapping out a worn-out part for a new one, which is much cheaper and faster than calling out a professional for a job you can totally handle yourself.
I know that staring at a leaking toilet can feel a bit overwhelming at first, but I promise that these small wins are exactly how you build your confidence. Whether you’re debugging a piece of code at work or troubleshooting a plumbing issue at home, it’s all about breaking the problem down into manageable steps. Don’t be afraid to make a few mistakes along the way—that’s just how we learn. Grab your notebook, keep experimenting, and keep building that toolkit of skills. You’re doing better than you think!
Frequently Asked Questions
I replaced the flapper, but the water is still running—what else could be the problem?
Ugh, I know that feeling—you do the work, you swap the part, and it still won’t behave. Since the flapper is new, the culprit is likely your fill valve or the float height. If the water level is set too high, it’ll constantly spill into the overflow tube. Grab my notebook and a screwdriver; let’s try adjusting that float or checking if the fill valve needs a quick replacement. We’ll get this sorted!
Is it worth trying to fix an old toilet mechanism myself, or should I just bite the bullet and buy a whole new tank?
Honestly, don’t go buying a whole new tank just yet! Most of the time, it’s just a worn-out flapper or a misaligned float, which you can fix for a few bucks and twenty minutes of your time. I love upcycling old furniture, and I look at toilet mechanisms the same way—they’re usually worth saving. Save your money and your energy; try a quick repair first. If it’s still acting up after that, then we can talk replacement.
How can I tell if the issue is actually a faulty fill valve or if it's something deeper with the water supply line?
That’s a great question, and honestly, it’s where a lot of people get stuck. Here’s my trick: turn off the water supply valve behind the toilet and then try to flush. If the tank still fills up slowly or not at all, you’re likely looking at a clogged supply line or a faulty valve. But if the water flows perfectly when the valve is fully open, the culprit is almost certainly your fill valve.