I still remember the first time I dragged a battered, oak coffee table home from a garage sale in my tiny Oregon apartment. I was convinced that I’d need a professional workshop and a massive budget to make it look anything other than “thrift store chic,” but I quickly learned that the biggest myth about how to refinish furniture is that you need expensive, industrial-grade equipment to see real results. In reality, all you really need is a bit of patience, a few basic tools, and the willingness to get your hands a little dusty. Once I realized that most “ruined” pieces are just one good sanding session away from greatness, my entire approach to decorating changed forever.
I’m not here to sell you on some unrealistic, Pinterest-perfect fantasy that requires a week of labor for a single chair. Instead, I want to give you the actual, boots-on-the-ground workflow I use in my own garage. This guide is going to break down the process into manageable, logical steps—from choosing the right sandpaper to the final coat of finish—so you can stop feeling intimidated and start building your confidence. We’re going to focus on practical techniques that save you time without sacrificing quality, making sure your next DIY project is a total success.
Table of Contents
- Step-by-Step Instructions
- The Best Tools for Furniture Restoration and Success
- Mastering Wood Stripping Techniques and Removing Old Varnish
- Pro-Tips from My Workshop: Avoiding Common Refinishing Pitfalls
- Quick Wins for Your Next Project
- ## The Beauty in the Build
- Bringing Your Vision to Life
- Frequently Asked Questions
Guide Overview
Tools & Supplies
- Sandpaper (various grits for smoothing)
- Screwdriver (for removing hardware)
- Paintbrush or foam roller (for application)
- Tack cloth (for removing dust)
- Wood filler (small container for cracks)
- Sanding block (one unit)
- Paint or stain (one quart)
- Protective primer (one quart)
- Clear topcoat (one quart)
Step-by-Step Instructions
- 1. First things first, you’ve got to clear some space and grab your gear. I always like to set up a dedicated workspace, preferably in a well-ventilated area like a garage or even outdoors if the weather is cooperating. You’ll need a few essentials: some sandpaper in varying grits (start with something coarse like 80 and move up to 220), a screwdriver to remove any hardware, drop cloths to protect your floor, and a good quality mask. Don’t skip the mask—breathing in old finish dust is definitely not part of the fun.
- 2. Once you’re set up, it’s time to strip the piece down to its bare bones. Start by removing all the hardware—knobs, pulls, and hinges. I usually toss these into a small Ziploc bag so I don’t lose them; it’s a tiny habit that saves a massive headache later on. If the piece has any complex carvings, use a screwdriver to gently loosen any joints that might be wobbly, but don’t go overboard.
- 3. Now comes the part that requires a bit of patience: sanding. This is where the real transformation begins. Start with your coarsest sandpaper to strip away the old varnish or paint. You don’t need to sand down to the raw wood immediately, but you do need to remove the old surface layer completely. As you progress, switch to finer and finer grits. I find that moving from 80 to 120 and finally to 220 makes the wood feel incredibly smooth to the touch, almost like silk.
- 4. After you’ve finished sanding, you absolutely cannot skip the cleaning phase. Any leftover dust will act like grit under your new finish, leaving the surface feeling bumpy and unprofessional. I use a tack cloth or a slightly damp lint-free rag to wipe down every nook and cranny. Make sure it is bone dry before you even think about reaching for a paintbrush or a can of stain.
- 5. If you’re looking to change the color, this is your moment to play with stain. I love using a rag to apply stain rather than a brush because it gives you much more control over the depth of the color. Apply the stain in long, even strokes following the natural grain of the wood. If you want a darker look, let the first coat dry and then apply a second. Just remember: it’s always easier to add more color than it is to take it away.
- 6. Once your stain has fully set and dried according to the manufacturer’s instructions, it’s time to seal the deal with a topcoat. Whether you choose a matte polyurethane, a satin wax, or a high-gloss lacquer, this layer is what protects your hard work from spills and scratches. I tend to favor a satin finish because it looks sophisticated without being overly shiny. Apply several thin, even coats rather than one thick, gloopy one.
- 7. Finally, once the finish is completely cured—and I mean really cured, so give it a full 24 to 48 hours—it’s time for the victory lap. Reattach your cleaned hardware, and if you’re feeling extra fancy, you can even swap out old brass handles for something more modern. Standing back and looking at a piece you’ve breathed new life into is honestly one of the best feelings in the world.
The Best Tools for Furniture Restoration and Success
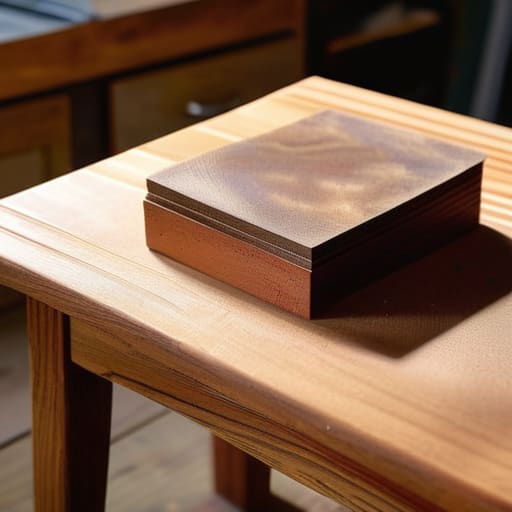
Before you dive in, I need to tell you: don’t skimp on the gear. I know, it’s tempting to just grab whatever sandpaper is on sale at the local hardware store, but having the right kit makes the difference between a professional finish and a frustrating mess. When I’m working on a new piece in my garage, I always start with a solid furniture sanding grits guide tucked into my notebook. You’ll want to start coarse to level things out and gradually move to finer grits to smooth everything down. If you’re dealing with layers of heavy, old-school finish, you might want to look into different wood stripping techniques like using a chemical stripper rather than just sanding your way through it—it’ll save your arms and your sanity.
Once the surface is prepped, your choice of topcoat is where the magic really happens. I often get asked about furniture lacquer vs polyurethane when I’m chatting with fellow DIYers. For most of my projects, I lean toward polyurethane because it’s incredibly durable and great for pieces that get a lot of use, like coffee tables. Just remember to take your time with the application; patience is your best friend here.
Mastering Wood Stripping Techniques and Removing Old Varnish
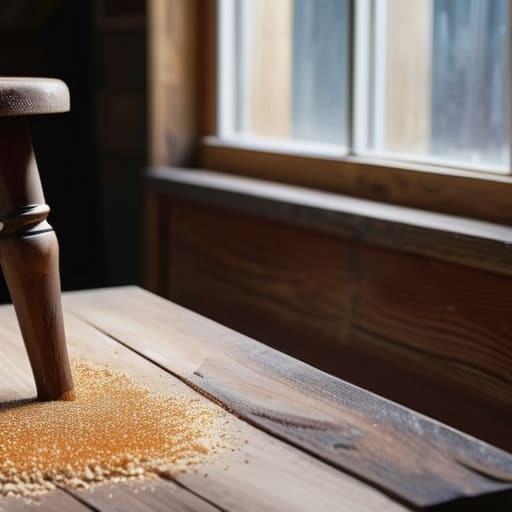
Now, let’s talk about the part that usually makes people a little nervous: the actual removal of that old, crusty finish. When it comes to removing old varnish, I’ve learned the hard way that patience is your best friend. If you’re dealing with a piece that has layers of heavy lacquer, you might be tempted to go straight for the sander, but please, resist that urge! I always recommend starting with a chemical stripper first. It’s much gentler on the wood grain and prevents you from accidentally sanding away the beautiful, natural character of the timber.
As you work, keep a close eye on how the wood reacts. If you’re working with something delicate, understanding the difference between furniture lacquer vs polyurethane can save you a massive headache later on. Lacquer tends to be a bit more brittle and easier to lift, whereas polyurethane can be stubborn and require a bit more elbow grease. Just remember: work in small sections and don’t rush the process. If you try to tackle a whole tabletop at once, you’ll likely end up with uneven patches that make the staining phase a total nightmare.
Pro-Tips from My Workshop: Avoiding Common Refinishing Pitfalls
- Don’t rush the sanding process. It’s tempting to jump straight to the finish when you’re excited, but skipping a thorough sanding or moving too quickly through the grit levels is the fastest way to end up with a surface that feels like sandpaper once the stain hits.
- Test your stain on a scrap piece first. I can’t stress this enough—what looks beautiful on a small swatch in the store can look wildly different on your actual piece of wood. Always test on an inconspicuous area or a leftover bit of the same wood to avoid any “oops” moments.
- Watch your environment for dust and humidity. Just like when I’m debugging code, small external variables can ruin the whole output. If it’s a super dusty day or the humidity is spiking, wait. You don’t want tiny particles or moisture trapped under your fresh coat of varnish.
- Less is definitely more when it comes to applying finish. It’s way easier to add a second thin, even coat than it is to try and fix a thick, gummy, or unevenly applied layer that’s already started to tack up.
- Trust your intuition, but verify with your eyes. Sometimes a piece of wood has a hidden grain pattern or a knot that’s going to react weirdly to a certain color. Take a second to really look at the piece before you commit to a specific product; your eyes are your best tool in the workshop.
Quick Wins for Your Next Project
Don’t rush the prep work—I’ve learned the hard way that spending extra time on stripping and sanding saves you a massive headache once you start applying the finish.
Invest in quality tools over quantity; a good orbital sander and a solid set of brushes will make the difference between a “DIY look” and a professional-grade transformation.
Embrace the learning curve and don’t be afraid to make mistakes, because every wonky sanding mark is just another lesson in mastering your new craft.
## The Beauty in the Build
“Refinishing furniture isn’t just about erasing the past; it’s about seeing the potential hidden under layers of old varnish and having the patience to bring it back to life, one sanding stroke at a time.”
Sarah Mitchell
Bringing Your Vision to Life
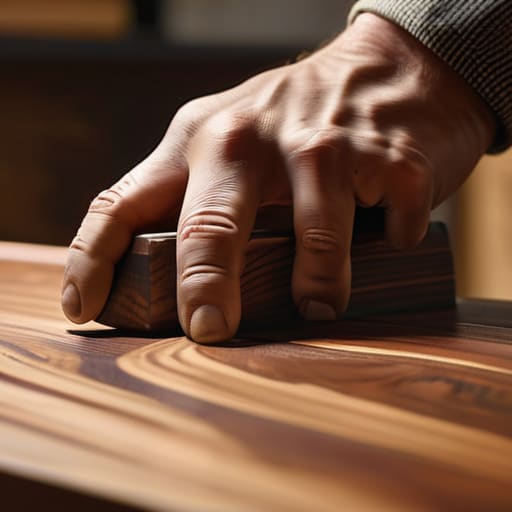
Taking an old, tired piece of furniture and turning it into something beautiful is no small feat, but you’ve officially done the heavy lifting. We’ve walked through the entire process together—from selecting the right tools and mastering the art of stripping away that stubborn old varnish to the final, satisfying stages of sanding and staining. It’s easy to get overwhelmed by the technical details, but remember that the secret to a professional finish really comes down to patience and preparation. If you took the time to prep your surface correctly and didn’t rush the drying stages, you’ve already bypassed the most common mistakes that trip up beginners.
As you step back to look at your finished project, I hope you feel that same rush of pride I get every time I finish a new piece in my workshop. Whether you’re repurposing a thrift store find or breathing life back into a family heirloom, you aren’t just fixing furniture; you’re cultivating a new skill that connects you to the physical world in such a rewarding way. Don’t be afraid to experiment with different colors or hardware next time, because every project is just another chance to learn. You’ve got this, and I can’t wait to see what you create next!
Frequently Asked Questions
How do I know if a piece of wood is actually worth the effort of refinishing, or if it's better to just replace it?
Honestly, I’ve been there—staring at a piece of furniture wondering if I’m about to waste a whole weekend on a lost cause. My rule of thumb? Check the bones. If it’s solid wood rather than particle board or MDF, it’s almost always worth the sweat. Look for structural integrity; if the joints are loose or the wood is rotting, walk away. But if it’s just ugly or scratched? That’s just a project waiting to happen!
What’s the best way to handle a project if I realize I’ve accidentally sanded through the veneer?
Oh no, I’ve been there—it’s a total heart-sinking moment! Take a deep breath; it’s not a disaster, just a pivot. The best way to handle it is to stop sanding immediately. You can actually fix this using wood veneer patches or even a bit of wood filler if the gouge is small. For larger spots, I usually hunt down some matching veneer at a hobby shop to inlay a new piece. It’s just another chance to practice your precision!
Is it safe to use chemical strippers inside my house, and what kind of ventilation do I really need to stay safe?
Honestly, I’d strongly recommend avoiding chemical strippers indoors if you can help it. Those fumes are no joke, and they can linger in your living space long after you’ve finished. If you absolutely have to use them inside, crack every window possible and get a high-powered fan blowing the air directly outside. Better yet? Set up a small workstation in your garage or even your backyard. Your lungs (and your house!) will thank you.
