I was staring at a pile of expensive, pre-finished wood from a big-box store, feeling that familiar knot of hesitation in my stomach, wondering if I was actually cut out for this. Most people will tell you that a successful floating shelves diy project requires a professional-grade workshop and a degree in carpentry, but honestly? That’s just not true. I learned the hard way that you don’t need a massive garage full of expensive power tools to create something beautiful; you just need a bit of patience and the right systematic approach.
In this guide, I’m stripping away the fluff and the intimidating jargon to show you exactly how I tackle these projects in my own home. I’ll walk you through everything from selecting the right brackets to ensuring your shelves are actually level (and won’t come crashing down on your favorite books). My goal is to give you the practical, no-nonsense steps you need to stop scrolling through Pinterest and actually start building. Let’s turn that empty wall into something truly meaningful with a little bit of grit and some smart DIY hacks.
Table of Contents
- Step-by-Step Instructions
- Mastering Modern Floating Shelf Design and Custom Projects
- Securing Your Success With Hidden Bracket Installation
- Pro-Tips to Keep Your Shelves from Becoming a DIY Disaster
- Quick Wins for Your Floating Shelf Project
- The Real Reward of DIY
- Final Thoughts on Your Floating Shelf Journey
- Frequently Asked Questions
Guide Overview
Tools & Supplies
- Drill/Driver for mounting hardware
- Level to ensure shelves are straight
- Stud Finder to locate wall support
- Saw for cutting wood to length
- Sandpaper for smoothing edges
- Wood boards (shelves) 1-2 pieces
- Floating shelf brackets/hardware 1 set
- Wood screws and wall anchors 1 pack
- Wood stain or paint 1 small can
Step-by-Step Instructions
- 1. First things first, you’ll need to gather your gear. I always tell my friends that having the right tools makes the difference between a fun afternoon and a massive headache. You’re going to want some quality wood (I love using reclaimed pine or oak for that rustic look), a drill, a level, some wood glue, sand paper, and—most importantly—sturdy brackets or a hidden bracket system if you want that true “floating” effect. Don’t forget to grab a small notebook to sketch out your dimensions before you make your first cut!
- 2. Once you have your materials, it’s time to measure and cut. This is where you need to be super precise because there’s no “undo” button in woodworking like there is in my code. Measure the wall space where you want the shelves to live, then mark your wood accordingly. If you don’t have a power saw, most hardware stores will actually make the cuts for you, which is a total lifesaver for beginners.
- 3. Next, we move on to sanding. Trust me on this: don’t skip this step. You want to sand the wood starting with a coarser grit and moving to a finer one until the surface feels silky smooth to the touch. I find that spending a little extra time here makes the final stain or paint look infinitely more professional and prevents those annoying splinters later on.
- 4. Now, let’s talk about the finish. This is the part where you really get to express your personality. Whether you want to go with a clear matte sealant to show off the natural grain or a bold, moody paint color, make sure you apply it in thin, even layers. I usually do a quick test scrap first just to make sure I’m happy with the color before committing to the actual shelf.
- 5. It’s time for the most intimidating part: mounting the brackets. Grab your level—and I mean really use it—to make sure your lines are straight. If your brackets are even slightly tilted, it’ll be incredibly obvious once your decor is on top. Locate your wall studs if possible, because mounting into studs is the only way to ensure your shelves don’t come crashing down when you add your favorite books.
- 6. Finally, once the brackets are secure and the glue has fully set, slide your wooden shelves into place. Give them a little test wiggle to make sure they feel rock solid. Now comes the best part: the styling! Add some plants, a few tech gadgets, or some old trinkets you’ve upcycled. You’ve just leveled up your space with something you built with your own two hands!
Mastering Modern Floating Shelf Design and Custom Projects
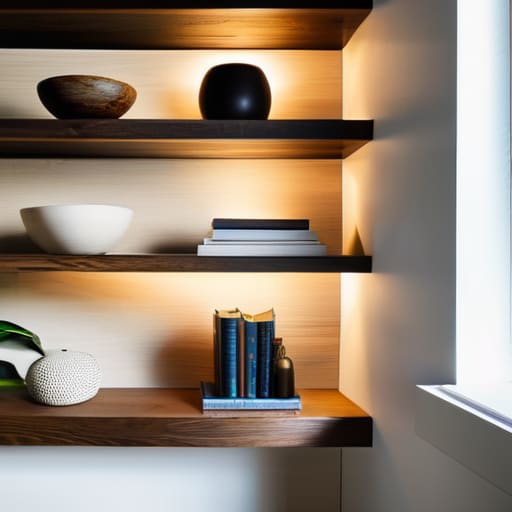
Once you’ve nailed the basics, the real fun begins when you start playing with modern floating shelf design. I love treating my shelves like a canvas; instead of just sticking to standard pine, I’ve been experimenting with reclaimed oak or even upcycling old cedar from an old fence I found. If you’re feeling adventurous, don’t be afraid to dive into more complex custom wood shelving projects like integrated LED lighting or asymmetrical layouts. It’s all about making the piece feel like it was born for that specific corner of your room rather than just something you grabbed off a big-box store shelf.
Of course, as things get more ambitious, you have to keep an eye on the physics of it all. I always tell my mentees that the most beautiful shelf is useless if it’s sagging under a stack of heavy cookbooks. Always double-check your shelf weight capacity tips by verifying your mounting points. Using a high-quality stud finder for wall shelves is non-negotiable here—you want to ensure that your hardware is anchored into something solid, not just drywall. Taking that extra ten minutes to prep properly saves you a massive headache (and a broken vase) later on.
Securing Your Success With Hidden Bracket Installation
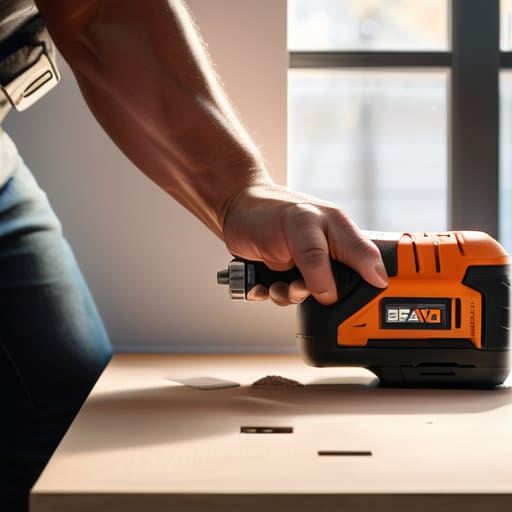
Now, let’s talk about the part that usually makes people a little nervous: the actual mounting. If you want that clean, seamless look, a proper hidden bracket installation is everything. I can’t stress this enough—don’t just wing it by eyeballing the wall. Before you even touch a drill, grab a reliable stud finder for wall shelves. If you miss the studs and rely solely on drywall anchors, you’re asking for a heavy book to take your whole project down with it.
Once you’ve mapped out your studs, pay close attention to your wood shelf mounting hardware. Depending on the thickness of the timber you’ve chosen for your custom projects, you might need longer lag bolts to ensure everything stays rock solid. I always keep a little notebook handy to jot down exactly where my studs are located, just in case I need to double-check my measurements later. Taking these extra ten minutes to prep ensures your shelves don’t just look beautiful, but they actually stay put for the long haul.
Pro-Tips to Keep Your Shelves from Becoming a DIY Disaster
- Don’t trust your eyes—always use a level. Even if you think the wall looks straight, it probably isn’t. A tiny tilt at the start becomes a glaring eyesore once you start stacking books or decor on it.
- Scout your studs before you drill. I know it’s tempting to just use drywall anchors, but if you want these shelves to actually hold weight without a mid-afternoon collapse, you need to find that solid wood behind the wall.
- Measure twice, cut once, and then measure a third time. I’ve definitely learned the hard way that being “mostly sure” is a recipe for wasted lumber. Grab your tape measure and double-check those dimensions before the saw touches the wood.
- Sand like your life depends on it. There is nothing worse than finishing a beautiful project only to snag your hand on a rough edge. Start with a coarse grit and work your way up to a fine finish for that professional, smooth-to-the-touch feel.
- Plan for the “stuff.” Before you commit to a specific depth, think about what you’re actually going to put on them. If you’re storing heavy cookbooks, you’ll need a much sturdier setup than if you’re just displaying a single succulent.
Quick Wins for Your Floating Shelf Project
Don’t skip the prep work—measure twice and double-check your wall studs, because nothing kills the DIY high faster than a shelf that won’t stay level.
Embrace the “maker mindset” by experimenting with different wood types; whether it’s reclaimed timber or a sleek modern finish, your personality should shine through the grain.
Focus on the small details like hidden brackets and clean edges, because that’s what separates a “homemade” look from a professional, high-end installation.
The Real Reward of DIY
“At the end of the day, it’s not just about getting some wood onto a wall; it’s about that incredible feeling of looking at something in your home and knowing, ‘I built this myself.’ That’s where the real confidence grows.”
Sarah Mitchell
Final Thoughts on Your Floating Shelf Journey
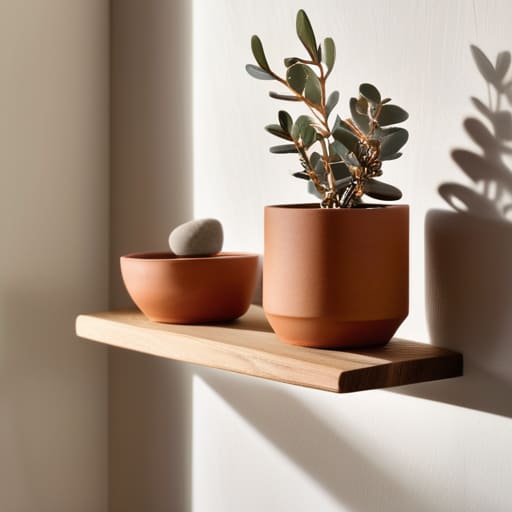
At the end of the day, building your own floating shelves is about much more than just adding some extra storage to a wall. We’ve walked through the essential steps—from selecting the right wood and mastering those tricky hidden bracket installations to ensuring your design fits your personal aesthetic. Whether you went with a sleek, modern look or a more rustic, upcycled vibe, the most important thing is that you followed through on the technical details that make these shelves truly functional and safe. Remember, a little bit of extra patience during the leveling process or the sanding stage goes a long way in preventing a headache down the road. Once you get that hardware secured and the finish applied, you’ll have a piece of furniture that is built to last.
I know that staring at a pile of lumber and a set of tools can feel a little intimidating at first, but I promise you, the sense of accomplishment is worth every bit of the effort. This project is just one small way to practice that maker mindset we talked about earlier. Every time you finish a DIY task, you’re not just improving your home; you’re leveling up your own skills and proving to yourself that you can tackle the complex stuff. So, grab your notebook, clear off your workbench, and don’t be afraid to make a few mistakes along the way—that’s where the real learning happens. I can’t wait to see what you create next!
Frequently Asked Questions
What's the heaviest weight my floating shelves can actually hold without sagging or pulling out of the wall?
This is the question that keeps me up at night when I’m halfway through a project! Honestly, there isn’t one single number, because it all depends on your “stack”: the type of wall (studs are your best friends!), the bracket strength, and the wood itself. If you’re mounting into studs with heavy-duty brackets, you can usually handle a decent stack of books. But if you’re just using drywall anchors? Keep it light—think small succulents, not your entire encyclopedia collection.
I'm working with drywall instead of studs—is it still safe to hang these, or am I asking for trouble?
I’ll be honest: hanging heavy shelves solely in drywall is a recipe for disaster. If you can’t hit a stud, you’re definitely asking for trouble once you add books or decor. However, you don’t have to give up! Just make sure you use high-quality toggle bolts rather than those cheap plastic anchors. They grip the back of the wall much better. If the shelf is going to be heavy, though, finding a stud is always my golden rule.
Which type of wood should I pick if I want that perfect balance between being easy to work with and looking high-end?
If you’re looking for that sweet spot between “beginner-friendly” and “high-end boutique,” I’d steer you straight toward Walnut or White Oak. Walnut is my absolute favorite; it has this gorgeous, rich grain that looks incredibly expensive once you sand and oil it, but it behaves beautifully under a saw. White Oak is another winner if you want a more modern, Scandi vibe. Both are sturdy, forgiving, and will make your DIY project look professional.
