I was standing in my kitchen last Tuesday, staring at a melted, lumpy mess of soy wax that smelled faintly of burnt cotton, wondering why my “relaxing” weekend project had turned into a total disaster. If you’ve ever felt like learning how to make candles is some high-stakes chemistry experiment reserved for professionals, I promise you it’s actually much simpler than that. Most of the tutorials online make it seem like you need a laboratory-grade setup, but the truth is, you just need a bit of patience and the right workflow to get it right the first time.
I’ve spent years tinkering with everything from software code to upcycled furniture, and I’ve learned that the best way to master any new skill is to strip away the fluff and focus on the mechanics. In this guide, I’m skipping the expensive, over-complicated jargon to give you a straightforward, no-nonsense roadmap to success. We’re going to cover the essential gear, the science of scent throw, and those little troubleshooting tips I wish I’d known before my first big wax spill. Let’s get your hands a little messy and turn your space into a sanctuary.
Table of Contents
- Step-by-Step Instructions
- Curating Your Kit Must Have Soy Wax Candle Making Supplies
- Mastering the Melt a Vital Melting Wax Temperature Guide
- Pro-Tips from My Workbench: Avoiding Common Candle-Making Pitfalls
- Quick Wins for Your Next Pour
- Finding Your Flow
- Lighting Up Your Creative Journey
- Frequently Asked Questions
Guide Overview
Tools & Supplies
- Double boiler or heat-proof bowl and pot
- Thermometer to monitor wax temperature
- Pouring pitcher for easy handling
- Scale for precise measurements
- Soy or paraffin wax (1-2 lbs)
- Candle wicks (set of 5-10)
- Fragrance oils (1 oz)
- Glass jars or tins (3-4 units)
- Wick holders or clothespins
Step-by-Step Instructions
- 1. First things first, you’ll need to gather your supplies. I usually keep a little checklist in my notebook so I don’t get halfway through and realize I’m missing something crucial. You’re going to need your choice of wax (soy is my personal favorite because it’s so clean-burning), some wicks, fragrance oils, containers like glass jars or tins, and a double boiler setup. Don’t worry if you don’t have a professional double boiler; you can just use a heat-proof glass bowl over a pot of simmering water.
- 2. Once your gear is ready, it’s time to melt that wax. Pour your wax flakes into the top of your double boiler and turn the heat to medium-low. This part requires a little patience, as you don’t want to scorch the wax or get it too hot too fast. I like to use a thermometer to keep a close eye on it, aiming for that sweet spot where the wax is completely liquid and clear.
- 3. While the wax is melting, prep your containers. This is a small step that makes a massive difference in the final result. Take your wicks and use a tiny bit of melted wax or a glue dot to secure them firmly to the bottom center of your jars. I also find it super helpful to use a clothespin or a pencil to prop the wick upright so it stays perfectly centered while the wax settles.
- 4. Now comes the fun part: adding the scent. Once your wax is fully melted, remove it from the heat and let it cool just a tiny bit before pouring in your fragrance oils. I usually follow the ratio suggested on the bottle, but feel free to experiment! Give it a gentle stir for about two minutes to ensure the oil and wax are completely integrated; you don’t want any scent pockets left behind.
- 5. Carefully pour the scented wax into your prepared containers. Go slowly to avoid creating air bubbles, which can be a real pain to fix later. Leave about a half-inch of space at the top so you don’t overflow. If you see any tiny bubbles forming on the surface, you can lightly tap the side of the jar to help them rise and pop.
- 6. This is the hardest part for me: the waiting game. You need to let your candles sit undisturbed at room temperature until they are completely solid. Depending on the type of wax you’re using, this could take anywhere from a few hours to a full day. Avoid putting them in the fridge to speed things up; rapid cooling can cause the wax to crack or pull away from the sides of the jar.
- 7. Finally, once the candles are firm, trim those wicks. I always recommend trimming them to about a quarter-inch above the wax surface. This ensures a clean, controlled burn the next time you light them. If you’re feeling extra crafty, this is the perfect moment to grab some leftover scraps of wood or fabric from your workshop to create some custom labels!
Curating Your Kit Must Have Soy Wax Candle Making Supplies
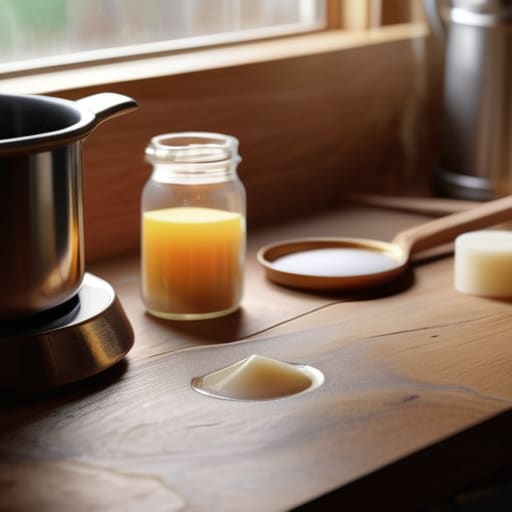
Before you dive in, I want to talk about the gear. I know when you’re first starting out with candle making for beginners, it’s tempting to just grab whatever is cheapest at the local craft store, but I’ve learned the hard way that quality matters. Investing in decent soy wax candle making supplies right from the start saves you a lot of frustration (and wasted wax) later on. I always recommend getting a dedicated thermometer; knowing your exact melting point is the difference between a smooth finish and a cracked mess.
When it comes to the scent, don’t settle for cheap synthetic fragrances if you can avoid it. I personally love using high-quality essential oils for scented candles because they give off such a natural, calming vibe in my workspace. Also, pay close attention to your wicks. Choosing the best wick types for candles based on the diameter of your jar is a total game-changer for ensuring an even burn. It might feel a bit technical at first, but once you have your kit dialed in, the whole process becomes much more intuitive and, honestly, a lot more fun!
Mastering the Melt a Vital Melting Wax Temperature Guide
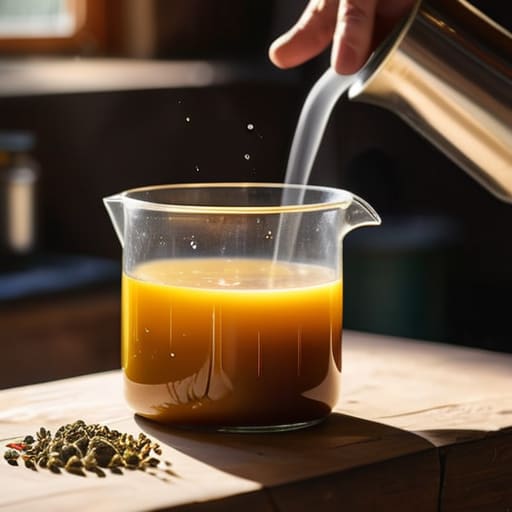
If there is one thing I’ve learned from years of tinkering in my workshop—whether I’m working with wood or wax—it’s that temperature is everything. You can have the highest quality soy wax candle making supplies, but if you miss the mark on heat, your hard work won’t pay off. When you’re starting out, it’s tempting to just crank up the heat to get things moving faster, but patience is your best friend here. You really want to aim for a specific window to ensure the wax binds perfectly with your fragrance.
One of the biggest hurdles in candle making for beginners is the “flash point” dilemma. If you add your essential oils for scented candles while the wax is too hot, you’ll actually burn off the scent before the candle even sets. I always recommend waiting until the wax cools slightly to a specific temperature before stirring in your oils. This ensures a much stronger scent throw once you finally light it. Keep a digital thermometer handy; it’s the most important tool in your kit for mastering those tricky candle pouring techniques and avoiding a cracked surface.
Pro-Tips from My Workbench: Avoiding Common Candle-Making Pitfalls
- Don’t rush the cooling process. I know it’s tempting to see your finished masterpiece immediately, but letting your candles cool slowly at room temperature prevents those annoying cracks and sinkholes in the wax.
- Test your wick size religiously. There’s nothing more frustrating than a candle that either tunnels straight down the middle or produces a flame that’s way too aggressive; always do a small test burn before committing to a full batch.
- Watch your fragrance load. It’s easy to get carried away with the scents, but adding too much oil can actually compromise the structure of the wax and cause it to sweat, so stick to the recommended percentages.
- Clean your gear like a pro. Wax and fragrance oils are stubborn, so I always recommend using isopropyl alcohol to clean your pouring pitchers—it makes the cleanup process way less of a headache.
- Mind the temperature when adding scents. If you stir your fragrance oils into the wax when it’s too hot, you risk “burning off” that beautiful aroma, so wait until the wax has cooled slightly to the optimal fragrance attachment temperature.
Quick Wins for Your Next Pour
Don’t skimp on the quality of your wax and wicks; investing in good soy wax from the start makes the whole process much more forgiving and rewarding.
Temperature is everything—keep a close eye on your thermometer to ensure you aren’t adding fragrance too early or pouring when the wax is too cool.
Treat every failed candle as a data point; even the pros have a few “oops” moments, so keep experimenting until you find your perfect scent and burn.
Finding Your Flow
“There’s something incredibly grounding about the process—watching the wax melt and knowing that, with just a little patience and the right scent, you’re turning raw ingredients into something that actually changes the energy of a room.”
Sarah Mitchell
Lighting Up Your Creative Journey
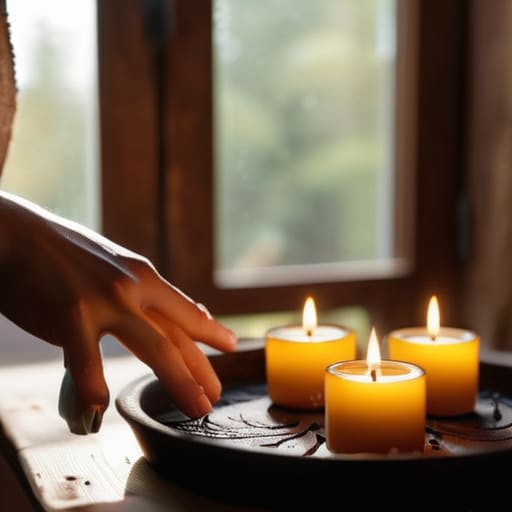
At the end of the day, candle making is all about finding that sweet spot between precision and intuition. We’ve covered a lot of ground—from sourcing the right soy wax and essential supplies to mastering those tricky melting temperatures that ensure a smooth, clean burn. It might feel a bit overwhelming when you’re staring at a pile of raw materials, but remember that even the most professional makers started exactly where you are. Once you get the hang of the technical fundamentals, like temperature control and wick placement, you’ll find that the process becomes almost meditative. It’s less about following a rigid recipe and more about understanding the science behind the melt so you can eventually trust your own instincts.
I truly believe that there is something incredibly rewarding about slowing down to create something tangible with your own two hands. In a world that feels increasingly digital and automated, stepping away from the screen to work on a DIY project is such a vital way to recharge. Whether you’re making these for your own cozy reading nook or gifting them to friends, you’re sharing a piece of your own creativity. Don’t be afraid to experiment with new scents or unconventional containers as you grow. Just grab your notebook, keep tweaking your process, and embrace the learning curve. I can’t wait to see what you create!
Frequently Asked Questions
How do I know if my scent load is too high for the wax I'm using?
That’s a great question, and honestly, it’s one of the most common hurdles when you’re starting out. If you’ve gone a bit overboard with the fragrance, you’ll notice the wax looking “sweaty” or oily on the surface once it cools—that’s a huge red flag. You might also see the candle smoking excessively or even struggling to stay lit. If it looks like there’s a pool of oil sitting on top, your scent load is definitely too high!
Why is my candle surface looking bumpy or uneven once it cools down?
Ugh, I know that feeling all too well—you pour your heart into a candle, wait patiently, and then pull it out only to see a surface that looks like a rocky landscape. It’s super frustrating! Usually, this happens because the wax cooled down too quickly or the temperature was a bit off during the pour. If your room is chilly, the wax sets unevenly. My best tip? Try pouring in a warmer spot and keep those temperatures steady.
Can I reuse old candle jars, or should I always start with something brand new?
Oh, I absolutely love this question! Honestly, one of my favorite things to do in my workshop is upcycling. You should definitely reuse old jars—it’s better for the planet and fits perfectly with that DIY spirit. Just make sure you give them a deep clean first to remove any old residue. I often scout thrift stores for unique vintage glassware to use as vessels. It adds so much character to your finished candles!
