I was standing in my garage last weekend, covered in sawdust and squinting at a pile of scrap cedar, when I realized something: most people think you need a high-end workshop and a degree in carpentry just to get started with a simple project. But honestly? That’s a total myth. Whether you’re looking to decompress after a long week of debugging code or you just want to add some life to your backyard, learning how to build a birdhouse doesn’t require a massive investment or a master’s degree. It’s really just about understanding a few basic principles of construction and having the confidence to make a few mistakes along the way.
In this guide, I’m stripping away all the fluff and the intimidating jargon to give you a straightforward, no-nonsense roadmap. I’ll walk you through the essential tools you actually need, how to select the right wood so your project survives the elements, and the specific dimensions that will actually attract local birds. My goal is to help you move past the “analysis paralysis” and get your hands on some real materials. Let’s turn that pile of wood into something functional and beautiful together!
Table of Contents
- Step-by-Step Instructions
- Selecting Your Gear Essential Woodworking Tools for Birdhouses
- The Cedar Wood Birdhouse Project a Beginner Woodworking Tutorial
- Pro-Tips for a Birdhouse That Actually Lasts
- Quick Wins for Your Birdhouse Project
- Why We Build
- Putting the Finishing Touches on Your Project
- Frequently Asked Questions
Guide Overview
Tools & Supplies
- Handsaw or miter saw for cutting wood
- Hammer for assembling pieces
- Drill with spade bit for the entrance hole
- Measuring tape for accurate dimensions
- Untreated cedar or pine board (approx. 1x6x4ft)
- Galvanized nails or exterior screws (small box)
- Wood glue (waterproof)
Step-by-Step Instructions
- 1. First things first, we need to get our materials together. I always recommend grabbing a piece of untreated cedar or pine—about 1×6 inches and roughly four feet long—because these woods hold up really well against the elements without needing toxic stains. You’ll also need a saw, a hammer, some galvanized nails, and a drill with a spade bit for that entrance hole.
- 2. Now, let’s get to the measuring and cutting. Grab your notebook to sketch out your dimensions first, but generally, you’ll want to cut your wood into six pieces: a base, a roof, a back, a front, and two sides. I like to make the roof a little bit wider than the base to create an overhang, which helps keep the rain from soaking the interior where the birds sleep.
- 3. Once you have your pieces cut, it’s time to drill the entrance hole. This is the most critical part because the size of the hole actually determines which species of bird will move in. For a standard backyard bird like a bluebird, a 1.5-inch hole is usually the sweet spot. Just make sure you drill it on the front panel, slightly above the center so the babies don’t accidentally tumble out.
- 4. Let’s start the assembly. I usually start by nailing the sides to the back panel, then attaching the floor. Here’s a little pro-tip from my woodworking days: don’t nail the floor piece completely shut on all sides. If you leave a tiny gap at the corners or drill a few small drainage holes in the bottom, it keeps the nest much drier and healthier for the birds.
- 5. Next, nail the front panel onto your side pieces. If you want to be extra clever—and this is something I do with my upcycled furniture projects—you can use a couple of screws instead of nails on one side of the front panel. This creates a “swing door” effect, making it way easier to clean out the old nesting material once the season is over.
- 6. Finally, it’s time to attach the roof. Align it so it sits flush against the back panel and covers the entrance hole area properly. Once that’s secure, find a nice, quiet spot in your yard to mount it. I find that mounting it on a pole or a tree about five to ten feet off the ground is the perfect height to keep them safe from predators while giving them a great view of the yard.
Selecting Your Gear Essential Woodworking Tools for Birdhouses
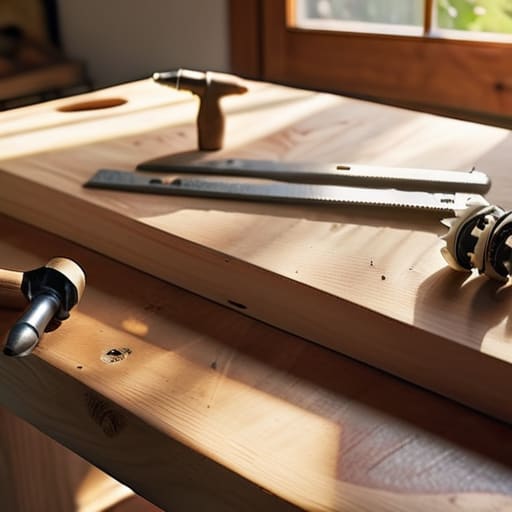
Before you dive into the actual assembly, let’s talk about what you’ll need on your workbench. I always tell my coaching clients that having the right setup is half the battle—whether you’re debugging code or sanding down a piece of timber. For this beginner woodworking birdhouse tutorial, you don’t need a massive workshop full of expensive machinery. A reliable handsaw, a hammer, a measuring tape, and a drill with a few different bits will get you most of the way there. If you can, grab a set of clamps; they act like a third hand, which is a total lifesaver when you’re trying to hold pieces steady while nailing them together.
One thing I’ve learned from my own DIY projects is that the quality of your materials matters just as much as your tools. If you’re starting a cedar wood birdhouse project, you’re already ahead of the game because cedar is naturally rot-resistant and holds up beautifully against the elements. Just make sure your drill bits are sharp so you can get those clean, precise cuts without splintering the wood. It’s much more satisfying to work with gear that feels intentional rather than just grabbing whatever is lying around the garage!
The Cedar Wood Birdhouse Project a Beginner Woodworking Tutorial
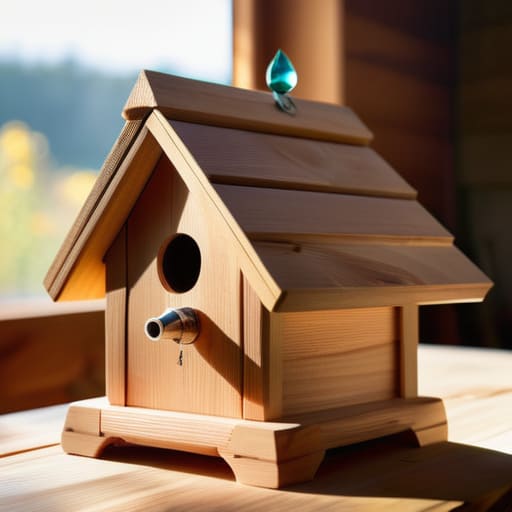
When I first started getting into woodworking, I quickly learned that the material you choose makes a massive difference in how long your hard work actually lasts. For this specific cedar wood birdhouse project, I can’t recommend cedar enough. It’s naturally resistant to rot and decay, which is a total lifesaver when you’re dealing with the unpredictable Oregon rain or even just the intense summer sun. Since we aren’t using heavy chemicals to protect the wood, it stays a safe environment for the birds to raise their families.
One thing I always tell my career coaching clients—and my DIY students—is that the details matter. If you’re aiming for specific species, you’ll want to be intentional about your measurements. For instance, if you’re looking for birdhouse dimensions for bluebirds, you need to make sure that entrance hole is just the right size to keep larger predators out. It’s a bit like optimizing code; if your parameters are slightly off, the whole system doesn’t function the way it should. Just take your time with the measurements, and you’ll end up with a sturdy little home that lasts for seasons to come.
Pro-Tips for a Birdhouse That Actually Lasts
- Don’t go overboard with the paint! While it’s tempting to make it look super colorful, I always recommend sticking to natural stains or light colors on the exterior. You want to keep the inside safe and non-toxic for the birds, and a lighter color helps prevent the house from overheating in the summer sun.
- Skip the perch. I know, it looks cute in those Pinterest photos, but adding a little wooden peg outside the hole actually makes it way easier for predators like squirrels or larger birds to hang on and get to the nest. Let the birds use the entrance hole as their own natural doorway.
- Drainage is your best friend. When you’re assembling the base, make sure to drill a few small holes in the bottom corners. This ensures that if any rain manages to splash inside, it can drain right out, keeping the nest dry and preventing mold from moving in.
- Think about the “exit strategy.” Always drill an entrance hole that’s sized specifically for the type of bird you want to attract. If it’s too big, bullies will move in; if it’s too small, your feathered friends can’t get in. It’s a bit like optimizing a piece of code—precision really matters here!
- Give it some breathing room. I like to drill a couple of tiny holes near the top of the side walls, just under the roofline. This creates essential ventilation so the chicks don’t get too stuffy during those warmer afternoon stretches.
Quick Wins for Your Birdhouse Project
Don’t sweat the perfection—the birds won’t care if your cuts aren’t laser-straight, so focus more on the functionality and safety of the house than making it a museum piece.
Invest in decent cedar if you can; it’s a bit more expensive upfront, but it stands up to the weather way better than pine, saving you from having to rebuild next season.
Treat this as a low-stakes way to practice your woodworking skills; it’s much better to make a few mistakes on a birdhouse than on a high-end piece of furniture!
Why We Build
“Building a birdhouse is about more than just hammering a few pieces of cedar together; it’s that incredible feeling of taking a raw idea, applying a little bit of logic and craftsmanship, and turning it into something that actually lives and breathes in the real world.”
Sarah Mitchell
Putting the Finishing Touches on Your Project
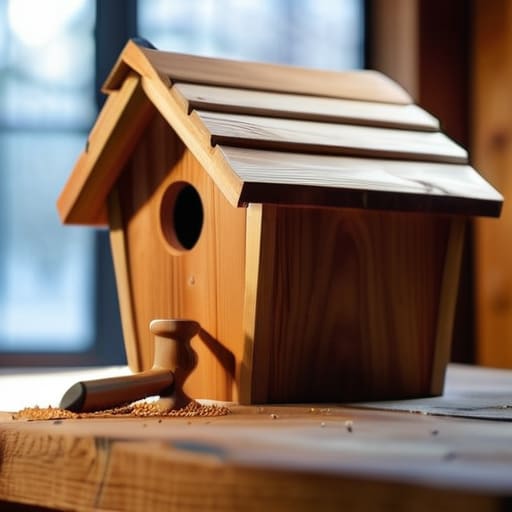
Now that you’ve gone from a pile of cedar planks to a finished little home, take a second to appreciate what you’ve actually accomplished. We covered everything from picking out the right tools to navigating the specific cuts needed for a sturdy build. It’s easy to get caught up in the technicalities of measurements and wood types, but the real win is that you successfully executed a plan from start to finish. Whether your birdhouse looks perfectly polished or has a few slightly crooked edges, the most important part is that it’s a functional piece of craftsmanship that you built with your own two hands.
As you hang your new creation in the backyard, I hope you realize that this is about much more than just wood and nails. Building things—whether it’s a birdhouse, a new software script, or a career pivot—is all about the confidence gained through doing. Don’t be afraid to experiment with your next project or even try upcycling some old scraps for a second version. Keep that notebook handy, keep learning, and most importantly, keep building. I can’t wait to see what you tackle next!
Frequently Asked Questions
What kind of paint or finish is actually safe to use if I want to decorate the outside?
I get this question all the time, and it’s a great one because safety matters—not just for you, but for our feathered friends! Stick to water-based, non-toxic paints or stains. Avoid anything with heavy solvents or lead. I usually opt for a simple milk paint or a low-VOC exterior stain. Just remember the golden rule: keep the inside completely natural. Birds don’t need the extra “decor,” and it keeps their nesting space safe!
How do I know which size entrance hole is best for the specific birds I want to attract to my yard?
That is such a great question, and honestly, it’s one of the most important details you can get right! If the hole is too big, predators or invasive species might move in; too small, and your target birds can’t get in. I always keep a little cheat sheet in my notebook for this. For example, bluebirds love a 1.5-inch hole, while chickadees prefer something closer to 1.125 inches. Do a quick search for your local birds first!
Do I really need to use weatherproofing techniques, or will a simple cedar design hold up on its own?
That’s a great question! Since we’re using cedar, you’ve already got a head start—it’s naturally rot-resistant, which is awesome. Honestly, if you’re okay with a weathered, rustic look, a simple design will hold up fine on its own. However, if you want it to stay looking fresh and last through more brutal seasons, a quick coat of non-toxic, water-based sealer is a smart move. It’s all about how much maintenance you want to do later!
