I was standing in my kitchen last Saturday, staring at a pile of subway tiles and a bucket of grout, feeling that familiar knot of “what have I gotten myself into?” tightening in my chest. I’ve spent years debugging complex code in Silicon Valley, but nothing quite compares to the sheer, unadulterated panic of realizing you might mess up your own walls. Most people will tell you that learning how to tile a backsplash requires a professional contractor or a degree in masonry, but honestly? That’s just a myth designed to keep your wallet empty. Once you strip away the intimidating jargon, it’s really just about patience and a solid plan.
In this guide, I’m skipping the fluff and getting straight to the grit. I’ll walk you through my personal process for prepping your surfaces, choosing the right layout, and avoiding those tiny, frustrating mistakes that drive DIYers crazy. You aren’t going to get any “magic tricks” here—just practical, actionable steps that will help you transform your kitchen with confidence. Whether you’re an engineer looking for a logic-based workflow or just someone who wants a prettier place to make coffee, I’ve got you covered.
Table of Contents
- Step-by-Step Instructions
- Mastering Your Backsplash Layout Planning and Materials
- Essential Tiling Tools Checklist for Diy Success
- Pro Tips to Save You From a Tiling Headache
- Quick Wins for Your Backsplash Project
- My Golden Rule for Tiling
- You’ve Got This: Bringing It All Home
- Frequently Asked Questions
Guide Overview
Tools & Supplies
- Tile cutter or wet saw for making precise cuts
- Notched trowel for applying adhesive evenly
- Rubber grout float for spreading grout into joints
- Spacers to maintain consistent tile gaps
- Level to ensure straight horizontal lines
- Backsplash tiles (calculate area + 10% extra)
- Tile adhesive or mastic (1-2 containers)
- Grout (1 bag based on joint width)
- Tile sealant (1 bottle for finishing)
- Caulk (1 tube for corners and edges)
Step-by-Step Instructions
- 1. First things first, you’ve got to prep that wall. I know, it’s the least glamorous part, but if you don’t do it right, nothing else will stick. Wipe down your backsplash area with a damp cloth to remove any grease or dust—especially near the stove—and make sure the surface is completely dry before moving on. If your walls have any weird bumps or holes, take a few minutes to patch them with some spackle; you want a smooth canvas for those beautiful new tiles.
- 2. Next, let’s get organized with a layout plan. Grab some painter’s tape and a few of your tiles to “dry fit” them against the wall. This is where you decide if you want to start from the center or a corner to avoid ending up with tiny, awkward slivers of tile at the edges. I always tell my students that measure twice, cut once isn’t just for woodworking—it’s the golden rule for tiling, too.
- 3. Now, it’s time to get a little messy with the thin-set mortar. Use a notched trowel to spread the mortar onto a small section of the wall, working from the bottom up. You’re looking for a consistent, ridged pattern that will help the tiles grab hold. Just a heads-up: don’t spread too much at once, or it’ll start to dry out before you can actually get your tiles into place.
- 4. Once your mortar is ready, start pressing your tiles into the bed. Use a gentle, twisting motion to ensure they are fully seated and level. I like to use a level tool every few tiles just to make sure I’m not accidentally building a miniature mountain range on my kitchen wall. If one tile feels a bit wonky, just pop it up and adjust it before the mortar sets.
- 5. While you’re working, keep an eye on your grout lines. If you’re using spacers (and trust me, you absolutely should use them), make sure they are tucked in tight so your lines stay perfectly straight. It’s much easier to fix a crooked line now than it is to try and explain it to guests later!
- 6. After you’ve finished tiling, you’ll need to let it cure. This part requires a little bit of patience and discipline, but don’t rush it. Let the tile set for at least 24 hours before you even think about touching the grout. If you try to grout too early, you’ll end up with a muddy mess that ruins the look you worked so hard to achieve.
- 7. Finally, the satisfying part: grouting! Mix your grout to a peanut butter consistency and use a rubber grout float to push it into all those gaps. Once it’s in, take a damp (not soaking wet!) sponge and wipe away the excess from the tile surfaces. It’s a bit like polishing a piece of wood—once you clean off that haze, you’ll finally see the true beauty of your hard work.
Mastering Your Backsplash Layout Planning and Materials
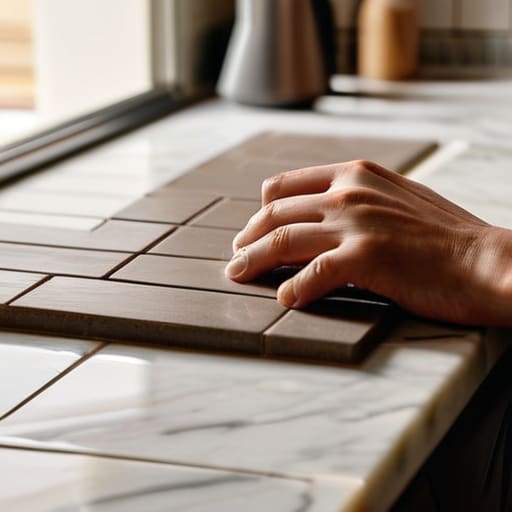
Before you even crack open a bag of thin-set, you need to sit down with your notebook and map everything out. I’ve learned the hard way that jumping straight into the glue can lead to some pretty awkward, tiny slivers of tile in your corners. Proper backsplash layout planning is all about finding your center point. I always start by measuring the wall and finding the midpoint, then working my way outward to ensure the pattern looks balanced and intentional. It might feel like extra work upfront, but trust me, your future self will thank you when you aren’t staring at a lopsided mess.
While you’re in the planning phase, don’t overlook your choice of supplies. When browsing different kitchen backsplash materials, think about your lifestyle—if you’re a heavy cook, a smooth subway tile is much easier to wipe down than something deeply textured. Also, I can’t stress enough how much a smart grout color selection guide can change your entire aesthetic. A grout that closely matches your tile creates a seamless, modern look, while a contrasting color can really make a geometric pattern pop. Take your time choosing; it’s the glue that holds your vision together!
Essential Tiling Tools Checklist for Diy Success
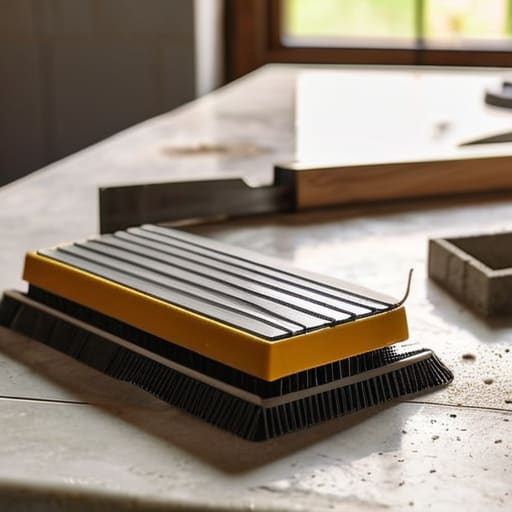
Before you dive in, let’s talk gear. I’ve learned the hard way that showing up to a project without the right kit is a recipe for frustration. Beyond the obvious stuff like a level and a tape measure, you’ll want a decent manual tile cutter or a wet saw if you’re working with tougher stone. Knowing how to cut tiles for backsplash projects accurately is what separates a DIY job that looks “homemade” from one that looks professional. I always keep my little notebook handy to jot down a quick shopping list so I don’t end up making three trips to the hardware store in one afternoon.
Don’t overlook the smaller essentials either. You’ll need notched trowels, spacers to keep those lines crisp, and a good sponge for cleanup. When you’re looking at different kitchen backsplash materials, remember that each one might require a specific type of setting material. I always recommend grabbing a few extra spacers than you think you’ll need; they’re cheap, and they save you a massive headache mid-project. Having a solid tiling tools checklist ready to go ensures you can focus on the creative side of things rather than running around hunting for a missing notched trowel.
Pro Tips to Save You From a Tiling Headache
- Don’t skip the “dry run.” Before you even touch the thin-set, lay your tiles out on the counter to see how the patterns and colors actually look together. It’s way easier to move a tile now than to realize you’ve made a mistake once the glue is drying.
- Invest in a decent spacer kit. I know it’s tempting to eyeball it to save a few bucks, but nothing kills the professional vibe of a kitchen faster than uneven grout lines. Consistency is your best friend here.
- Keep a damp sponge handy and work in small sections. If you let the thin-set dry on the surface of your tiles, it becomes a nightmare to clean, and you’ll end up with a messy, uneven finish.
- Remember that “measure twice, cut once” isn’t just a cliché—it’s a survival tactic. Double-check your measurements around electrical outlets especially; there’s nothing more frustrating than a tile that’s just a hair too big for the socket.
- Don’t rush the grouting phase. Let your tiles set fully before you start pushing grout into the cracks. If the adhesive is still soft, you’ll just end up pulling the tiles right off the wall, and we definitely don’t want a repeat of that!
Quick Wins for Your Backsplash Project
Don’t skip the prep work; a clean, level surface is the secret sauce to making sure your tiles actually stay put and look professional.
Measure twice and dry-lay your pattern before you even touch the mortar—it’s much easier to fix a layout mistake on the counter than it is once the glue is drying.
Take your time with the grout; it’s the finishing touch that ties everything together, so don’t rush the cleaning process if you want that polished, high-end look.
My Golden Rule for Tiling
“Look, you’re going to hit a few wonky tiles and maybe mess up a grout line, but don’t sweat it. Tiling isn’t about achieving sterile perfection; it’s about the grit you show during the prep work and the pride you feel when you finally see that transformed space staring back at you.”
Sarah Mitchell
You’ve Got This: Bringing It All Home
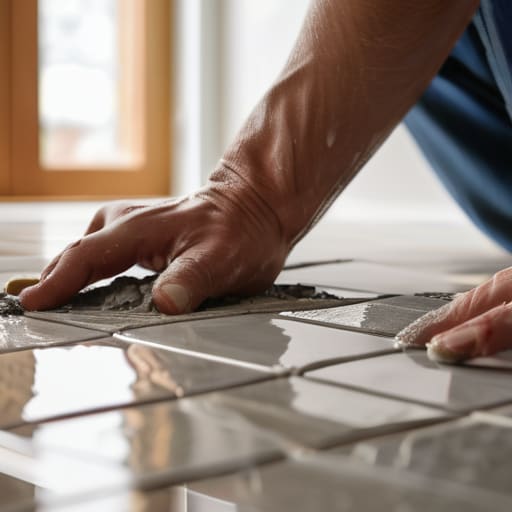
I know it can feel like a lot to juggle—from calculating your tile quantities and picking the perfect grout color to the actual, hands-on work of setting those tiles and cleaning up the excess. But if you take a second to look back at how far you’ve come, you’ll see that it all comes down to the fundamentals: a solid plan, the right tools, and a bit of patience during the grouting phase. Remember, it’s not about achieving flawless, showroom-quality perfection on your very first try; it’s about the satisfaction of knowing you took a messy, blank wall and transformed it into something functional and beautiful through your own hard work.
At the end of the day, whether you’re debugging a stubborn line of code or leveling a row of subway tiles, the most important skill you’re developing is resilience. There might be a slightly crooked tile or a bit of grout stuck in a corner, but those tiny imperfections are just part of the story of something you built with your own two hands. Don’t let a little bit of dust or a minor hiccup stop you from finishing what you started. Grab your notebook, take a deep breath, and go make that kitchen look incredible—I can’t wait to see what you create!
Frequently Asked Questions
How do I know if my kitchen wall is too uneven to start tiling, and what should I do if it is?
Before you dive in, grab a level or even just a marble. Roll it along the wall; if it’s zooming from one side to the other, you’ve got a problem. If the wall is wavy or bowed, don’t panic! You can usually fix this by applying a thicker layer of thin-set mortar to “float” the tiles, or by using a cement backer board to create a fresh, flat surface. A little prep now saves a massive headache later.
Should I use unsanded or sanded grout for my backsplash, especially if I'm using small mosaic tiles?
This is such a common question, and getting it wrong can actually ruin your hard work! For small mosaic tiles, you definitely want to go with unsanded grout. Since mosaics have those tiny, narrow joints, sanded grout is too coarse and can actually scratch the surface or get stuck in the gaps. Stick to unsanded for a smooth, professional finish that won’t frustrate you during the cleanup process!
How can I make sure I don't get grout stuck in the tiny crevices of my tile or around the edges of my outlets?
Honestly, grout cleanup is where most DIYers start to panic, but don’t sweat it! To keep those outlets clean, I always pop some painter’s tape around the edges of the electrical boxes before I even start. As for the tile crevices, the secret is timing. Wait until the grout is “thumbprint hard,” then use a damp (not soaking!) sponge to wipe the surface. It’s all about controlled moisture—too much water and you’ll just push the mess deeper.
