I was standing in my backyard last summer, staring at a pile of rotting vegetable scraps and feeling a massive sense of guilt, when I realized I was doing everything wrong. I had read so many complex guides that made it seem like you needed a PhD in biology or a high-tech laboratory to manage organic waste. But here’s the truth: you don’t need a fancy, expensive system to be sustainable. Learning how to make a compost bin is actually a lot like debugging a piece of code—it’s all about understanding the basic inputs and outputs to create a functional system. Once you strip away the jargon, it’s just a simple, rewarding DIY project that turns your kitchen scraps into garden gold.
In this guide, I’m skipping the fluff and the overly scientific lectures to give you a practical, no-nonsense blueprint. I’ll walk you through the best materials for a sturdy build, how to balance your “greens” and “browns” without the headache, and a few pro-tips I’ve picked up from my own woodworking and gardening mishaps. Whether you have a massive backyard or just a tiny patio, I’m going to show you how to build a system that actually works for your lifestyle.
Table of Contents
- Step-by-Step Instructions
- The Ultimate Compost Bin Materials List for Success
- Mastering Aeration Methods for Compost to Fuel Growth
- Pro-Tips from My Workbench: Avoiding the Common Compost Pitfalls
- Quick Wins for Your New Compost System
- Why I Love This Project
- Turning Scraps into Success
- Frequently Asked Questions
Guide Overview
Tools & Supplies
- Drill with wood screws bit for assembly
- Handsaw or circular saw for cutting wood
- Measuring tape for accurate dimensions
- Untreated cedar or pine boards (approx. 4-6 pieces)
- Galvanized wood screws (1 box)
- Hardware cloth or wire mesh (1 roll)
- Hinges (2 units for a lid)
Step-by-Step Instructions
- 1. First things first, you need to pick your spot and your “hardware.” Since I spend a lot of time in my workshop, I love using reclaimed wood, but if you want to keep it low-tech, even a few old plastic storage bins with holes drilled in them will work. Just make sure you find a patch of ground that gets a bit of sun but isn’t constantly soaking wet—you want a location that is easily accessible so you actually stick to the routine.
- 2. Once you’ve got your bin, it’s time to build your foundation. I always recommend starting with a thick layer of “browns”—think dried leaves, shredded cardboard, or even old newspaper. This creates a breathable base that allows for airflow, which is absolutely crucial to prevent your compost from getting smelly and anaerobic.
- 3. Now, let’s talk about the “greens.” This is where your kitchen scraps come in, like coffee grounds, vegetable peels, and fruit cores. Think of this like adding fuel to a fire; you want to layer these nitrogen-rich materials directly on top of your brown base. A good rule of thumb I use is to aim for a roughly 3:1 ratio of browns to greens to keep the chemistry balanced.
- 4. To keep the process moving efficiently, you need to aerate the mix. Just like how we optimize code to run more smoothly, you need to optimize your compost by turning it. Every week or so, grab a pitchfork or a sturdy shovel and give it a good toss. This introduces oxygen, which is the secret sauce that helps the microbes do their hard work.
- 5. Keep an eye on the moisture levels. You’re aiming for a consistency that feels like a wrung-out sponge. If it looks too dry, hit it with a little water; if it looks like a soggy mess, toss in some more shredded cardboard or dry leaves to soak up the excess. It’s all about finding that perfect equilibrium.
- 6. Finally, be patient and let the magic happen. Depending on the weather and how often you turn it, you’ll start seeing dark, crumbly, earthy-smelling material at the bottom. When it looks like rich soil and you can’t recognize the original scraps anymore, you’ve officially successfully “debugged” your waste and created garden gold!
The Ultimate Compost Bin Materials List for Success
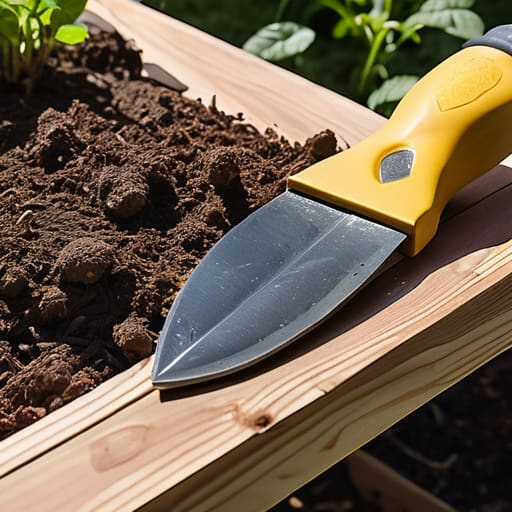
Before you start grabbing tools from your garage, let’s talk about what actually goes into a solid compost bin materials list. Since I spend a lot of my weekends upcycling old wooden pallets, I’ve learned that the quality of your build dictates how much work you’ll have to do later. You don’t need anything fancy, but you do need durability. I always recommend using untreated cedar or heat-treated pallets; you want to avoid anything chemically treated, as those toxins can leach into your soil and mess with your plants.
While you’re gathering your supplies, keep an eye on your space. Determining the right compost bin dimensions for backyard use is a bit of a balancing act. You need it large enough to generate sufficient heat for the microbes to do their thing, but not so massive that it becomes an eyesore or a chore to turn. I usually aim for a bin that’s at least three feet cubed. This size is the “sweet spot” for maintaining the internal temperature needed to keep that decomposition process moving along smoothly without much extra effort from you!
Mastering Aeration Methods for Compost to Fuel Growth
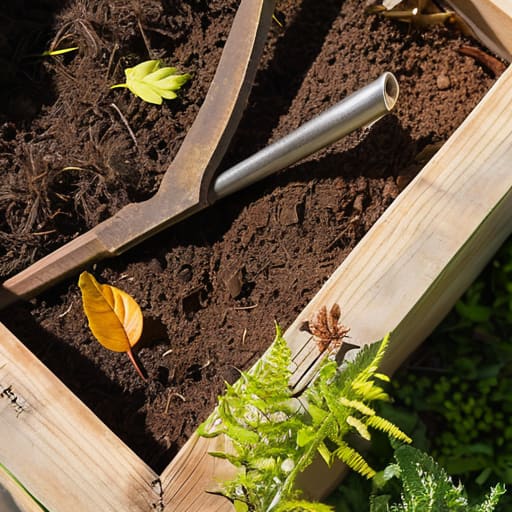
Once you’ve got your structure built and your materials ready, the real magic happens when you manage the air supply. Think of your compost pile like a living organism; it needs to breathe to stay healthy. If it gets too packed down or soggy, it’ll start to smell pretty funky, which is a sign that you’ve lost control of the oxygen levels. To prevent this, I always recommend experimenting with different aeration methods for compost, like using a garden fork to turn the pile every week or even drilling extra ventilation holes along the sides of your bin.
If you find that you’re running low on space or want to try something a bit more “high-tech” and controlled, you might want to look into a vermicomposting setup guide to see if red wiggler worms are more your speed. They do a lot of the heavy lifting for you! Whether you’re using a traditional bin or a worm farm, the goal is the same: keeping the air flowing to ensure the decomposition process explained earlier stays on track. A little bit of regular turning goes a long way in turning those scraps into black gold.
Pro-Tips from My Workbench: Avoiding the Common Compost Pitfalls
- Location is everything! I always tell my friends to pick a spot that’s easy to access but has good drainage. You don’t want to be lugging heavy buckets of scraps across the entire yard every single day, and you definitely don’t want a soggy mess sitting in a low spot in your garden.
- Think like a coder—balance your inputs. Just like a good piece of software needs the right mix of logic and data, your compost needs a balance of “greens” (nitrogen-rich scraps) and “browns” (carbon-rich materials like dried leaves). If it smells, you’ve got too many greens; if nothing is happening, add more browns.
- Size matters for heat retention. While a tiny bin is easy to manage, a slightly larger footprint helps the pile retain the internal heat necessary to break down organic matter quickly. If your bin is too small, it’ll struggle to stay “active” enough to do the heavy lifting for you.
- Keep a “cheat sheet” nearby. I actually keep a little note in my project notebook of what can and cannot go into my bin. It prevents those accidental “bugs” in your system, like adding meat or dairy, which can attract unwanted critters and throw your whole ecosystem off balance.
- Don’t be afraid to get your hands dirty with moisture control. Your compost should feel like a wrung-out sponge—damp, but not dripping. If it’s too dry, the microbes can’t do their job; if it’s too wet, you’ll end up with a smelly, anaerobic mess. A quick spray with the hose now and then works wonders.
Quick Wins for Your New Compost System
Don’t overthink the setup—whether you’re building a high-tech bin or a simple DIY wooden crate, the most important thing is getting your green and brown ratios right from day one.
Consistency is your best friend; just a quick five-minute aeration session once a week will prevent odors and keep your microbial “engine” running smoothly.
Treat your compost like a living project—keep a little notebook (just like mine!) to track what you’re adding so you can troubleshoot and optimize your garden gold over time.
Why I Love This Project
“Building a compost bin is a lot like writing clean code: it’s all about taking raw, messy inputs and, through a bit of patience and the right structure, transforming them into something incredibly efficient and valuable.”
Sarah Mitchell
Turning Scraps into Success
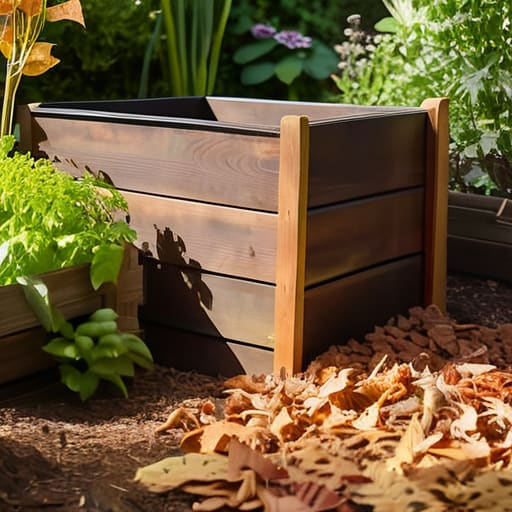
Building your own compost bin might feel like a massive undertaking at first, but once you’ve gathered your materials and mastered the art of aeration, you’ll realize it’s just another rewarding project to add to your toolkit. We’ve covered everything from selecting the right structural components to ensuring your pile stays oxygenated and healthy. Remember, the secret isn’t in having a perfect, store-bought system; it’s about finding the right balance of organic matter and staying consistent with your maintenance. By applying a little bit of that engineering mindset—monitoring your inputs and adjusting your process—you’re setting yourself up for a high-yield, sustainable cycle that works for you.
At the end of the day, composting is about more than just reducing waste; it’s about seeing the potential in things others might throw away. Whether you’re applying these principles to your garden or using a similar “upcycling” logic to tackle a new coding language or a woodworking project, the goal is the same: growth through intentional action. Don’t be afraid to get your hands a little dirty or make a few mistakes along the way. Every small step you take toward sustainability and self-sufficiency is a win. Now, grab your notebook, head out to the backyard, and let’s start building something amazing together!
Frequently Asked Questions
How do I know if my compost pile is getting too wet or too dry?
Think of your compost pile like a well-maintained piece of software—it needs the perfect balance to run smoothly! A good rule of thumb is the “squeeze test.” Grab a handful of material (wear gloves, obviously!) and squeeze. If it’s dripping like a soaked sponge, it’s too wet; add some dry “browns” like shredded cardboard. If it feels like dry sawdust and won’t hold any shape, it’s too dry—just give it a quick sprinkle of water.
Are there any specific kitchen scraps I should definitely avoid throwing in?
Great question! This is where people usually trip up. To keep your bin from smelling like a swamp, definitely steer clear of meat, dairy, and oily foods—they’re basically an invitation for unwanted pests. Also, skip the pet waste and any cooked scraps with heavy salt or vinegar. Think of your compost like a delicate codebase; you want clean inputs to avoid a total system crash! Stick to veggie scraps and coffee grounds for a smooth process.
How long does it actually take before I’ll see usable compost ready for my garden?
I know the feeling—you’ve put in all this work and you’re just itching to get that “black gold” into your garden beds! Honestly, it’s a bit of a waiting game. If you’re diligent about turning your pile and keeping it moist, you could see results in as little as three to six months. If you take a more hands-off, “set it and forget it” approach, it might take a year or more. Patience is key!
