I was halfway through sanding down a vintage mid-century dresser I’d picked up at a thrift store when I caught sight of it: a jagged, unsightly puncture in the drywall of my hallway, likely from moving my heavy woodworking tools last month. It’s one of those moments where you just want to throw your hands up and call a professional, thinking that learning how to patch a hole in the wall is going to require a degree in construction or a massive budget. But here’s the truth I’ve learned through years of DIY projects: most wall damage looks way more intimidating than it actually is, and you definitely don’t need a contractor to fix it.
In this guide, I’m stripping away the jargon and the unnecessary complexity to give you a straightforward, step-by-step roadmap. Whether you’re dealing with a tiny nail hole or a larger dent from a bumped furniture corner, I’ll walk you through exactly which tools to grab and how to get a finish so smooth it looks like the damage never happened. My goal is to help you tackle this repair with total confidence, saving you money and proving that a little bit of patience goes a long way.
Table of Contents
- Step-by-Step Instructions
- Choosing Your Tools Drywall Joint Compound vs Spackle
- The Small Fix Using a Drywall Patch Kit for Small Holes
- Pro Tips to Keep Your Patch from Looking Like a Total Eyesore
- Quick Tips to Nail Your Next Repair
- ## A Little Perspective on the Imperfect
- You've Got This: Final Thoughts on a Flawless Finish
- Frequently Asked Questions
Guide Overview
Tools & Supplies
- Putty knife for spreading compound
- Sanding block for smoothing surfaces
- Spatula or utility knife for cleaning edges
- Spackle or joint compound (1 small tub)
- Patch kit or mesh tape (1 pack)
- Sandpaper (medium and fine grit)
- Interior paint (1 small sample pot)
Step-by-Step Instructions
- 1. First things first, you need to prep the area. Grab a utility knife and carefully trim away any loose bits of drywall or torn paper around the edges of the hole. You want the perimeter to be relatively smooth and clean, otherwise, your patch will end up looking like a lumpy mess once you start applying the compound.
- 2. Once the area is cleaned up, it’s time to decide if you need a patch or just some filler. For tiny nail holes, a little bit of spackle will do the trick, but if you’re looking at something bigger—like where a door handle decided to make an unannounced appearance—you’ll want to use a self-adhesive mesh patch. Just center it over the hole and press it firmly against the wall so it stays put.
- 3. Now, grab your putty knife and a tub of joint compound. Apply a thin layer of the compound over the patch, spreading it outward from the center. The trick here is to feather the edges—this means you want to apply more pressure as you move away from the hole so the compound gets thinner and thinner until it blends seamlessly with the rest of the wall.
- 4. This part requires a little bit of patience, which I know can be tough when you just want the project done. Let the compound dry completely according to the package instructions. If you notice any deep divots or uneven spots once it’s dry, don’t panic; just apply a second, even thinner coat to level everything out.
- 5. Once you’re totally dry, it’s time for the sanding phase. Use a fine-grit sanding sponge to gently smooth out the patched area. You want to sand until you can’t even feel the transition between the patch and the original wall with your fingertips. Pro tip: Wear a mask and maybe lay down a drop cloth, because drywall dust gets everywhere—trust me, I’ve learned that the hard way in my own workshop.
- 6. Before you even think about touching a paintbrush, wipe the area down with a slightly damp cloth to remove every last bit of dust. If you leave dust behind, your paint won’t stick properly, and you’ll end up with a texture that looks totally off. You want a perfectly clean surface before moving to the final step.
- 7. Finally, it’s time for the most satisfying part: painting! If your wall has a specific texture or color, try to dab the paint on slightly rather than doing one long, heavy stroke. This helps the new paint mimic the surrounding area so the repair becomes virtually invisible to the naked eye.
Choosing Your Tools Drywall Joint Compound vs Spackle
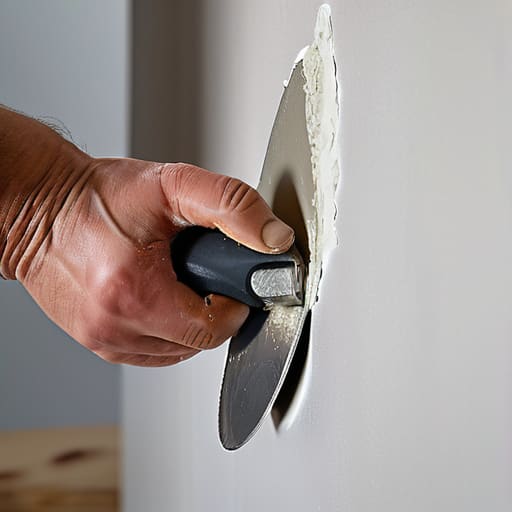
Before you head to the hardware store, you need to decide which “goop” is right for your specific project. I always tell my friends that the biggest mistake people make is grabbing the wrong bucket for the job. If you’re just dealing with a tiny nail hole or a minor scuff, a drywall patch kit for small holes is your best friend. These kits usually come with a lightweight spackle that’s incredibly easy to use; it dries fast and shrinks very little, which means less frustration for you later.
However, if you’re tackling something more significant, like a dent from a moving box or a hole from a doorknob, you’ll want to look into drywall joint compound vs spackle. While spackle is great for quick fixes, joint compound is much more forgiving for repairing large drywall damage. It has a smoother, more buttery consistency that allows you to build up layers without it cracking or pulling away from the edges. Just keep in mind that compound takes a bit longer to dry, so you’ll need to plan your afternoon accordingly!
The Small Fix Using a Drywall Patch Kit for Small Holes
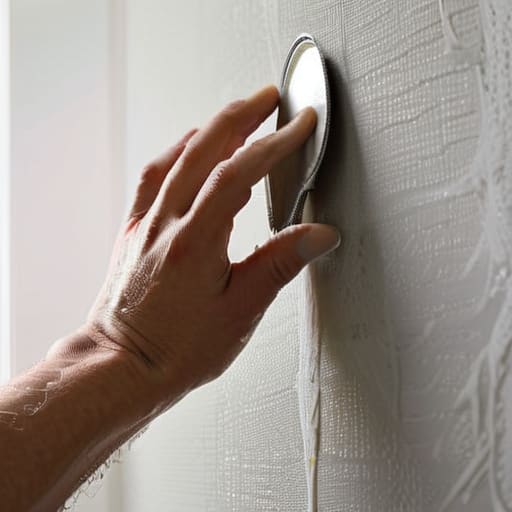
Now, if you’re staring at a tiny puncture from a door handle or a stray nail and feeling a bit overwhelmed, I have some good news: you don’t need to go full-scale construction mode. For those little imperfections, I always recommend picking up a drywall patch kit for small holes. These kits are absolute lifesavers because they come with everything you need—usually a self-adhesive mesh patch and a small tub of compound—all bundled together. It takes the guesswork out of the process and is way faster than trying to mix your own batch of compound for a tiny spot.
When you’re working with these kits, the secret to a professional finish lies in the spackling compound application. You want to apply thin, even layers rather than trying to fill the hole all at once. If you go too heavy, you’ll end up with a mountain of goop that’s a nightmare to level out. Once it’s completely dry, take your time with how to sand drywall smooth using a fine-grit sanding sponge. A little patience here ensures that once you hit it with a coat of paint, the repair becomes practically invisible.
Pro Tips to Keep Your Patch from Looking Like a Total Eyesore
- Don’t be afraid to sand more than you think you need to. I’ve learned the hard way that if you don’t sand those edges until they’re perfectly flush with the rest of the wall, you’ll see a weird “bump” even after you’ve painted.
- Work in thin layers rather than trying to fill the whole hole at once. It’s tempting to go big to get it done faster, but applying multiple thin coats of spackle actually dries smoother and prevents that annoying cracking that happens when you use too much at once.
- Keep a damp sponge handy to wipe away any excess compound before it fully dries. It’s a lifesaver for cleaning up the edges of your patch, and it saves you a massive amount of sanding time later on.
- Always test your paint color on a scrap piece or a hidden corner first. Even if you think you have the exact match for your wall color, the texture of the new patch can sometimes catch the light differently, so a quick test run will save you a lot of frustration.
- Take your time with the “feathering” technique. When you’re applying the compound, spread it out slightly wider than the hole itself, thinning it out as you move away from the center. This makes the transition from the patch to the wall almost invisible to the naked eye.
Quick Tips to Nail Your Next Repair
Don’t overcomplicate it—the “right” tool really just depends on the size of the damage, so save yourself the headache by matching your spackle or compound to the scale of the hole.
Patience is your best friend when it comes to drying times; I’ve learned the hard way that rushing to sand a wet patch only leads to a messy, uneven finish.
Treat every little hole as a confidence builder, because once you master these basic fixes, you’ll feel way more empowered to tackle the bigger DIY projects around your home.
## A Little Perspective on the Imperfect
“Whether it’s a bug in your code or a literal hole in your drywall, don’t let the imperfection stall your progress; the real skill isn’t in having a flawless space, but in having the confidence to step in, grab your tools, and fix what’s broken.”
Sarah Mitchell
You've Got This: Final Thoughts on a Flawless Finish
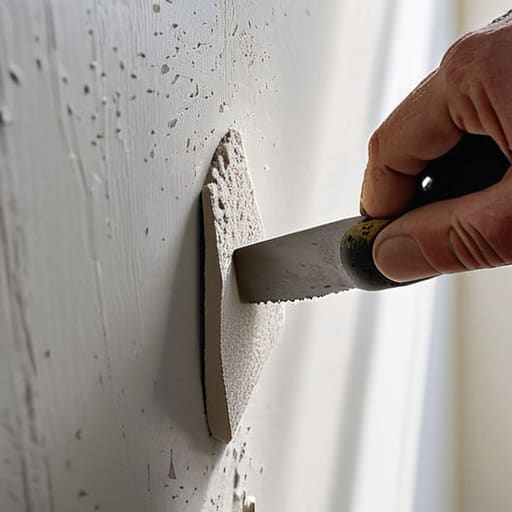
At the end of the day, patching a hole in your wall really comes down to choosing the right tool for the job and having a little bit of patience. Whether you decided to go with a quick-fix patch kit for those tiny accidental nicks or opted for the more robust approach of using joint compound and a putty knife for larger gaps, the principle remains the same: prep work is everything. Remember to sand your surfaces smooth and don’t be afraid to apply a second thin coat if the first one looks a little uneven. It might feel a bit messy while you’re in the middle of it, but once that compound is dry and your paint is applied, you’ll realize that mastering these small repairs is much easier than it looks when you’re staring at a damaged wall for the first time.
I know that DIY projects can sometimes feel a little intimidating, especially when you’re worried about making a mistake that’s hard to undo. But honestly? That’s how we learn. Every time you pick up a tool and tackle a task that used to feel “too much,” you’re building more than just a repaired house; you’re building genuine self-reliance. Whether you’re debugging a complex line of code or smoothing out a patch of drywall, the mindset is identical: take it one step at a time, stay curious, and don’t be afraid to get your hands a little dirty. You’re doing great, and I can’t wait to see what you tackle next!
Frequently Asked Questions
How do I know if the hole is too big for a simple patch and actually requires replacing a whole section of drywall?
Honestly, I’ve been there—staring at a gap and wondering if I’m about to commit a DIY disaster. A good rule of thumb? If the hole is larger than a fist or if the surrounding drywall feels soft or crumbly, a simple patch won’t cut it. If you’re looking at a massive chunk missing from a corner or a structural area, it’s time to grab some new drywall sheets. Better to do it right than to keep patching a sinking ship!
Once the compound is dry, how can I sand it down so the patch is completely invisible and doesn't show through the paint?
Now comes the part that requires a little patience, but I promise it’s worth it! To get that seamless, invisible finish, grab a fine-grit sanding sponge—I usually swear by 220-grit. Use light, circular motions to level the patch until you can’t feel the edge with your fingertips. Pro tip: wipe away the dust with a damp cloth before painting; otherwise, that fine powder will mess with your finish!
What’s the best way to match the texture of my existing wall so my repair doesn't look like a smooth, flat spot in a bumpy room?
This is where most DIYers get nervous, but don’t sweat it! To avoid that “smooth patch” look, you’ll want to mimic the pattern of your existing wall. If you have a light knockdown or orange peel texture, grab a spray-on texture aerosol from the hardware store. Just a light, even mist over the compound while it’s still slightly tacky works wonders. If you’re feeling crafty, even a damp sponge or a stiff brush can help recreate those bumps manually!
