I was standing in my backyard last spring, staring at a heap of tangled, sad-looking tomato vines that were basically just suffocating on the ground, when it hit me: I didn’t need a professional landscaper or a massive budget to fix this. Most people think you need expensive, pre-fabricated structures from a big-box store to keep your plants upright, but honestly? That’s just a waste of money. I’ve learned that figuring out how to build a garden trellis is actually one of the most satisfying ways to bridge the gap between your tech-heavy workday and some much-needed time in the dirt.
In this guide, I’m stripping away all the fluff and getting straight to the practical mechanics of building something sturdy and beautiful. Whether you’re working with scrap wood from an old furniture project or some simple cedar slats, I’ll walk you through exactly how to construct a support system that won’t collapse under the weight of a summer harvest. We’re going to focus on smart, durable designs that look great in your garden and actually last, so you can spend less time fixing broken stakes and more time enjoying your hard work.
Table of Contents
- Step-by-Step Instructions
- Mastering Wooden Trellis Design Ideas for Your Space
- Essential Garden Trellis Materials List for Success
- Pro-Tips from My Workshop: Making Your Trellis Last
- Quick Wins for Your Trellis Project
- ## The Heart of the Project
- Final Thoughts Before You Hit the Garden
- Frequently Asked Questions
Guide Overview
Tools & Supplies
- Measuring tape for accurate wood cuts
- Handsaw or miter saw for cutting lumber
- Drill with bits for making pilot holes
- Screwdriver or drill driver for fastening
- Cedar or pressure-treated wood stakes (4 units)
- Wood slats or bamboo canes (10-15 units)
- Exterior grade wood screws (1 box)
- Garden staples or wire (1 roll)
Step-by-Step Instructions
- 1. First things first, you’ll need to head to your local hardware store and grab your supplies. I usually go for untreated cedar because it’s naturally rot-resistant, which is a huge lifesaver when it’s sitting in damp soil. You’ll also want some galvanized screws (so they don’t rust on you!), a drill, a saw, and some sturdy twine or wire to create the lattice pattern.
- 2. Once you’re back in your workspace, it’s time to cut your wood. I like to start by cutting two long, sturdy pieces to serve as the vertical side rails. Depending on the plants you’re growing—like jasmine or climbing roses—you might want these to be anywhere from four to six feet tall. Measure twice and cut once, as my dad used to say, because there’s nothing more frustrating than a crooked frame.
- 3. Now, let’s build the frame. Lay your two long side rails on your workbench and place two shorter horizontal pieces across the top and bottom to create a rectangle. I find that using a speed square here is a total game-changer to ensure everything is perfectly 90 degrees. Once they’re aligned, go ahead and pre-drill your holes to prevent the wood from splitting, then drive those galvanized screws in tight.
- 4. This is where the “trellis” part actually happens! You have a few options here, but I personally love the look of a classic diamond lattice. You can either use thin wooden slats or, if you want to keep it super simple, just use heavy-duty garden twine. If you’re going the twine route, wrap it around your frame in a crisscross pattern, pulling it taut so it doesn’t sag once your heavy vines start climbing.
- 5. Before you get too attached to the design, take a second to check the stability. If you’re planning on growing something heavy, like a beefsteak tomato or a thick wisteria, you’ll want to reinforce the joints with a little extra wood glue or even small metal brackets. You don’t want your hard work to come crashing down mid-summer!
- 6. Finally, it’s time to get your hands dirty and install it. I usually drive a couple of wooden stakes into the ground right next to where I want the trellis to sit, then zip-tie or screw the frame to those stakes. This gives it that extra bit of security against wind and heavy rain. Once it’s upright and steady, you’re officially ready to plant your climbers and watch the magic happen!
Mastering Wooden Trellis Design Ideas for Your Space
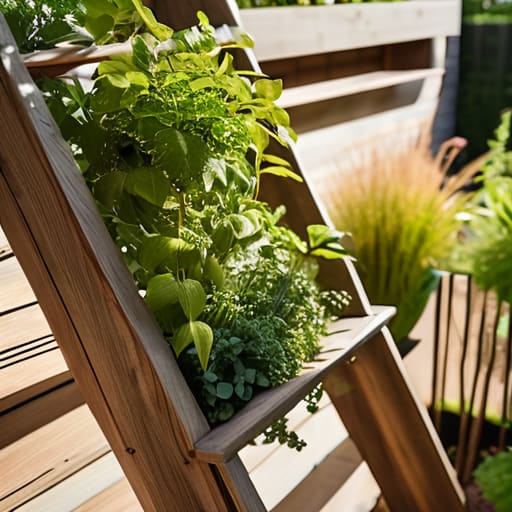
Once you’ve got the basic construction down, I love to play around with different wooden trellis design ideas to really make the garden pop. If you’re working with a smaller patio or a balcony, I highly recommend leaning into vertical gardening techniques. Instead of a traditional flat lattice, try building a series of staggered wooden frames or even a sculptural A-frame. It adds so much dimension to the space without taking up your precious floor real estate. I actually found that using reclaimed cedar from an old fence worked beautifully for a more rustic, upcycled look that blended right into my backyard.
Another thing I always consider is what you’re actually planning to grow. If you’re looking at trellis installation for vegetables like cucumbers or pole beans, you’ll want something much sturdier and more robust than what you’d use for delicate flowering vines. Heavy hitters need thicker support beams to handle the weight as they mature. My best advice? Always overbuild slightly. It’s much better to have a frame that’s a bit too strong than to watch your hard work collapse under a heavy harvest!
Essential Garden Trellis Materials List for Success
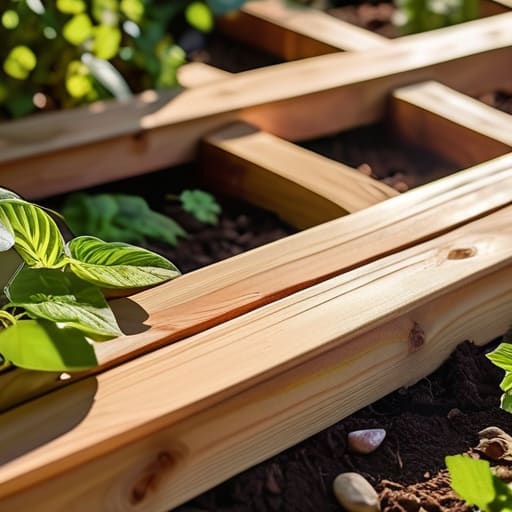
Before you head to the hardware store, I always find it helpful to jot down a quick list in my notebook so I don’t end up with a half-finished project and a trunk full of extra lumber. For a standard build, you’ll want to prioritize durability. I usually opt for cedar or redwood because they have a natural resistance to rot, which is a lifesaver if you’re planning on using these as climbing plant support structures for years to come. If you’re on a tighter budget, pressure-treated pine works fine, but just make sure you’re comfortable with the chemicals used in the treatment process.
Don’t forget the small stuff that actually holds everything together! High-quality exterior-grade screws are a non-negotiable for me; nothing kills my momentum like a stripped screw or a rusted joint halfway through a weekend project. You’ll also want some heavy-duty garden twine or even some galvanized wire if you’re looking to implement more advanced vertical gardening techniques. Having a solid garden trellis materials list ready to go ensures that once you start building, you can actually finish the job without a mid-project trip back to the store.
Pro-Tips from My Workshop: Making Your Trellis Last
- Don’t skimp on the wood treatment. Since this thing is going to be sitting in the dirt and getting soaked by rain, I always recommend using cedar or redwood. If you’re on a budget with standard pine, make sure you hit it with a good quality, non-toxic outdoor sealant so it doesn’t rot away by next season.
- Think about your climbers before you start drilling. A heavy wisteria needs a much beefier structure than a delicate sweet pea. If you’re planning on growing something substantial, go thicker on your support posts so the whole thing doesn’t lean or collapse under the weight.
- Give your plants some “breathing room.” When you’re designing the lattice or the spacing of your slats, leave enough gaps for airflow. If the foliage gets too packed and stagnant, you’re basically inviting mold and pests to move in, which is the last thing you want.
- Secure your base like a pro. There’s nothing more frustrating than finishing a beautiful project only to have it blow over in the first summer storm. I like to sink my main posts at least a foot into the ground or use heavy-duty ground anchors to keep everything steady.
- Keep it modular for future-proofing. One thing I’ve learned from my woodworking projects is that life changes! If you build your trellis in sections or use clever joinery, it’s way easier to expand it or move it around if you decide to redesign your garden layout later on.
Quick Wins for Your Trellis Project
Don’t overthink the design—start with something simple like a basic rectangular frame to build your confidence before tackling more intricate geometric patterns.
Invest in quality, weather-resistant wood or treated materials from the jump; it’ll save you a massive headache (and extra trips to the hardware store) when the rainy season hits.
Always measure twice and pre-drill your holes to prevent the wood from splitting, especially if you’re working with smaller pieces or reclaimed timber.
## The Heart of the Project
“At the end of the day, building a trellis isn’t just about giving your climbing plants a place to grow; it’s about that incredible feeling of taking a few raw pieces of wood and turning them into something functional and beautiful that you built with your own two hands.”
Sarah Mitchell
Final Thoughts Before You Hit the Garden
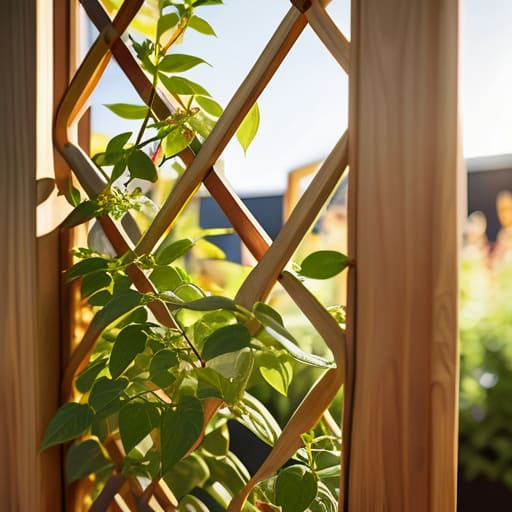
Building your own trellis might have felt a little daunting when we first started, but look at how far you’ve come! From selecting the right weather-resistant wood and gathering your essential tools to sketching out a design that actually fits your garden’s unique vibe, you’ve done the heavy lifting. Remember, the secret to a successful DIY project isn’t about achieving absolute perfection on the first try; it’s about the process of creating something functional with your own two hands. Whether you went with a classic arched design or something a bit more modern and geometric, you now have a sturdy, custom structure that’s ready to support your climbing vines and flowers through the growing season.
As you step outside to install your new creation, I want you to take a second to appreciate what you’ve accomplished. There is something incredibly grounding about working with wood and seeing a project move from a simple sketch in my notebook to a physical part of your landscape. I truly believe that when we take the time to build things ourselves, we develop a much deeper connection to our homes and our skills. So, grab your gardening gloves, get those plants settled, and embrace the joy of growing something beautiful. I can’t wait to see how your garden transforms!
Frequently Asked Questions
What kind of wood should I use if I want the trellis to last more than one season without rotting?
If you’re looking to avoid the heartbreak of a rotting trellis by next spring, skip the cheap pine and go for something with natural resilience. I always recommend cedar or redwood; they have built-in oils that fight off decay and insects beautifully. If you’re on a tighter budget, pressure-treated lumber is a solid, pragmatic choice that’ll definitely stand up to the elements. Just grab a good exterior-grade sealant to give it that extra layer of protection!
How do I make sure my trellis is sturdy enough to hold up heavy climbing plants like wisteria or ivy?
That is such a great question! If you’re planning on growing something heavy like wisteria, you can’t just rely on thin bamboo stakes. I always recommend using thicker, pressure-treated lumber—think 2x2s or even 2x4s—and ensuring your support posts are sunk at least 18 inches into the ground with some gravel or concrete. It’s all about that solid foundation; if the base is rock-solid, your climbers can grow as big as they want!
Is it better to anchor my trellis directly into the ground or should I use a free-standing frame?
That’s a great question, and honestly, it depends on what you’re growing! If you’re planning on heavy climbers like wisteria or even just some beefy clematis, I’d definitely recommend anchoring it directly into the ground with sturdy stakes. It gives you that much-needed stability. However, if you’re working with lighter vines or want to move things around seasonally, a free-standing frame is a much more flexible, low-stress option for your garden.
