I was standing in my kitchen last summer, staring at my outdated, honey-oak cabinets with a mix of dread and determination, wondering if I was about to make a massive mistake. I’d seen so many DIY tutorials that made the process look like a breeze, but I also knew the reality: most people end up with a streaky, peeling mess that looks worse than the original wood. The truth is, learning how to paint kitchen cabinets isn’t about having a magic touch; it’s about systematic preparation and choosing the right tools. It’s a lot like debugging a complex piece of code—if your foundation is messy, the final product is never going to run smoothly.
In this guide, I’m stripping away the fluff and giving you the exact, no-nonsense workflow I use in my own workshop. I’ll walk you through everything from the deep cleaning phase to the final topcoat, ensuring you avoid those common pitfalls that lead to chipped edges. My goal is to give you the practical confidence you need to tackle this project yourself, transforming your kitchen without breaking the bank or losing your mind. Let’s get to work!
Table of Contents
- Step-by-Step Instructions
- The Ultimate Cabinet Painting Supplies Checklist
- Mastering How to Prep Cabinets for Painting
- Pro Secrets for a Flawless Finish (That the Pros Won't Tell You)
- Quick Wins: My Top Tips for a Flawless Finish
- The Secret to a Professional Finish
- The Final Reveal: Your Kitchen's New Chapter
- Frequently Asked Questions
Guide Overview
Tools & Supplies
- Screwdriver for removing hardware
- Sandpaper (120-220 grit) for smoothing surfaces
- Microfiber cloth for dust removal
- Angled synthetic brush for detail work
- Small foam roller for smooth finishes
- Degreaser or TSP for cleaning
- Wood primer (1-2 gallons)
- Cabinet-grade paint (1-2 gallons)
- Painter's tape for masking edges
- Drop cloths to protect floors
Step-by-Step Instructions
- 1. First things first, you’ve got to clear the deck. I know, it sounds tedious, but you really need to remove all the doors and drawers from the cabinet frames. While you’re at it, take off all the hardware—knobs, pulls, and even the little hinges if you can. Pro tip: I always grab a small plastic bag and label everything with masking tape so I know exactly where each screw and hinge belongs when it’s time to put it all back together.
- 2. Now, let’s talk about the most important (and honestly, most overlooked) part: cleaning. Kitchen cabinets are basically magnets for grease and cooking oils, and if you don’t get that gunk off, your new paint will just peel right off. Grab a heavy-duty degreaser like TSP (trisodium phosphate) and scrub every single inch of the wood. You want those surfaces to be completely spotless before we move on to the next phase.
- 3. Once everything is dry, it’s time to smooth things out. Take a sanding block or an orbital sander and lightly sand the entire surface. You aren’t trying to sand through the wood; you’re just looking to scuff up the existing finish so the new paint has something to “bite” into. If you see any deep scratches or dents, fill them with a bit of wood filler now. It’s much easier to fix a mistake during the sanding stage than after you’ve applied three coats of paint.
- 4. After you’ve sanded, you absolutely cannot skip the priming step. I can’t stress this enough: use a high-quality primer specifically designed for cabinetry. If you’re working with darker wood or a tricky surface, a primer acts as the ultimate barrier that prevents stains from bleeding through your beautiful new color. Just wipe away all the dust with a tack cloth first so you’re working on a perfectly clean surface.
- 5. This is where the magic actually happens. Grab your high-quality brushes and rollers—and please, don’t skimp on the tools here. Start by “cutting in” with a brush around the edges and corners, then use a small foam roller for the flat surfaces to minimize brush strokes. Apply your first coat in thin, even layers. It’s tempting to try and cover everything in one go, but trust me, multiple thin coats will always look way more professional than one thick, gloopy one.
- 6. Patience is your best friend here. Once your first coat is dry, lightly sand it again with a very fine-grit sandpaper to knock down any tiny bumps, wipe it clean, and then apply your second coat. Depending on the color you chose, you might need a third. The goal is to achieve a finish that feels smooth to the touch and looks like it came straight from a factory.
- 7. Finally, the “reward” phase! Once the paint is fully cured (and I mean really dry—don’t rush this!), reattach your hinges and hardware. I love this part because it’s when the kitchen finally starts to feel like a brand-new space. Take a moment to step back and admire your work; you’ve just saved yourself thousands of dollars and completely transformed your home.
The Ultimate Cabinet Painting Supplies Checklist
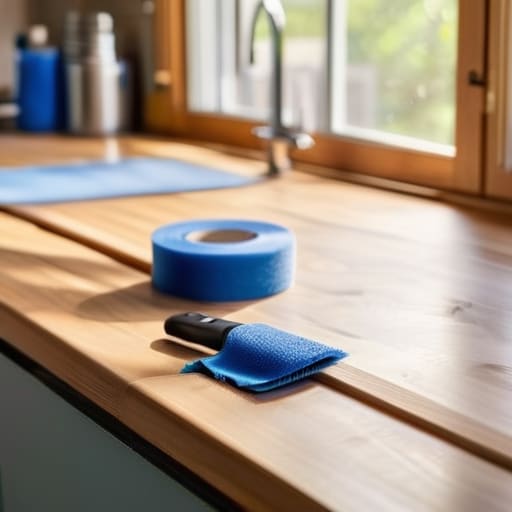
Before you dive into the actual work, let’s get your workspace organized. I’ve learned the hard way that nothing kills your momentum like realizing you’re halfway through a door and realize you’ve run out of painter’s tape. My personal cabinet painting supplies checklist always starts with the basics: high-quality microfiber cloths, a reliable degreaser, and plenty of painter’s tape. But if you want that factory-smooth finish, don’t skimp on the tools. I highly recommend investing in a high-density foam roller and a professional-grade synthetic brush; it makes a world of difference when you’re focused on preventing brush marks on cabinets.
One thing I often tell my mentees when they’re tackling a big DIY project is that your results are only as good as your foundation. This is especially true when deciding between cabinet primer vs paint. You can’t just slap color over old grease and expect it to stick! You’ll need a dedicated primer designed specifically for cabinetry to ensure everything adheres properly. Think of it like writing clean code—if your underlying structure is messy, the final product will always have bugs. Taking the time to gather the right gear now ensures your kitchen refresh looks professional rather than “DIY-ish.”
Mastering How to Prep Cabinets for Painting
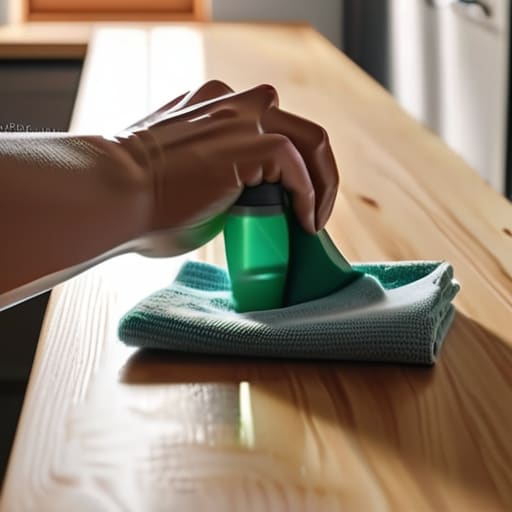
I’ve learned the hard way through a few failed woodworking projects that you can’t just slap a coat of paint over old grease and grime and expect it to stick. If you want a professional finish, you have to realize that how to prep cabinets for painting is actually about 80% of the total job. I always tell my clients that skipping the deep clean is the fastest way to end up with peeling paint in six months. Use a heavy-duty degreaser to get into every nook and cranny; if the surface isn’t chemically clean, even the best paint for kitchen cabinets won’t be able to bond properly.
Once the surfaces are bone-dry, it’s time to talk about smoothing things out. You don’t need to sand everything down to raw wood, but you absolutely need to scuff the existing finish to create “teeth” for the new layer. I personally swear by specific cabinet sanding techniques, like using a fine-grit sanding sponge to get into those tricky corner joints. It might feel tedious, but this step is what ultimately prevents those annoying imperfections and ensures your final result looks like it came straight from a high-end showroom.
Pro Secrets for a Flawless Finish (That the Pros Won't Tell You)
- Don’t rush the drying time between coats. I know it’s tempting to get the job done so you can finally use your kitchen again, but if you apply a second coat too soon, you’ll end up with tacky, gummy paint that ruins the whole look. Patience is your best friend here.
- Invest in a high-quality microfiber roller. If you’re using those cheap foam rollers from the discount bin, you’re going to see tiny bubbles everywhere. A good microfiber roller helps you get that smooth, factory-like finish that makes people wonder if you actually hired a professional.
- Work in small, manageable sections. Instead of trying to tackle an entire upper cabinet at once, focus on one door or one frame at a time. It keeps the wet edges from overlapping and prevents those annoying lap marks that are a nightmare to sand out later.
- Keep a “dust patrol” mindset. Even if you’ve cleaned everything perfectly, a tiny bit of sawdust or pet hair can settle on your fresh paint. Keep a tack cloth or a damp microfiber cloth handy to do a final, super-light wipe-down right before the brush touches the wood.
- Don’t skip the final inspection with a bright light. Once a section is dry, grab a flashlight or a work lamp and shine it across the surface at an angle. This is the best way to catch any drips, runs, or uneven spots while they’re still fresh enough to fix easily.
Quick Wins: My Top Tips for a Flawless Finish
Don’t rush the prep work—I know it’s the most tedious part, but skipping the sanding or cleaning is the fastest way to end up with a peeling mess later on.
Invest in quality tools over quantity; a high-quality brush or microfiber roller will save you hours of frustration and prevent those annoying brush marks.
Patience is your best friend when it comes to drying times—always give each coat a chance to fully set before adding the next layer to ensure a smooth, professional look.
The Secret to a Professional Finish
“I’ve learned through both coding and woodworking that the magic isn’t really in the paint itself, but in the patience you put into the prep work; if you respect the process, your kitchen will reward you with a finish that looks like it came straight from a showroom.”
Sarah Mitchell
The Final Reveal: Your Kitchen's New Chapter
I know it probably feels like you’ve just finished a marathon, but take a second to look at what you’ve accomplished. We’ve covered everything from gathering the right supplies to that all-important, tedious prep work that really makes or breaks the finish. Remember, the secret to a professional-looking result isn’t some magic trick; it’s all about patience and precision during the sanding and priming stages. If you followed the steps we talked about—especially focusing on cleaning those surfaces thoroughly—you’ve already done the hardest part of the job. Now, it’s just about letting those layers dry and enjoying the transformation.
At the end of the day, painting your cabinets is about more than just a fresh coat of color; it’s about taking ownership of your space. Whether you’re a seasoned DIYer or someone who felt a little intimidated by the idea of picking up a brush, you should be incredibly proud of yourself for leaning into the challenge. There is something so deeply satisfying about looking at a room and knowing you built that beauty with your own two hands. So, grab a coffee, sit down in your refreshed kitchen, and soak in the win. You totally earned it!
Frequently Asked Questions
How long do I actually need to wait before I can start using my kitchen again without risking chips or dents?
I know the feeling—you’ve put in all that hard work and you just want your kitchen back! While the cabinets might feel dry to the touch after a few hours, please resist the urge to start cooking immediately. I always recommend waiting at least 48 to 72 hours before light use. For heavy-duty stuff, like slamming drawers or cleaning with soap, give it a full week to let that finish cure properly. Patience is key to avoiding those annoying chips!
Is it worth it to sand everything down, or can I get away with just using a high-quality primer?
I get this question all the time, and I’ll be honest: I wish there was a “cheat code” here, but skipping the sanding is a gamble you probably don’t want to take. While a high-quality primer is your best friend, it still needs “tooth” to grab onto. If you don’t do at least a light scuff sand, you’re risking chips and peeling down the road. Do the work now so you aren’t repainting in six months!
What’s the best way to handle those tricky little details like corner molding and decorative trim without making a huge mess?
Ugh, I feel your pain! Those tiny crevices are where most DIY projects go to die. Honestly, the secret is all about your tools. Skip the big rollers here and grab a high-quality, small angled sash brush—it gives you so much more control. I also swear by using a tiny piece of painter’s tape or even a toothpick to nudge paint out of the deepest grooves. Take it slow; precision beats speed every single time!
