I was hunched over my kitchen floor last Saturday, scrubbing a single tile line with a toothbrush until my knuckles turned white, only to realize the grime wasn’t even budging. It’s one of those frustrating moments where you realize that most of the “miracle” cleaners you see in commercials are actually just expensive water. I used to think that learning how to clean grout required heavy-duty chemicals or an entire weekend of back-breaking labor, but after a few failed DIY experiments in my own apartment, I learned the hard way that it’s all about the right technique and a few simple, smart tools.
I’m not here to sell you on some overpriced, toxic solution that smells like a chemistry lab. Instead, I want to share the pragmatic, no-nonsense approach I’ve refined through years of tinkering and home projects. In this guide, I’m going to walk you through the exact steps to tackle those stubborn stains without the hype. We’ll cover everything from the best budget-friendly mixtures to the specific tools that actually do the heavy lifting, so you can restore your home’s sparkle and get back to enjoying your space.
Table of Contents
- Step-by-Step Instructions
- Finding the Best Grout Cleaner for Tile and Natural Solutions
- Removing Mold From Grout Lines and Perfecting Grout Sealer Application
- Pro-Tips from My Toolkit: Small Tweaks for Big Results
- Quick Wins for Sparkling Grout
- ## The Small Wins Matter
- Bringing It All Home
- Frequently Asked Questions
Guide Overview
Tools & Supplies
- Stiff-bristled brush or grout brush for scrubbing
- Microfiber cloth for wiping and drying
- Baking soda 1 cup
- White vinegar 1/2 cup
- Warm water 2 cups
Step-by-Step Instructions
- 1. First things first, you’re going to need to gather your supplies so you aren’t running back and forth to the garage halfway through. I usually grab a stiff-bristled brush (an old toothbrush works in a pinch, but a dedicated grout brush is a total game changer), some warm water, and a gentle cleaner. If you’re looking to keep it eco-friendly, a simple mix of baking soda and water creates a paste that works wonders without the harsh fumes.
- 2. Before you dive into the scrubbing, give the area a quick sweep or vacuum. I’ve learned the hard way that if you start applying liquid to a dusty surface, you just end up creating a muddy mess that’s even harder to clean. Get all that loose hair and dust out of the way first so you’re working with a clean slate.
- 3. Now, apply your cleaning solution. If you’re using the baking soda paste, spread it generously over the grout lines. Don’t be afraid to be a little heavy-handed here; you want the mixture to really penetrate those tiny pores where the grime likes to hide. Let it sit for about 10 to 15 minutes—this “dwell time” is crucial because it allows the cleaner to do the heavy lifting for you.
- 4. It’s time for the actual elbow grease. Take your brush and scrub along the grout lines using firm, circular motions. You don’t need to go overboard and exhaust yourself, but you do need to be consistent with your pressure. If you hit a particularly stubborn spot, don’t panic—just apply a little more paste and give it an extra minute of attention.
- 5. Once you’ve finished scrubbing, wipe away the residue with a clean, damp sponge or cloth. I prefer using a microfiber cloth because it picks up the loosened dirt much more effectively than a standard paper towel. Make sure you thoroughly rinse the area with plain water to ensure no cleaning residue is left behind, which could attract more dirt later on.
- 6. Finally, take a dry cloth and buff the tiles dry. Leaving moisture sitting on the grout can actually lead to more staining or even mold issues down the road. Seeing those lines look bright and clean again is honestly one of the most satisfying DIY wins you can have in a weekend!
Finding the Best Grout Cleaner for Tile and Natural Solutions
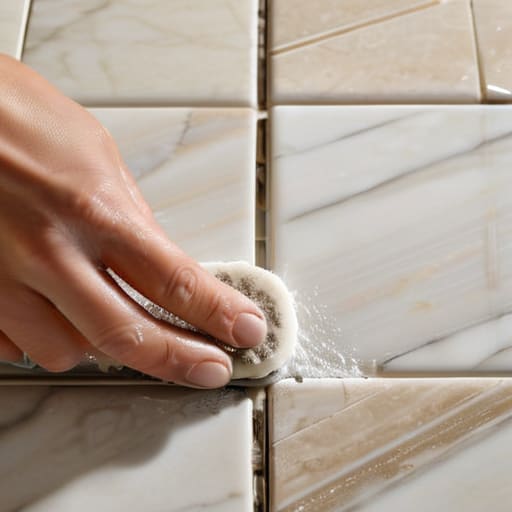
Now, I know what you’re thinking—walking down the cleaning aisle at the grocery store can feel a bit overwhelming with all those bright labels promising miracles. When you’re hunting for the best grout cleaner for tile, my best advice is to look beyond the flashy marketing. If you’re working with delicate surfaces like marble or limestone, skip the harsh chemicals that can etch the stone. Instead, I’ve found that leaning into natural grout cleaning solutions—like a simple mixture of baking soda and hydrogen peroxide—can work wonders without compromising your home’s integrity.
If you’re dealing with a more stubborn situation, like removing mold from grout lines in a high-moisture area, you might need to step up your game. In those cases, a specialized enzymatic cleaner is a lifesaver. But here’s a pro-tip from my DIY days: once you’ve finally achieved that sparkling clean look, don’t stop there. Investing a little time in a proper grout sealer application is the absolute best way to protect your hard work and prevent grime from settling back in. It’s all about working smarter, not harder!
Removing Mold From Grout Lines and Perfecting Grout Sealer Application
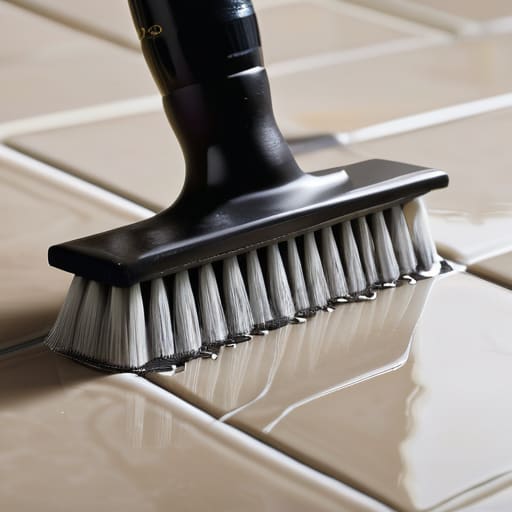
If you’ve been scrubbing away and those dark spots just won’t budge, you’re likely dealing with more than just surface grime. Removing mold from grout lines can feel like a losing battle, especially in high-moisture areas like the shower. I’ve found that if natural solutions haven’t done the trick, a specialized enzymatic cleaner might be your best bet to actually kill the spores rather than just bleaching them. Just remember to let the solution sit for a few minutes—patience is your best friend here—and always test a small, inconspicuous area first to make sure you aren’t damaging your finish.
Once your tiles are looking pristine, you don’t want to go back to square one in a month. This is where a proper grout sealer application becomes a total game-changer. Think of it like applying a protective coat of varnish to a piece of furniture I’m upcycling; it seals the porous surface and prevents stains from sinking in deep. I usually recommend a high-quality penetrating sealer. It takes a little extra time upfront, but it’s the absolute best way to protect your hard work and keep that “just cleaned” feeling lasting much longer.
Pro-Tips from My Toolkit: Small Tweaks for Big Results
- Don’t go overboard with the scrubbing—if you use a stiff wire brush on delicate tiles, you might actually scratch the surface. I always recommend starting with a medium-bristle nylon brush to protect your investment.
- Patience is your best friend here. Instead of scrubbing frantically, apply your cleaner and let it sit for at least 10 to 15 minutes. Letting the chemistry do the heavy lifting saves your wrists and gets a much deeper clean.
- Keep a microfiber cloth handy for the final wipe-down. Using a dirty sponge to “clean” the residue often just moves the grime around, whereas a microfiber cloth actually lifts the loosened dirt away for good.
- Check your lighting before you start. It sounds silly, but I’ve learned the hard way that shadows can hide stubborn stains. Grab a bright flashlight or a work lamp so you can see exactly where those pesky dark spots are hiding.
- Think of cleaning as maintenance, not a rescue mission. If you tackle light grime once a month, you’ll never have to face that overwhelming, deep-scrubbing weekend that feels like a total chore.
Quick Wins for Sparkling Grout
Don’t feel like you have to buy every expensive chemical on the shelf; often, a simple natural solution or a reliable DIY scrub is all you need to get the job done.
Consistency is your best friend—a little bit of regular maintenance goes a long way in preventing that stubborn mold and grime from taking over your tiles.
Once you’ve put in the hard work to get those lines clean, make sure to seal them properly so you aren’t starting from scratch all over again next month.
## The Small Wins Matter
“Cleaning grout might feel like a tedious chore, but there’s something incredibly rewarding about seeing those lines go from dingy to bright—it’s a small, tangible way to take control of your space and prove to yourself that no project is too stubborn to tackle.”
Sarah Mitchell
Bringing It All Home
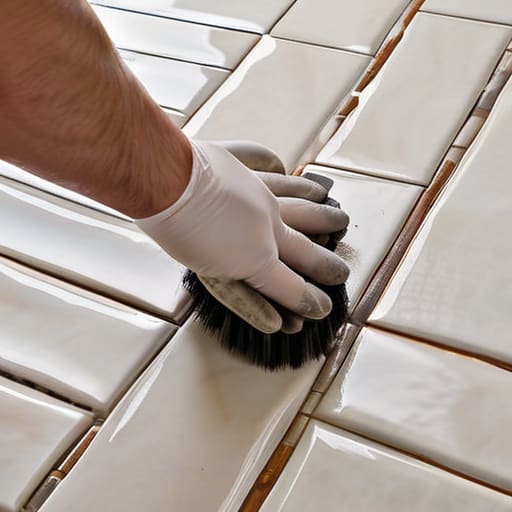
Cleaning grout might not sound like the most glamorous weekend project, but as we’ve walked through, it really comes down to having the right approach. Whether you decided to go the route of a heavy-duty commercial cleaner or opted for a more eco-friendly natural solution, the secret is in the prep work and the consistency. We covered everything from tackling those stubborn mold spots to the crucial final step of applying a sealer to keep your hard work from washing away. Remember, it isn’t just about scrubbing harder; it’s about using the right tools for the job to save your energy and your tiles.
At the end of the day, I think these little DIY wins are about more than just a sparkling kitchen or a fresh bathroom floor. There is something incredibly grounding about taking a space that feels a bit neglected and using your own two hands to make it feel new again. It’s that same sense of empowerment and agency I feel when I’m debugging a complex piece of code or refinishing an old coffee table. Don’t let a little bit of grime intimidate you—grab your brush, get stuck in, and enjoy the satisfaction of a job well done. You’ve totally got this!
Frequently Asked Questions
How often should I actually be resealing my grout to keep it from absorbing stains in the first place?
Honestly, there isn’t a one-size-fits-all rule, but I usually tell people to aim for every 6 to 12 months. If you’ve got high-traffic areas like a kitchen backsplash or a shower floor that sees constant moisture, you’ll probably need to reseal more often. A quick way to check? Pour a little water on the grout; if it beads up, you’re golden. If it soaks in and darkens the line, it’s time to get to work!
Is it safe to use a stiff brush on my grout lines, or am I going to end up scrubbing away the actual grout material?
That’s a great question, and I totally get the hesitation—nobody wants to accidentally sand down their tile! You can definitely use a stiff brush, but the trick is to avoid anything as aggressive as a wire brush. Stick to a dedicated grout brush or even an old toothbrush. As long as you aren’t scrubbing with extreme, frantic force, you’ll lift the grime without compromising the structural integrity of the grout itself.
If I have really dark grout in my bathroom, will cleaning it actually make it look lighter, or am I just fighting a losing battle?
I totally get that frustration—staring at dark grout can feel like a losing battle. Here’s the honest truth: if the darkness is just surface grime or soap scum, a deep clean will definitely brighten it up. However, if the grout is actually stained or discolored from years of wear, you might hit a limit. If cleaning doesn’t work, don’t sweat it; a grout pen or a quick reseal can work wonders!
