I was elbow-deep in sawdust last Saturday, trying to sand down an old mid-century dresser I’d rescued, when I realized I couldn’t find my orbital sander for the third time in twenty minutes. I ended up staring at a mountain of half-finished woodworking projects, rusted garden shears, and random boxes of cables that I knew I needed for a tech build, all buried under a layer of literal dust. It’s incredibly frustrating because most “expert” advice on how to organize your garage involves spending thousands on those fancy, high-end modular cabinetry systems that look great in a catalog but fall apart the second you actually use them.
I’m not here to sell you on an expensive aesthetic or a lifestyle you can’t maintain. Instead, I want to share the practical, low-cost systems I’ve developed through years of tinkering and software-driven logic to help you reclaim your space. We’re going to focus on building a workflow that actually works for your specific hobbies, whether you’re a coder, a carpenter, or just someone trying to find their jumper cables. I promise to give you the no-nonsense truth about what storage solutions are actually worth your time and which ones are just clutter in disguise.
Table of Contents
The Ultimate Garage Decluttering Checklist to Reclaim Your Space

Before you even think about buying fancy bins or mounting a single shelf, you have to face the music: you can’t organize clutter. I always tell my coaching clients that a project without a clear roadmap is just a recipe for burnout, and your garage is no different. Grab that notebook of mine and start by categorizing everything into three piles: keep, donate, or toss. I like to group my “keep” items by frequency of use—things I use weekly for woodworking stay front and center, while seasonal decorations get pushed to the periphery. Using a systematic garage decluttering checklist ensures you aren’t just moving piles from one corner to another, but actually making room for progress.
Once the floor is clear, it’s time to think upward. This is where the real magic happens. Instead of letting everything sprawl across the concrete, look toward vertical wall storage ideas like pegboards or slatwalls to get your hand tools off the workbench. If you’re working with tighter quarters, focusing on organizing small garages means utilizing every inch of height you have. Don’t forget about the ceiling, either; investing in some sturdy overhead storage can be a total game-changer for those bulky items you only need once a year.
Smart Garage Storage Solutions for Every Diy Enthusiast
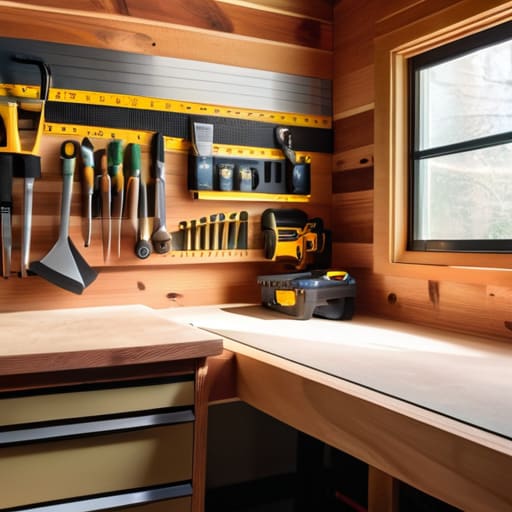
Once you’ve cleared the floor, it’s time to stop thinking in two dimensions and start looking up. When I’m working on a woodworking project, I can’t afford to spend twenty minutes hunting for a specific chisel or a stray piece of sandpaper. This is where vertical wall storage ideas become your absolute best friend. I’m a huge advocate for pegboards or slatwall systems; they allow you to see everything at a glance and keep your most-used tools right at arm’s reach. It turns a chaotic workbench into a professional-grade station that actually feels intuitive to use.
If you’re dealing with limited square footage, you really have to get creative with your overhead garage storage. I’ve found that heavy-duty ceiling racks are a total game-changer for stashing those seasonal bins or bulky items you only need once a year, like holiday decorations or camping gear. By utilizing that dead space above your head, you free up the floor for your actual projects. Whether you’re building a custom workbench or just trying to find a spot for your bike, the goal is to create a system that works for you, not against you.
Pro-Tips for a High-Functioning Workspace
- Go vertical with it. I’ve learned the hard way that floor space is your most precious commodity; use slatwalls or heavy-duty pegboards to get your tools off the workbench and up onto the walls where they’re easy to grab.
- Create “zones” for different projects. Just like I organize my code into modules, try grouping your garage into zones—like a dedicated woodworking corner, a gardening station, or a quick-fix tool area—so you aren’t hunting for a screwdriver in the middle of a lawn project.
- Use clear, labeled bins for the small stuff. There is nothing more frustrating than digging through opaque plastic tubs, so invest in clear containers and use my favorite trick: a label maker to keep everything categorized and easy to find at a glance.
- Don’t sleep on smart lighting. If you’re working on a detailed DIY project, dim lighting is your worst enemy; swap out those old, flickering bulbs for bright, LED shop lights to actually see what you’re doing and reduce eye strain.
- Audit your inventory seasonally. Every few months, take a quick look at what you’re actually using. If you haven’t touched that old camping gear or those half-empty paint cans in two years, it’s time to donate them or toss them to make room for the tools you actually need.
Quick Wins to Keep Your Garage Project-Ready
Don’t try to tackle the whole mess in one weekend; pick one zone—like your workbench or a single shelf—and master it before moving on to the next.
Invest in vertical storage like pegboards or slatwalls to get your tools off the floor and into your line of sight, making it way easier to grab what you need mid-project.
Treat your garage like a living system by setting a “one-in, one-out” rule for new gear to prevent that inevitable creep of clutter from taking over your workspace again.
## Why Organization Matters
“A messy garage isn’t just a storage problem; it’s a mental block. When your tools are buried under old boxes and random clutter, you lose that creative spark. But once you build a system that actually works for you, that space transforms from a chaotic junk pile into a launchpad for your next big project.”
Sarah Mitchell
From Chaos to Creativity
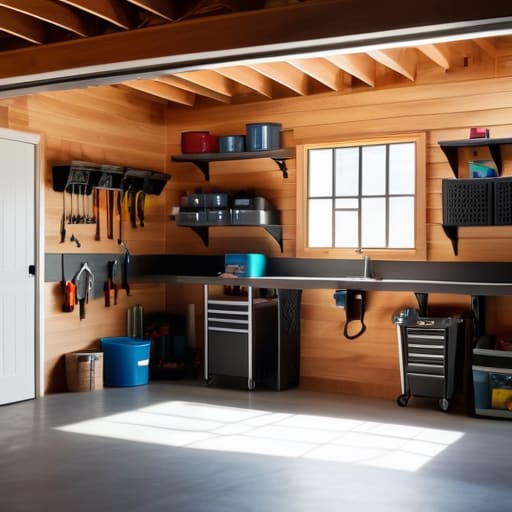
At the end of the day, organizing your garage isn’t just about finding a place for every screwdriver and drill bit; it’s about building a system that actually works for your lifestyle. We’ve walked through the heavy lifting of decluttering, mapped out a solid checklist, and explored how smart storage solutions can turn a cramped corner into a high-functioning workshop. By implementing these intentional systems and utilizing the right tech or hardware, you’re moving away from a space that feels like a chore and toward one that feels like a functional extension of your home. It might feel overwhelming at first, but taking it one shelf or one bin at a time makes all the difference.
I know how it feels to look at a mountain of clutter and just want to walk away, but I promise you that the payoff is worth every bit of effort. When you finally clear that floor space and hang those pegboards, you aren’t just organizing a room—you’re clearing the mental fog that keeps you from starting your next big project. Whether you’re upcycling an old dresser or finally diving into a new coding bootcamp, your environment plays a massive role in your success. So, grab your notebook, pick a corner, and start building the space you deserve. You’ve totally got this!
Frequently Asked Questions
How do I figure out which tools I actually need to keep versus what I should donate or sell to clear the clutter?
I always use the “Project Test” for this. I pull out my notebook and ask: “When was the last time I used this, and do I have a project coming up where this is essential?” If it’s a specialty tool you used once three years ago, let it go. If it’s a duplicate or something you’ve been meaning to sell for months, list it on Marketplace today. Keep the essentials; donate the “just in case” clutter.
Are there any specific smart home gadgets or tech-based organizers that actually make managing a workshop easier?
Honestly, I’m a huge fan of anything that cuts down on the mental load. For my workshop, I swear by smart power strips that let me kill phantom power to my tools via my phone—it’s a total safety and energy win. I also love using a dedicated tablet mounted on the wall running a smart home hub; it keeps my project tutorials and digital blueprints right at eye level without cluttering my workbench.
I have a really small garage—what are the best ways to maximize vertical space when I don't have much floor room to work with?
When you’re working with a tiny footprint, the floor is your enemy—so look up! I’m a huge fan of heavy-duty wall tracks or slatwalls; they let you swap out hooks and bins as your projects evolve. If you have high ceilings, overhead racks are total lifesavers for seasonal stuff. And don’t sleep on pegboards for your most-used tools. It keeps your essentials right at eye level without eating up a single inch of floor space.
