I was staring at a wobbly, particle-board desk in my tiny first apartment, wondering why I was spending half my paycheck on furniture that felt like it might collapse if I typed too hard. It’s a common misconception that you need a massive workshop or a degree in carpentry to create something high-quality; honestly, the biggest barrier is usually just the fear of making a mistake. I quickly learned that figuring out how to build a desk isn’t about having the most expensive power tools, but about understanding how to select the right materials and measure twice so you don’t end up with a pile of expensive scrap wood.
In this guide, I’m stripping away the fluff and giving you the exact, no-nonsense blueprint I use in my own workshop. I’ll walk you through everything from choosing a solid wood top to securing the legs so your setup stays rock-solid during those long coding sessions. Whether you’re a complete beginner or just looking to level up your DIY game, I promise to show you how to build a workspace that is built to last and perfectly tailored to your needs.
Table of Contents
- Step-by-Step Instructions
- Choosing the Best Wood for Office Desks and Minimalist Design Ideas
- Mastering Woodworking Tools for Beginners and Custom Desk Dimensions Guide
- Pro-Tips from My Workbench: Avoiding Common Rookie Mistakes
- Quick Wins for Your Desk Build
- ## More Than Just Four Legs and a Surface
- Bringing Your Vision to Life
- Frequently Asked Questions
Guide Overview
Tools & Supplies
- Drill/Driver for fastening screws
- Measuring Tape for precise cuts and layout
- Sandpaper for smoothing surfaces
- Level to ensure a flat workspace
- Wood Desktop (1 piece)
- Wooden Legs or Table Base (4 pieces)
- Wood Screws (1 box)
- Wood Glue (1 bottle)
Step-by-Step Instructions
- 1. First things first, you need to gather your materials and prep your workspace. I always recommend clearing out a decent amount of floor space—you’ll need room to move around once that heavy wood shows up. You’ll want a solid piece of plywood or a butcher block top, some sturdy 4×4 legs (or even those metal hairpin legs if you want a more modern look), wood glue, screws, and a drill. Don’t forget to grab a tape measure and a level; precision is everything if you don’t want your coffee sliding off the side later.
- 2. Once you have everything laid out, it’s time to measure and mark your placement. If you’re using legs, don’t just eyeball it. I like to flip my tabletop upside down on a soft surface (like an old rug or some moving blankets) to prevent any scratches. Use a pencil to mark exactly where the legs will sit. I usually aim to keep them about two inches in from the edges to give the desk a more balanced, intentional look rather than just looking like a slab on sticks.
- 3. Now, let’s get to the actual assembly. If you’re using wooden legs, I find that pre-drilling pilot holes is the absolute best way to avoid splitting your wood. It takes an extra minute, but it’s a total lifesaver. Apply a small bead of wood glue to the contact points where the leg meets the tabletop, then align your legs with your marks. Secure them with your screws, making sure you drive them in straight so the whole thing feels rock solid.
- 4. After the structure is together, you’ll want to tackle the sanding process. This is the part where most people get impatient, but trust me on this one: you cannot skip it. Start with a coarser grit sandpaper to smooth out any rough patches or uneven joints, then move to a finer grit for that silky-smooth finish. I usually spend a good chunk of time on this because a smooth surface makes all the difference when you’re typing or writing for hours on end.
- 5. Next up is the finishing touch—applying a stain or a sealant. If you’re working with a beautiful piece of wood, I love using a clear matte polyurethane to protect the grain without making it look plastic. Wipe away any dust with a tack cloth first, then apply your finish in thin, even layers. It’s much better to do three thin coats than one thick, messy one that might drip or leave streaks.
- 6. Finally, once the finish is completely dry (and I mean fully dry, so give it at least 24 hours), flip your masterpiece over and set it in its permanent home. Give it one last check with your level to make sure it’s sitting flat on your floor. If it wobbles just a tiny bit, you can always add some felt pads to the bottom of the legs. Now, go ahead and set up your tech—you’ve officially earned this workspace upgrade!
Choosing the Best Wood for Office Desks and Minimalist Design Ideas
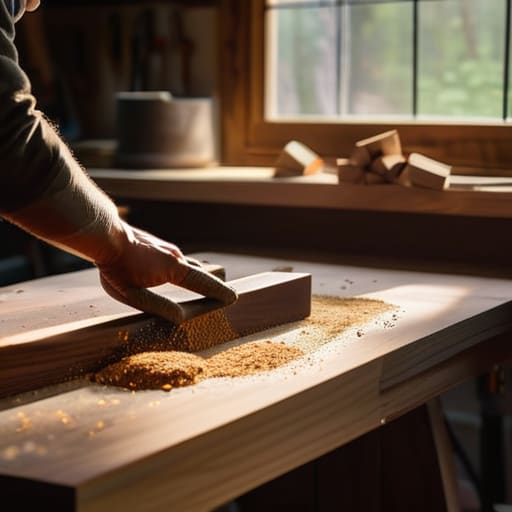
Picking the right material is where your project really starts to take shape. If you’re looking for the best wood for office desks, I usually suggest starting with something forgiving like pine or even high-quality birch plywood. Pine is incredibly budget-friendly and easy to work with if you’re just getting your feet wet with woodworking tools for beginners, though it does dent a bit easily. If you want something that feels more “forever,” a hardwood like walnut or oak is stunning, but be prepared to spend a little more time on the sanding and finishing stages to really make those grains pop.
When it comes to the look, I’m a huge fan of minimalist desk design ideas that focus on clean lines and functionality. Think about a simple slab top paired with sleek metal legs; it keeps the space feeling open and prevents that cluttered, heavy vibe. I always tell my coaching clients that your workspace should reflect your mental state, so aim for a design that reduces visual noise. Whether you’re building a computer workstation for heavy coding sessions or a light writing nook, keeping the aesthetic simple will help you stay focused and inspired.
Mastering Woodworking Tools for Beginners and Custom Desk Dimensions Guide
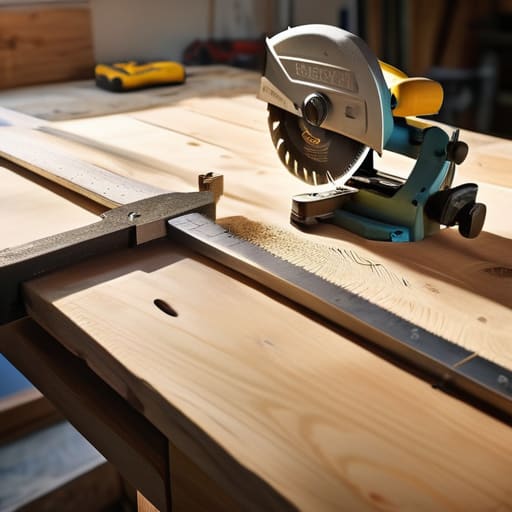
Before you dive into the actual construction, let’s talk gear. If you’re just starting out, don’t feel like you need to drop a fortune on a professional-grade workshop. When I first started upcycling furniture back in Oregon, I realized that the most essential woodworking tools for beginners are actually just the basics: a reliable drill, a circular saw, a sander, and a solid tape measure. My biggest piece of advice? Invest in quality clamps. You can never have too many, and they are absolute lifesavers when you’re trying to keep everything square while the glue sets.
Once you’ve got your tools ready, the next hurdle is getting the scale right. This is where my little notebook comes in handy! I always sketch out a custom desk dimensions guide tailored to my specific space before cutting a single piece of timber. You don’t want to realize halfway through that your new setup is too deep to reach your monitor comfortably or too narrow for your dual-screen setup. Aim for a standard height of about 29 to 30 inches, but always measure your chair height first to ensure your ergonomics are spot on.
Pro-Tips from My Workbench: Avoiding Common Rookie Mistakes
- Measure twice, cut once—and then measure a third time. It sounds like a cliché for a reason. I’ve definitely had moments in my workshop where I was too eager to start sawing and ended up with a piece of walnut that was an inch too short. Take your time with the tape measure; your future self will thank you.
- Don’t skip the sanding phase. It’s the most tedious part of the whole process, but if you want that smooth, professional finish that doesn’t snag your sleeves, you have to do it. Start with a coarse grit to get the bumps out and gradually move to a finer grit. It makes a world of difference.
- Think about your cable management early on. Since I spend so much time at my desk coding, I realized halfway through my last build that I had nowhere to hide my power strips. Drill some holes or add a small tray underneath while you’re still in the assembly phase so you aren’t fighting a mess of wires later.
- Invest in decent clamps. You can have the best wood in the world, but if your pieces aren’t held securely while the glue sets, your desk is going to be wobbly. I treat my clamps like my favorite coding tools—essential, reliable, and something I never want to be without.
- Test your finish on a scrap piece first. Whether you’re going with a clear oil or a specific stain, never go straight for the main tabletop. Use a leftover bit of the same wood to see how the color actually looks once it soaks in. It’s much better to realize you don’t like the shade on a scrap than on the centerpiece of your office.
Quick Wins for Your Desk Build
Don’t overthink the wood choice; whether you go with a budget-friendly pine or a stunning walnut, the key is picking something that fits your space and your skill level.
Measure twice and cut once—seriously! Getting your dimensions right the first time is the difference between a sturdy, professional-looking workspace and a wobbly headache.
Invest in quality tools and take the time to master them; your hands (and your finished desk) will definitely thank you for the extra effort.
## More Than Just Four Legs and a Surface
“Building your own desk isn’t just about getting a place to put your laptop; it’s about creating a workspace that actually fits your life, built by your own hands, and designed to grow with your career.”
Sarah Mitchell
Bringing Your Vision to Life
We’ve covered a lot of ground, from selecting the perfect wood species to nailing those custom dimensions and mastering your toolset. I know it can feel a bit overwhelming when you’re standing in the middle of a workshop surrounded by sawdust, but remember that every expert started exactly where you are right now. By focusing on a solid foundation, choosing the right materials, and being intentional with your measurements, you’ve already done the heavy lifting required to move from a blueprint to a physical reality. It’s not just about following a set of instructions; it’s about the way you combine technical precision with your own unique design flair to create something truly functional.
At the end of the day, that desk is going to be much more than just a surface for your laptop or a place to organize your files. It’s a tangible reminder that you are capable of learning complex new skills and seeing a project through from start to finish. Whether you’re using it as a dedicated coding station or a creative nook for your next DIY project, I hope it serves as a constant source of pride. Don’t be afraid to make a few mistakes along the way—that’s just part of the creative process. Now, get out there, grab your tools, and go build something amazing!
Frequently Asked Questions
How do I make sure my desk is actually sturdy enough so it doesn't wobble while I'm typing or working?
There is nothing more frustrating than a desk that wobbles every time you hit a key—it’s a total productivity killer. To keep things rock-solid, focus on the joinery. I always recommend using heavy-duty wood glue combined with pocket hole screws or even metal L-brackets for extra reinforcement. Also, don’t skimp on the legs; thicker, solid wood legs or a wide-base frame will make a huge difference in stability.
What are the best ways to finish the wood so it's smooth and easy to clean without looking too "DIY"?
To get that professional, high-end look, I always recommend a polyurethane or a high-quality hardwax oil like Rubio Monocoat. If you want a sleek, modern finish that’s super easy to wipe down, a water-based poly is your best friend—it won’t yellow over time. Just make sure you sand between coats! It’s a bit more work, but it’s the secret to making your desk look like a designer piece rather than a weekend project.
I'm on a tight budget—are there any clever ways to build a high-quality desk without spending a fortune on premium lumber?
Honestly, you don’t need a massive budget to build something beautiful. I’m a huge fan of upcycling—check out local thrift stores or Facebook Marketplace for solid wood pieces that just need a little sanding and a fresh coat of stain. If you’re buying new, look into construction-grade pine or even high-quality plywood. With a bit of clever edge banding, you can make a budget build look like a high-end designer piece!
