I was mid-way through sanding down an old mid-century coffee table I found at a thrift store last weekend when I realized just how much I’ve learned since I first started woodworking back in Oregon. I looked down at a deep, jagged gouge that seemed impossible to hide, and for a second, I actually felt that familiar sting of frustration. We’ve all been there—staring at a piece of furniture we love, feeling like a single accident has permanently ruined its beauty. But here is the thing: you don’t need a professional restoration crew or a massive budget to solve this. Learning how to fix scratched wood isn’t about magic; it’s just about having the right technique and a little bit of patience.
In this guide, I’m stripping away all the complicated jargon and expensive tools you don’t actually need. I’m going to walk you through my personal, tried-and-true methods for everything from minor surface scuffs to those annoying deep scratches that catch the light. My goal is to give you practical, actionable steps that you can tackle right at your kitchen table. Whether you’re upcycling an old heirloom or just trying to save your dining table from the dog, I promise you can bring that wood back to life without the headache.
Table of Contents
Guide Overview
Tools & Supplies
- Sandpaper (various grits for smoothing)
- Microfiber cloth (for cleaning dust)
- Wood filler (one small container)
- Wood stain or touch-up marker (one unit)
- Furniture wax or polish (one small tin)
Step-by-Step Instructions
- 1. First things first, you need to grab a clean microfiber cloth and some mild soap to give the area a good wipe down. I’ve learned the hard way that trying to fix wood that’s covered in dust or kitchen grease is a recipe for disaster; you want a completely clean surface so your repair materials can actually bond with the wood.
- 2. Once it’s dry, take a close look at the depth of the scratch to decide your battle plan. If it’s just a light surface scuff, you can usually get away with a furniture touch-up marker or even a bit of walnut meat rubbed directly into the groove. However, if you can actually feel the scratch with your fingernail, you’re going to need to level things out a bit more.
- 3. For those deeper gouges, grab some fine-grit sandpaper (I usually reach for 220 or 320 grit) and start sanding the area very gently. The goal here isn’t to strip the finish off the whole piece, but to smooth out the edges of the scratch so it doesn’t catch the light as much. Always sand in the direction of the grain—trust me, sanding against the grain is a mistake you only make once!
- 4. Now, it’s time to fill the void. I love using a high-quality wood filler that matches your stain as closely as possible. Use a small putty knife to press the filler deep into the scratch, then swipe it across the surface to level it off. Don’t worry if it looks a little imperfect at first; you can always add more, but it’s much harder to take it away.
- 5. After you’ve applied the filler, you’ll need to be patient and let it dry completely. This is the hardest part for me because I always want to jump straight to the finishing touches, but if the filler is still tacky, you’ll just end up with a muddy mess. Check the container for specific timing, but usually, a few hours (or overnight for deep holes) is your best bet.
- 6. Once it’s rock solid, take that fine-grit sandpaper again and lightly sand the filler until it’s perfectly flush with the rest of the wood. You want to be able to run your hand over the spot without feeling any bump or dip. It’s all about creating a seamless transition between the original wood and your repair.
- 7. Finally, it’s time to bring back the luster. Depending on the original finish, you might need to apply a small amount of matching wood stain or a clear wax to the repaired spot. This helps the fix blend in so it doesn’t look like a “patch.” Take your time with this last step—it’s what makes the difference between a DIY fix and a professional-looking restoration.
Essential Furniture Refinishing Tools for Your Diy Toolkit
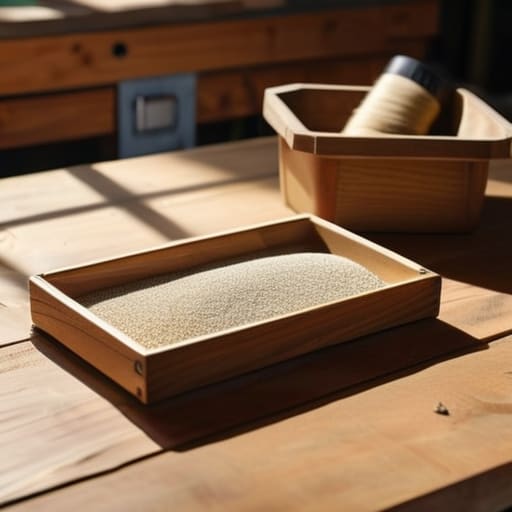
Before you dive into the actual repair, you’ll want to gather a few basics so you aren’t scrambling halfway through a project. While you don’t need a professional workshop, having the right furniture refinishing tools on hand makes a world of difference. I always keep a small kit in my garage for these exact moments. Beyond just the wood filler, make sure you have a variety of abrasives; specifically, you’ll want a range of sandpaper grit for wood repair, starting around 120 and working your way up to a fine 220 or even 320 for that smooth, professional feel.
One thing I learned the hard way during my early woodworking days is that the secret to a seamless look isn’t just the filler itself, but how you prep the area. If you’re dealing with deeper gouges, pay close attention to your wood filler application techniques—applying it in thin, even layers prevents those annoying lumps that are a nightmare to sand out later. Also, don’t forget a clean microfiber cloth. Dust is the enemy of a perfect finish, and a quick wipe-down between steps ensures your repair stays clean and looks totally natural.
Pro Tips for Removing Surface Scratches From Timber
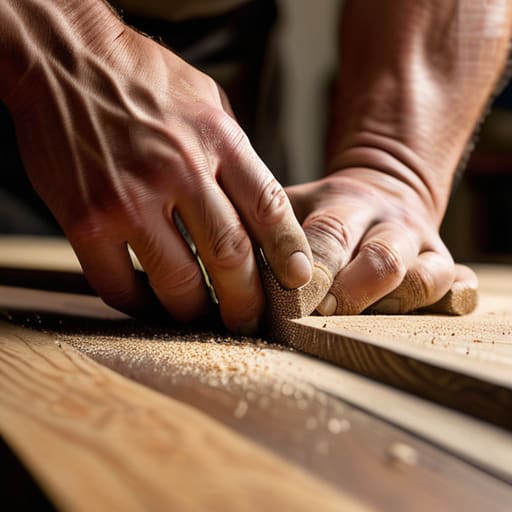
Before you dive in, I want to share a few little secrets I’ve picked up from my own woodworking projects. One thing I’ve learned the hard way is that patience is your best friend when it comes to removing surface scratches from timber. If you’re dealing with deeper gouges, don’t just slap on a bunch of putty. Instead, take a moment to assess the depth; sometimes, a lighter touch with a high-grit sandpaper is all you need to blend the area before you even think about reaching for the heavy-duty stuff.
Another thing that makes a massive difference is how you handle the color blending. I always tell my students that matching wood stain colors is more of an art than a science. I highly recommend testing your stain on a hidden spot—like the underside of a chair leg—first. It’s much better to spend an extra ten minutes testing shades than to realize halfway through that your “perfect” match looks way too dark once it hits the grain. Also, remember that restoring wood finish isn’t just about the color; it’s about getting that sheen to look consistent across the entire piece so the repair becomes virtually invisible.
My Secret Sauce: 5 Pro Tips for a Flawless Finish
- Always test your fix on a hidden spot first. Whether it’s a stain marker or a bit of wax, you don’t want to find out it discolors your piece halfway through the actual repair!
- Patience is your best friend here. If you’re using a filler, let it dry completely before you even think about sanding it down—rushing this step is the quickest way to end up with an uneven surface.
- Don’t forget the grain direction. When you’re sanding those scratches away, always follow the natural lines of the wood. Going against the grain is a one-way ticket to making the damage look way more obvious.
- Match your lighting. I always grab my desk lamp and shine it at an angle across the wood; it makes those tiny, shallow scratches pop so you can see exactly where you still need to work.
- Less is definitely more. It’s much easier to add a second thin layer of stain or wax than it is to try and sand back a heavy, gloopy mess that didn’t blend in correctly.
Quick Wins to Remember
Start small—always test your fix on an inconspicuous spot first to make sure the color and finish match perfectly before committing to the whole piece.
Don’t rush the process; whether you’re using a wood filler or a stain marker, giving the material time to dry properly is the difference between a seamless fix and a messy mistake.
View every scratch as a learning opportunity—even if a repair doesn’t turn out perfect the first time, you’re building the muscle memory and confidence needed for your next big DIY project.
## A Little Perspective on the Process
“Whether you’re debugging a stubborn line of code or sanding down a scratch in an old oak table, the principle is the same: don’t let a small imperfection stop your momentum. Sometimes, the best way to move forward is to take a moment, grab your tools, and patiently smooth things over until they’re better than they were before.”
Sarah Mitchell
Bringing It All Home
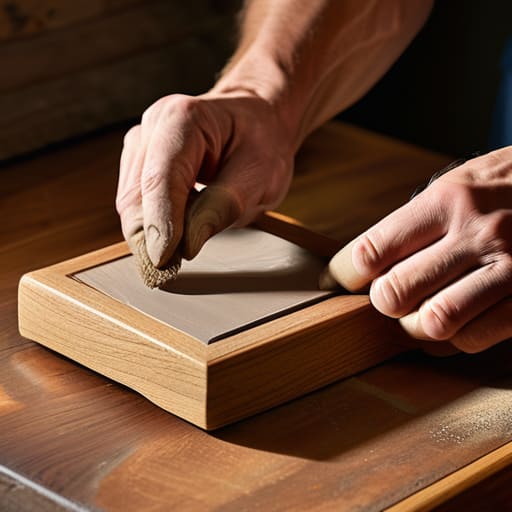
Fixing those pesky scratches doesn’t have to be a massive undertaking or a source of frustration. Whether you ended up using a simple walnut trick for light marks, reached for some high-quality wood filler for deeper gouges, or went the full route with a bit of sanding and a fresh coat of finish, you’ve successfully taken control of your space. Remember, the secret is always in the preparation; taking that extra minute to clean the surface and match your stain accurately makes all the difference between a quick patch and a professional-looking restoration. It’s all about having the right tools in your kit and knowing which technique fits the damage you’re facing.
At the end of the day, I hope this guide gives you the confidence to stop looking at that scratched-up coffee table as a piece of junk and start seeing it as a meaningful project. There is something incredibly satisfying about taking something worn down by time and giving it a second life with your own two hands. Don’t be afraid to make mistakes along the way—that’s honestly how I learned the most in my own woodworking journey. So, grab your notebook, pick up your tools, and go create something beautiful. You’ve totally got this!
Frequently Asked Questions
What if the scratch is so deep that I can actually feel it with my fingernail?
Ouch, I know that feeling—it’s a bit heartbreaking when you can actually feel the gouge with your fingernail. Since a quick buff won’t cut it here, you’ll need to step up to wood filler. Grab a high-quality putty that matches your finish, work it into the scratch with a putty knife, and let it dry completely before sanding it flush. It’s a little more work, but it’ll make that deep mark disappear!
Do I really need to sand the whole piece of furniture, or can I just spot-fix the damaged area?
That’s a great question, and honestly, it’s one I ask myself every time I start a new upcycling project! The short answer is: no, you definitely don’t need to sand the whole piece if the damage is localized. If it’s just a few surface scuffs, a targeted spot-fix is much faster. However, if the scratches are deep or you’re looking for a perfectly seamless finish, a light all-over sand ensures the patch blends in beautifully.
How do I make sure the new stain or finish actually matches the original color so it doesn't look patchy?
This is the part that always makes me a little nervous, too! To avoid that patchy look, never dive straight into the main piece. Grab a scrap of the same wood—or find a hidden spot like the underside of a table—and test your stain there first. Let it dry completely before deciding, because colors shift as they cure. If it’s still off, tweak your stain or try a different brand until it’s a perfect match.
