I was mid-way through a weekend woodworking project last Saturday when I realized I couldn’t find my favorite measuring tape—it had vanished into the dark, damp abyss of my kitchen cabinet. I yanked open the door, only to be met with a chaotic landslide of half-empty cleaning bottles, tangled sponges, and that one rogue bottle of dish soap that always leaks. It’s incredibly frustrating how most “expert” advice on how to organize under the sink suggests you need to spend a fortune on those fancy, aesthetic acrylic bins that end up cluttered within a week. Honestly, if a system isn’t built for the real-world mess of a busy life, it’s just more clutter in disguise.
I’m not here to sell you on a lifestyle overhaul or a hundred expensive gadgets you don’t need. Instead, I want to share a few pragmatic, high-efficiency strategies I’ve picked up from both my DIY projects and my years of optimizing complex systems in tech. I’ll show you how to apply some no-nonsense logic to your storage so you can stop digging through the chaos and actually find what you need. Let’s turn that under-sink nightmare into a streamlined, functional zone that actually works for you.
Table of Contents
- Maximizing Small Cabinet Space With Smart Diy Solutions
- Essential Kitchen Cabinet Decluttering Tips for Modern Living
- My Top 5 Go-To Hacks for a Stress-Free Under-Sink Setup
- Quick Wins for a Stress-Free Sink Area
- ## A Little Logic for Your Cabinet Chaos
- Bringing It All Together
- Frequently Asked Questions
Maximizing Small Cabinet Space With Smart Diy Solutions
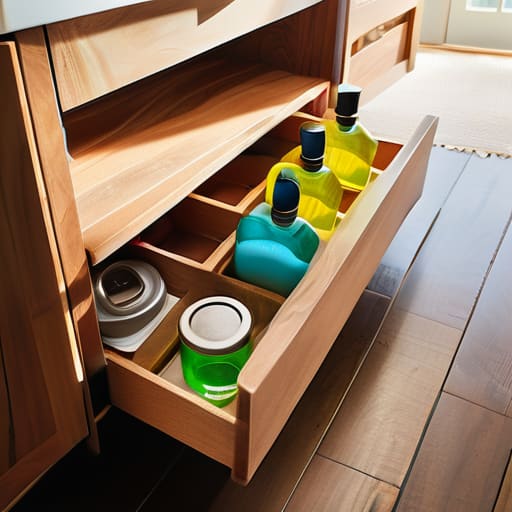
When you’re working with a tiny footprint, you have to stop thinking about floor space and start thinking about verticality. I’ve spent many weekends in my workshop learning that the best way to tackle a cramped area is to build upward. One of my favorite ways of maximizing small cabinet space is by installing simple tension rods or even small floating shelves. This allows you to stack your spray bottles or cleaning supplies without them toppling over every time you open the door. If you’re feeling a bit more hands-on, you can easily DIY some wooden tiered risers to create “steps” for your items, ensuring nothing gets lost in the dark abyss at the back.
Another game-changer is investing in (or building!) some under sink pull out organizers. There is nothing more frustrating than digging through a mountain of sponges to find that one specific bottle of degreaser. By using sliding drawers or even repurposed slim bins, you turn a static cabinet into a dynamic system. I also highly recommend laying down some waterproof cabinet liners before you start organizing. It’s a small step that saves a massive headache if a bottle inevitably leaks, keeping your cabinetry looking as sharp as a freshly sanded piece of oak.
Essential Kitchen Cabinet Decluttering Tips for Modern Living
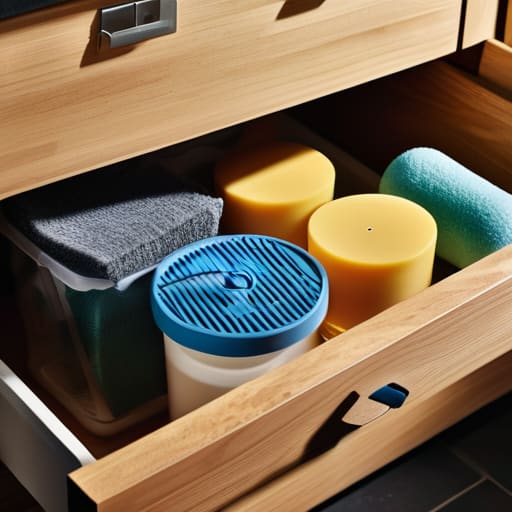
Before we even start talking about fancy organizers, we have to tackle the “junk drawer” mentality that often creeps into our cabinets. I’ve been there—digging through a mountain of half-empty sponges and expired cleaners just to find a single bottle of dish soap. My first piece of advice is to go through everything and be ruthless. If you haven’t used that specific specialty cleaner in six months, it’s time to let it go. Implementing solid kitchen cabinet decluttering tips starts with a clean slate; you can’t build an efficient system on top of chaos.
Once the excess is gone, it’s all about creating zones. I like to think of my cabinets like a well-structured codebase: everything needs a specific, predictable place. Group your items by frequency of use. For example, keep your daily essentials right at the front, and move the heavy-duty scrubbers to the back. To protect your investment, I highly recommend using waterproof cabinet liners. They aren’t just about aesthetics; they act as a crucial layer of defense against those inevitable leaks and spills that can ruin your wood cabinetry over time.
My Top 5 Go-To Hacks for a Stress-Free Under-Sink Setup
- Stop digging through the dark! Grab some battery-powered motion sensor LEDs. It sounds a bit extra, but being able to see exactly what’s tucked in the back corners makes a world of difference when you’re hunting for a specific cleaner.
- Think vertically, not just horizontally. I’m a huge fan of using stackable, clear acrylic bins. They let you group “like with like”—say, all your dish soaps in one and your sponges in another—so you aren’t playing Tetris every time you need something.
- Don’t let the pipes dictate your life. Use an expandable under-sink organizer that’s designed to fit around the plumbing. It’s a total game-changer for reclaiming that awkward, wasted space around the P-trap.
- Utilize the “door real estate.” I always keep a small adhesive bin or even a simple command hook on the inside of the cabinet door. It’s the perfect spot for those slim items like scrub brushes or spray bottles that usually just roll around on the floor of the cabinet.
- Categorize with labels (the low-tech way). Even if you aren’t a “label maker person,” taking a Sharpie and a piece of masking tape to mark your bins helps keep the system from falling apart two weeks later. It keeps the whole household on the same page!
Quick Wins for a Stress-Free Sink Area
Stop the clutter before it starts by grouping similar items—like all your cleaning sprays or dish soaps—into clear, stackable bins so you can actually see what you have at a glance.
Think vertically; when you’re working with limited square footage, using tension rods or small under-shelf baskets can turn that dead air space into a functional storage zone.
Don’t be afraid to get a little tech-savvy or DIY with it—labeling your bins or even installing a simple motion-sensor light can make navigating those dark corners a whole lot easier.
## A Little Logic for Your Cabinet Chaos
“Think of your under-sink area like a messy codebase: if you don’t take the time to refactor the chaos and build a logical structure, you’re just going to keep running into the same bugs every time you need to find the Windex.”
Sarah Mitchell
Bringing It All Together
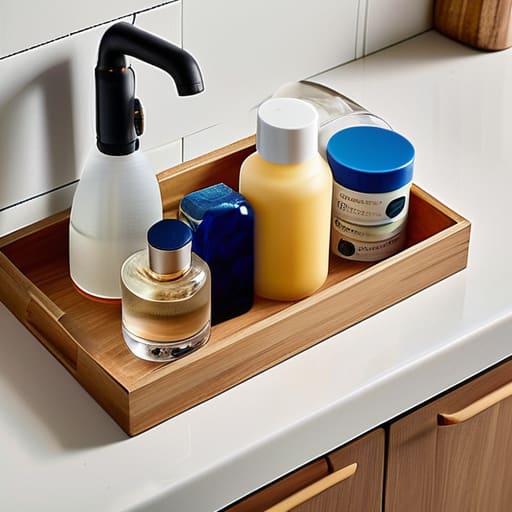
At the end of the day, organizing your under-sink area isn’t just about finding a home for your dish soap or sponges; it’s about creating a system that actually works for your daily life. By combining those smart DIY hacks we talked about with a solid decluttering routine, you’re transforming a chaotic corner into a functional part of your home. Remember, whether you’re using tiered organizers to maximize every inch of vertical space or implementing a strict “one in, one out” rule for cleaning supplies, the goal is to reduce friction in your routine. When you stop fighting against a messy cabinet, you free up mental energy for the things that actually matter.
I know that staring at a cluttered, dark cabinet can feel a bit overwhelming, especially when you have a million other things on your plate. But I promise you, once you take that first step and implement even just one of these solutions, the sense of accomplishment is so worth it. Think of this as a small, manageable project that yields big results—much like debugging a tricky piece of code or sanding down a piece of reclaimed wood. Don’t aim for perfection right away; just aim for better than yesterday. You’ve got the tools and the plan, so grab that notebook, pick a starting point, and get to work. You’ve totally got this!
Frequently Asked Questions
What are some ways to keep things dry and prevent mold if my under-sink area has a tiny bit of a leak?
Ugh, a tiny leak is the worst—it’s such a headache when you’re trying to keep everything organized. First, grab a moisture absorber or some silica gel packets to soak up that extra humidity. I also swear by laying down a heavy-duty waterproof silicone mat; it catches drips before they ruin your cabinets. Most importantly, keep a small fan nearby to circulate air and prevent that musty mold smell from moving in!
Are there specific types of clear bins or organizers that work best for heavy cleaning supplies versus smaller, miscellaneous items?
I’ve learned the hard way that one size definitely doesn’t fit all here. For those heavy-duty cleaning bottles, skip the flimsy plastic; look for deep, heavy-duty bins with sturdy handles so you aren’t struggling when they’re full. For the small, miscellaneous stuff—like sponges or scrubbers—I swear by shallow, stackable clear trays. It keeps everything visible so you aren’t digging through a “junk drawer” abyss every time you need a microfiber cloth!
How can I organize a deep cabinet without losing everything in the very back where I can't reach it?
I’ve been there—reaching into a dark cabinet and feeling like you’re digging through a black hole. To stop losing your gear, you have to bring the back to the front. I swear by deep, clear pull-out bins or even rotating Lazy Susans for those awkward corners. If you’re feeling crafty, you can DIY some sliding wooden trays. It’s all about creating “zones” so nothing stays hidden in the shadows.
