I remember sitting in my tiny apartment back in college, staring at a piece of cheap, particle-board furniture and thinking, “I wish I could just make something better.” Most people think you need a massive workshop and a mountain of expensive power tools to actually create something beautiful, but that’s honestly just a myth that keeps so many talented people on the sidelines. The truth is, getting started with beginner woodworking projects isn’t about having the perfect setup; it’s about overcoming that initial fear of making a mistake and realizing that every master was once a total beginner.
In this post, I’ve handpicked five specific projects that are perfect for building your confidence without breaking the bank or your spirit. We’re going to skip the overly complicated blueprints and focus on projects that yield immediate, functional results you’ll actually want to display in your home. By the time you finish reading, you’ll have a clear roadmap to move from “I can’t do that” to “look what I just built.” Let’s dive in and get your hands a little dusty!
Table of Contents
A Simple Floating Shelf
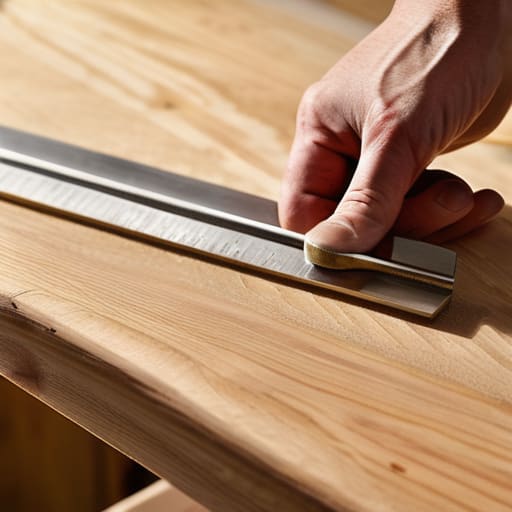
If you’re looking for a quick win that makes a massive impact on a room, you can’t go wrong with a floating shelf. I remember my first attempt; I was so nervous about getting the measurements right, but once that wood hit the wall, I felt like a total pro. It’s a great way to practice your basic measuring and cutting skills without needing a massive workshop or expensive machinery.
The Classic Herb Planter
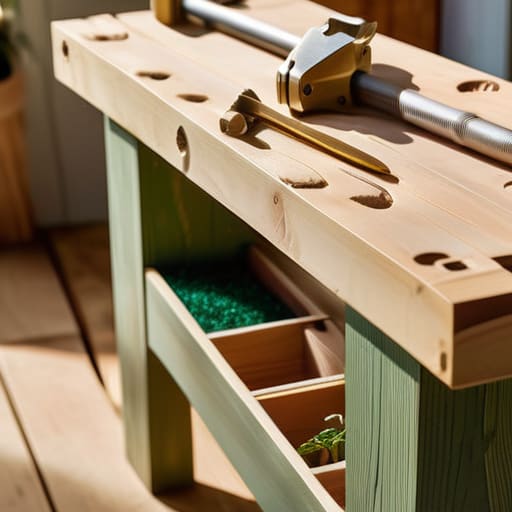
There is something so grounding about growing your own food, and building your own planter adds a layer of personal pride to the whole process. I love making these because they allow for a bit of creative experimentation with different wood types or even adding some rustic hardware. It’s the perfect bridge between my love for tech-driven efficiency and my need to get my hands dirty in the garden.
Minimalist Phone & Tech Dock
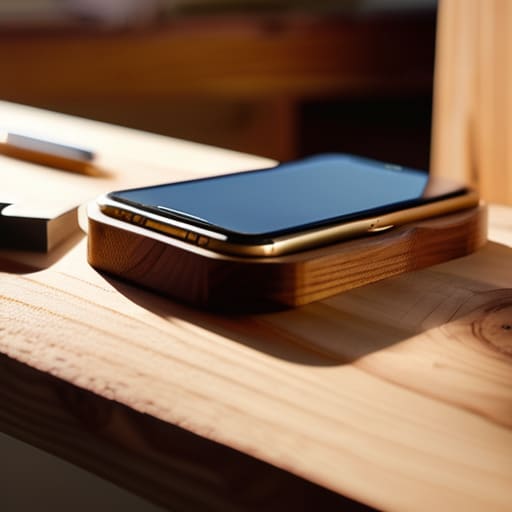
As someone who spends most of her day staring at screens, I’ve realized how much a cluttered desk can mess with your focus. I decided to tackle a small tech dock project to help organize my workspace, and it was a total game-changer. It’s a tiny project, but it teaches you the importance of precision and tight tolerances, which is a skill that actually translates surprisingly well to my software engineering work.
Rustic Serving Tray
If you’re looking to impress friends at your next dinner party, a handmade serving tray is the ultimate way to do it. This project is wonderful because it introduces you to the concept of adding handles, which can be done with simple metal hardware or even by drilling holes through the wood. I always find that these little details are what make a piece feel truly professional.
Reclaimed Wood Picture Frames
One of my favorite things about woodworking is the ability to upcycle. I love taking old scraps or even pieces of pallet wood and turning them into something beautiful, like a custom picture frame. It’s a low-stakes way to learn about miter cuts—those 45-degree angles that make the corners meet perfectly—without the fear of ruining an expensive slab of oak.
Final Thoughts: Making It Your Own
Don’t sweat the imperfections; those little quirks are what make a handmade piece feel personal and authentic rather than something mass-produced.
Start small and focus on the process—mastering a single joint or a smooth sanding technique is much more valuable than rushing to finish a complex build.
Use your mistakes as data points; just like debugging code, every failed project is just a way to learn what works and what doesn’t for your next one.
## The Real Magic of Making
“At the end of the day, it’s not about whether your first joint is perfectly seamless or your sanding is flawless; it’s about that incredible, slightly addictive rush you get when you realize you didn’t just buy something—you actually built it with your own two hands.”
Sarah Mitchell
Making Your Mark
Looking back at these five projects, it’s easy to see how much ground you can actually cover when you stop overthinking and just start building. Whether you’re tackling a simple floating shelf to organize your workspace or breathing new life into an old side table with a fresh coat of stain, the goal isn’t perfection—it’s progress. Each of these ideas is designed to help you get comfortable with your tools, understand how different wood grains react to sanding, and most importantly, help you build a foundation of practical skills. Remember, every master woodworker started with a single, slightly crooked birdhouse or a wobbly stool. It’s all part of the learning curve.
At the end of the day, woodworking is so much more than just making stuff; it’s about the incredible sense of agency you feel when you create something with your own two hands. In a world where so much of our work is digital and intangible, there is something deeply grounding about feeling the texture of sawdust and the weight of a hammer. I want to encourage you to grab that notebook of yours, sketch out your next idea, and just dive in. Don’t wait until you have the “perfect” workshop or the most expensive saw. Just start where you are, stay curious, and embrace the mess. You’ve got this!
Frequently Asked Questions
Do I really need to invest in a full workshop of power tools right away, or can I get started with just a few hand tools?
Honestly, please don’t feel like you need to go out and drop a fortune on a massive workshop right away. I see that mistake all the time! Start with a solid set of hand tools—a good saw, a hammer, some chisels, and a measuring tape. It’s actually a better way to learn the “feel” of the wood. Once you’ve mastered the basics and know what you actually enjoy making, then you can start investing in power tools.
What are the best types of wood for beginners that won't break the bank but are still easy to work with?
If you’re just starting out, I highly recommend sticking with pine or cedar. Pine is super affordable and easy to find at any local hardware store, which is perfect when you’re still learning how to make mistakes without feeling guilty about the cost. Cedar is also a dream because it’s naturally rot-resistant and works beautifully for outdoor projects. Just a heads-up: watch out for knots, as they can be a bit tricky for beginners!
How do I make sure my measurements are accurate so I don't end up with a project that's wonky or uneven?
Honestly, I’ve ruined more than a few pieces of wood because I rushed my measurements. My biggest tip? Measure twice, cut once—it’s a cliché for a reason! I always use a sharp carpenter’s pencil because a dull one can throw your line off by a millimeter. Also, don’t forget to account for the “kerf,” which is the width of your saw blade. Taking that extra second to double-check ensures everything stays perfectly square.
