I was hunched over my workbench last weekend, surrounded by the scent of cedar shavings and the frustrating sight of a half-finished bookshelf that just wouldn’t fit the nook in my hallway. It’s one of those moments where you realize that despite all my software engineering logic, physical space is a much more chaotic beast to debug. I used to think that if I just bought a few more expensive, modular plastic bins from a big-box store, my clutter would magically vanish. But let’s be real: those expensive, “one-size-fits-all” organizers are often just expensive Band-Aids for a deeper problem. If you’re tired of wasting money on products that don’t actually fit your life, you’re not alone; I’ve spent way too many hours learning that true diy storage solutions require a bit more strategy and a lot less retail hype.
In this post, I’m skipping the fluff and the Pinterest-perfect illusions to give you the actual, grit-under-your-fingernails truth. I’m going to walk you through my favorite ways to build functional, custom storage that actually works for your specific space and budget. We aren’t just making things look pretty; we are engineering efficiency into your home. Whether you’re a total beginner or a fellow tinkerer, I promise to share practical, no-nonsense projects that will help you finally master your environment.
Table of Contents
Master Small Apartment Storage Hacks for Tiny Rooms
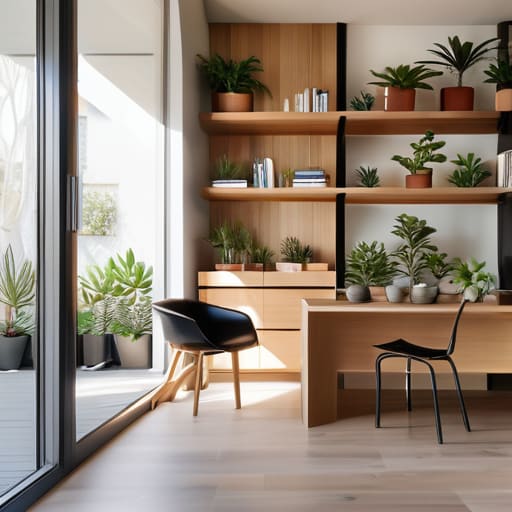
When you’re living in a studio or a tiny one-bedroom, every square inch feels like prime real estate. I’ve spent plenty of nights in cramped apartments where I felt like I was tripping over my own life, so I know the struggle is real. The secret isn’t finding more floor space—it’s about looking up. I’m a huge advocate for vertical storage techniques because they allow you to reclaim your living area by utilizing the empty space between your furniture and the ceiling. Think floating shelves above your desk or tall, narrow bookcases that draw the eye upward rather than outward.
Another trick I swear by is getting creative with what you already have. Instead of running to a big-box retailer, try some repurposed container ideas to keep your smaller essentials tidy. I once turned old wooden crates from a local market into modular cubbies for my tech cables and notebooks; it looked intentional and saved me a ton of money. By mixing these clever hacks with a bit of intentionality, you can turn a cramped room into a space that actually feels breathable and organized.
Budget Friendly Shelving Projects to Boost Your Home
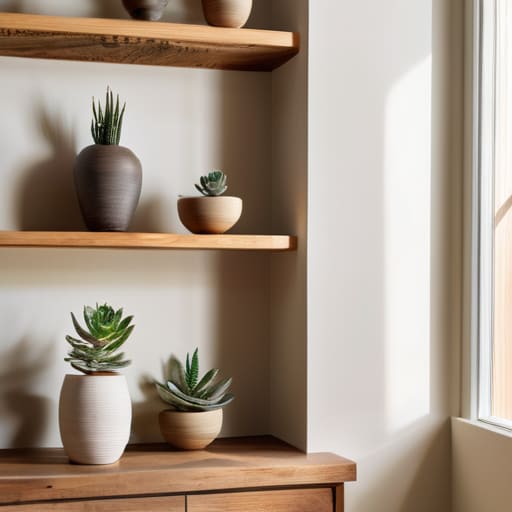
If you’re looking to add some structure to your home without draining your savings, you don’t need a trip to a high-end furniture boutique. I’ve found that some of my favorite pieces come from simple, budget friendly shelving projects using basic materials you can find at any local hardware store. One of my go-to moves is building floating shelves from reclaimed wood scraps. It’s a perfect way to practice my woodworking hobby while adding a touch of warmth to a room. Not only do these look great, but they are also essential vertical storage techniques that draw the eye upward, making your ceilings feel higher and your floor space much clearer.
For an even more low-cost approach, I love experimenting with repurposed container ideas. If you have old wooden crates or even sturdy vintage tins lying around, you can mount them directly to the wall to create a modular shelving system. It’s a fun, creative way to display books or small plants without spending a dime on new units. These little additions work wonders when you’re trying to maximize every inch of your living area.
My Go-To Strategies for Maximizing Every Inch of Space
- Look Upward: When floor space is at a premium, your walls are your best friend. I love using floating shelves or even installing a simple pegboard in the kitchen or office to get those loose items off the counter and into eye level.
- Repurpose What You Already Own: Before you head to the hardware store, check your recycling bin. Old wooden crates can be sanded down and stacked into a charming bookshelf, and even sturdy glass jars can be transformed into stylish organizers for a desk drawer.
- Utilize “Dead Zones”: We all have those awkward gaps—the space between the washer and the dryer, or that narrow strip next to a wardrobe. A slim, rolling DIY cart can turn a useless corner into a high-functioning storage zone for cleaning supplies or shoes.
- Label Everything (Seriously!): There is nothing more frustrating than a “hidden” storage solution that becomes a black hole. Whether you use a label maker or just a bit of masking tape and a Sharpie, knowing exactly what’s in a bin makes maintaining your new system so much easier.
- Think Vertically with Over-the-Door Solutions: This is a classic for a reason. You can DIY a custom organizer using heavy-duty fabric or even scrap wood to hang on the back of a pantry or closet door, which is a total game-changer for storing everything from spices to tech cables.
Quick Wins for Your Space
Don’t feel like you need to overhaul your whole house at once; start by tackling one cluttered corner with a simple, low-cost DIY project to build your momentum.
Always measure twice and think vertically—using your wall space is the absolute best way to reclaim floor area without spending a fortune on new furniture.
Look at your “trash” through a new lens; an old wooden crate or a sturdy ladder can become a high-functioning storage piece with just a little bit of sanding and some fresh paint.
My Philosophy on Organizing
“At the end of the day, DIY storage isn’t just about finding a place to hide your clutter; it’s about building a space that actually works for your life, using whatever tools and scraps you’ve got on hand.”
Sarah Mitchell
Final Thoughts on Building Your Organized Life
At the end of the day, organizing your home isn’t about achieving some impossible, Pinterest-perfect aesthetic; it’s about creating a space that actually works for your unique lifestyle. Whether you’ve been tackling those tricky small apartment corners with vertical hacks or you’ve just finished building some custom shelving from reclaimed wood, you’ve taken a huge step toward reducing daily friction. We’ve covered everything from maximizing every square inch of a tiny room to implementing budget-friendly projects that add both function and character to your home. Remember, the goal is to stop fighting your environment and start making it serve you.
If you’re feeling a little overwhelmed by the sheer amount of clutter in your life, just remember that you don’t have to do it all in one weekend. I know from my own woodworking projects that the best results come from taking it one measurement and one shelf at a time. Technology and DIY skills are both about incremental progress, and the same applies to your living space. So, grab your notebook, pick one small corner to transform, and just start building. You have the tools and the talent to create a home that inspires you every single day. I can’t wait to see what you create!
Frequently Asked Questions
What are some beginner-friendly tools I should grab if I'm starting my first woodworking project?
Honestly, don’t go out and buy a whole workshop just yet! I always tell my coaching clients: start small so you don’t get overwhelmed. For your first project, grab a reliable cordless drill, a tape measure, a speed square, and a good set of clamps—you can never have too many clamps. A basic handsaw and some sandpaper will also be your best friends. Just focus on the essentials, and you’ll be building in no time!
How do I make sure my DIY shelving is actually sturdy enough to hold heavy books or kitchen gear?
That is such a great question, and honestly, it’s where a lot of my DIY projects used to go sideways! To keep those heavy cookbooks from bowing your shelves, the secret is all in the support. First, skip the flimsy plastic anchors; always use heavy-duty wall anchors or, better yet, screw directly into your wall studs. I also swear by adding a middle support bracket or using thicker wood—think 1-inch pine instead of thin plywood—to prevent sagging.
Are there any specific materials you recommend for upcycling old furniture into functional storage without spending a fortune?
Honestly, you don’t need to head to a high-end hardware store to get started. I’m a huge fan of scouring thrift stores or Facebook Marketplace for old wooden crates and vintage suitcases—they’re goldmines for unique storage. For hardware, grab some basic sandpaper, a decent screwdriver, and maybe some matte black spray paint or leftover wood stain from a previous project. It’s all about seeing the potential in what’s already out there!
