I was sitting on my living room floor last Tuesday, surrounded by a chaotic sea of tangled wire, mismatched beads, and a pair of pliers that felt way too heavy for my clumsy hands, wondering why I ever thought I could do this. I’ve spent years debugging complex code and refinishing old oak dressers, but nothing quite tested my patience like my first attempt at diy jewelry making. It’s incredibly easy to look at those polished, professional pieces on Instagram and feel like you need a literal laboratory to recreate them. But here’s the truth I learned after a few failed necklaces and some very frustrated afternoons: you don’t need expensive machinery or a degree in fine arts to create something truly stunning.
In this guide, I’m stripping away the fluff and the intimidating jargon to give you a real-world roadmap. I’ll walk you through the essential tools you actually need—not the overpriced kits that collect dust—and the fundamental techniques that will help you build pieces you’re actually proud to wear. My goal is to help you bridge that gap between “craft project” and professional-looking jewelry through simple, actionable steps. Let’s stop overthinking the process and start building something beautiful together.
Table of Contents
- Step-by-Step Instructions
- Essential Jewelry Making Tools for Beginners to Get Started
- Sourcing Quality Essential Bead Supplies for Professional Results
- Pro-Tips to Level Up Your Jewelry Game
- Quick Wins to Keep Your Momentum Going
- ## Finding Your Flow
- Final Thoughts Before You Start Creating
- Frequently Asked Questions
Guide Overview
Tools & Supplies
- Needle-nose pliers for gripping and bending wire
- Round-nose pliers for creating loops
- Wire cutters for trimming materials
- Beading wire or cord (1 roll)
- Assorted beads (1 set)
- Jewelry clasps (5-10 pieces)
- Jump rings (1 pack)
Step-by-Step Instructions
- 1. First things first, you need to clear some space on your desk and gather your gear. I always keep a small tray or a felt mat handy because, let’s be real, those tiny jump rings and beads have a habit of disappearing into the carpet the second you look away. Grab your needle-nose pliers, wire cutters, and a set of bead trays so you can stay organized from the jump.
- 2. Once you’ve got your workspace set up, it’s time to pick your “hero” element. Whether it’s a vintage charm you found at a thrift store or a beautiful piece of sea glass, this is the piece that will set the tone for your entire design. I love upcycling old components from broken jewelry, so don’t be afraid to dig through your old trinket boxes to find something unique.
- 3. Now, let’s get to the actual assembly using your wire or cord. If you’re working with wire, use your pliers to create a “wrapped loop”—this is a fundamental skill that makes your jewelry look professionally finished rather than just homemade. Take your time with the tension; you want the loop to be snug but not so tight that it deforms the wire.
- 4. Next, you’ll want to integrate your beads or charms onto your base. I find it helpful to “dry fit” everything first by laying the components out on your mat before you actually string them. This allows you to visualize the spacing and ensure the color palette actually works together before you make a permanent move.
- 5. After you’re happy with the layout, it’s time to secure your connections. If you’re using jump rings, use two pairs of pliers—one in each hand—to twist the ring open sideways rather than pulling it apart into a circle. This is a crucial technique because pulling it into a gap will weaken the metal and make your jewelry much more likely to break later on.
- 6. Once everything is connected, give your piece a quick “stress test.” Gently tug on the links and loops to make sure everything is seated properly and that no wires are poking out. I always keep a small notebook nearby to jot down which tools worked best for a specific material, as it helps me refine my process for the next project.
- 7. Finally, clean up your creation and give it a little polish. If you used metal components, a quick buff with a soft cloth can make those dull pieces really pop. Don’t worry if your first attempt isn’t absolute perfection; the beauty of DIY is that you can always tinker and improve as you go!
Essential Jewelry Making Tools for Beginners to Get Started
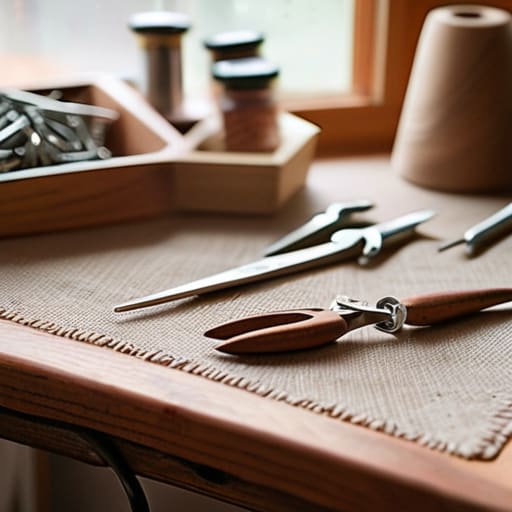
When I first started diving into this hobby, I made the mistake of thinking I needed a professional studio to get anything done. Trust me, you don’t. To keep things manageable, I recommend starting with a basic set of jewelry making tools for beginners, specifically a pair of needle-nose pliers, round-nose pliers, and wire cutters. These three are your bread and butter; they’ll handle everything from opening jump rings to shaping delicate loops. I always keep mine in a small wooden organizer I built last summer—it keeps the workspace tidy and prevents those tiny pieces from rolling under the couch!
Beyond the metalwork, your success really comes down to having the right essential bead supplies on hand. Instead of buying massive, expensive kits, I suggest picking up a few high-quality glass or stone beads in colors that complement each other. This allows you to experiment with different jewelry design ideas without breaking the bank. If you find yourself getting more adventurous, you can eventually branch out into more complex wire wrapping techniques, but for now, just focus on mastering the basics and having fun with your creations.
Sourcing Quality Essential Bead Supplies for Professional Results
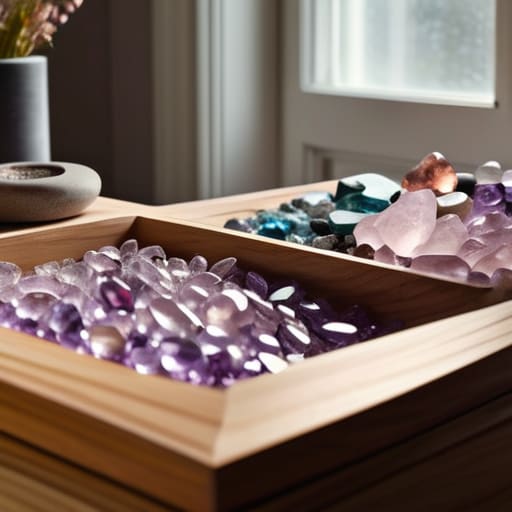
One thing I’ve learned from both software engineering and woodworking is that the quality of your raw materials dictates the quality of your final product. You can have the best jewelry making tools for beginners, but if you’re working with beads that chip easily or metal findings that turn your skin green after an hour, you’re going to feel discouraged. I always tell my students to invest a little extra in high-quality glass, semi-precious stones, or sterling silver components. It makes a world of difference in how the finished piece catches the light and, more importantly, how long it lasts.
When you’re hunting for essential bead supplies, try to move beyond the big-box craft stores and look into specialized online bead boutiques or local gem shows. These sources often offer unique shapes and finishes that you won’t find in a generic kit, which is key when you’re trying to move away from cookie-cutter designs. Always check the hole size of your beads before buying in bulk; there’s nothing more frustrating than finding the perfect bead only to realize your wire won’t fit through it!
Pro-Tips to Level Up Your Jewelry Game
- Don’t skip the “stress test.” Before you call a piece finished, give it a gentle tug. I’ve learned the hard way that if a knot or a jump ring feels even slightly flimsy, it’s going to fail the moment someone actually wears it.
- Keep your workspace organized, even if it’s just a small corner of your desk. There is nothing more frustrating than losing a tiny, crucial bead in a sea of clutter right when you’re in the zone. I always use a small tray or even one of my old wooden organizers to keep everything in its place.
- Master the art of the “mock-up” before you commit. Before you string everything together permanently, lay your beads out on a piece of felt or a bead board. It lets you see the color flow and pattern without the pressure of making a mistake you can’t undo.
- Think about the “wearability” factor. As someone who loves building things, I always remind myself that jewelry isn’t just art—it’s functional. Make sure your clasps are easy to manipulate and that your earring wires aren’t so heavy they’ll pull on your lobes.
- Embrace the mistakes. You’re going to snap a thread or miscount a pattern at some point. Instead of getting frustrated, treat it like a debugging session in code—figure out where the logic broke, fix it, and move on. That’s where the real learning happens.
Quick Wins to Keep Your Momentum Going
Start small and don’t feel pressured to buy every gadget in the catalog; mastering a few basic tools like needle-nose pliers is way more effective than having a cluttered drawer of stuff you don’t know how to use.
Quality matters more than quantity when it comes to your materials, so invest in decent beads and sturdy wire early on to avoid the frustration of broken pieces mid-project.
Treat every mistake as a prototype—whether you’re coding a new script or stringing a necklace, the real learning happens when you troubleshoot what went wrong and try again.
## Finding Your Flow
“At the end of the day, jewelry making isn’t just about the finished piece; it’s about that meditative moment when you stop worrying about your inbox and start focusing on how a single bead fits into the larger pattern you’re creating.”
Sarah Mitchell
Final Thoughts Before You Start Creating
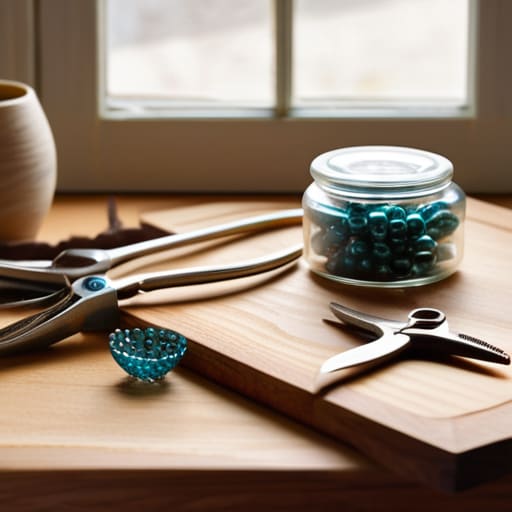
We’ve covered a lot of ground today, from gathering your foundational toolset to sourcing those high-quality beads that really make a piece pop. I know it can feel a bit overwhelming when you’re staring at a pile of supplies and a blank workspace, but remember that you don’t need a professional studio to make something beautiful. The most important thing is to focus on the fundamentals of construction and ensuring your materials are consistent. Once you’ve mastered the basic assembly techniques and understood where to find reliable components, you’ve already cleared the biggest hurdles in the process. It’s all about building a solid foundation, one bead at a time.
At the end of the day, jewelry making is about so much more than just the finished product sitting in a box; it’s about the incredible sense of agency you gain when you create something from scratch. Whether you’re making a simple necklace for yourself or a complex piece to gift a friend, let every mistake be a lesson rather than a reason to quit. I’ve learned through my own woodworking projects that the real magic happens in the messy middle of the learning curve. So, grab your notebook, clear off your desk, and just start building. I can’t wait to see what you create!
Frequently Asked Questions
How can I tell if the beads I'm buying are high quality or just cheap plastic that will fade?
I’ve definitely learned this the hard way—there’s nothing more frustrating than a beautiful piece fading after one wear. To spot the good stuff, start with a weight test; high-quality glass or stone feels substantial, not hollow. Also, look at the luster. Real beads have a deep, consistent glow, while cheap plastic often looks “painted on” and feels slightly tacky. If you can, check for uniform hole drilling—it’s a huge tell for quality craftsmanship!
I'm worried about making things look "homemade"—what are some pro tips for making my designs look more polished and professional?
I totally get that anxiety—I used to feel the same way when I first started upcycling furniture! To avoid that “craft fair” look, focus on precision. Invest in high-quality crimp beads and use a pair of real needle-nose pliers for tight, consistent loops. Also, pay close attention to symmetry; even a tiny misalignment can make a piece feel off. When your tension is even and your finishes are clean, your work will look intentional, not accidental.
Where is the best place to find inspiration for my designs without just copying what's already on Pinterest?
I totally get that struggle. Pinterest is great for a quick spark, but it can definitely feel like an echo chamber sometimes. To find your own “voice,” I love looking away from the screen entirely. I often grab my notebook and head to a local botanical garden or even a thrift store. Looking at the natural patterns in a leaf or the weathered texture of an old brass trinket can inspire much more unique, soulful designs.