I was standing in the middle of my first tiny apartment in San Francisco, staring at these aggressively blank, white walls, feeling completely defeated. I wanted my space to feel like home, but my bank account definitely wasn’t ready for high-end gallery pieces, and I certainly didn’t feel like a “real artist.” I kept telling myself I’d figure out how to make wall art once I had more money or more talent, but that was just a stall tactic. The truth is, you don’t need a massive budget or a degree in fine arts to create something stunning; you just need a bit of grit and a willingness to experiment.
In this guide, I’m stripping away all the intimidating fluff to show you exactly how to make wall art that actually looks intentional and professional. Whether you’re looking to upcycle some old wood scraps from my workshop or try some low-stakes canvas painting, I’ll walk you through the practical steps to get it done. My goal is to give you actionable, no-nonsense techniques that turn those empty walls into a reflection of your personality without the stress.
Table of Contents
- Step-by-Step Instructions
- Mastering Modern Home Decor Diy With Confidence
- Budget Friendly Wall Decor Projects for Every Skill Level
- Pro-Tips for Polishing Your Projects and Avoiding Common Pitfalls
- Quick Wins for Your Next Project
- Finding Your Creative Rhythm
- Final Thoughts on Your Creative Journey
- Frequently Asked Questions
Guide Overview
Tools & Supplies
- Paintbrush (various sizes for blending)
- Palette knife (for texture application)
- Painter's tape (for creating clean geometric lines)
- Canvas (1 piece, medium size)
- Acrylic paint (1 set, assorted colors)
- Gesso (1 jar, for priming)
- Modeling paste (1 tub, for 3D texture)
Step-by-Step Instructions
- 1. First things first, you need to clear some headspace and decide what kind of vibe you’re going for. Are we talking about a minimalist geometric look, or something a bit more textured and “boho”? I always find it helpful to grab my little notebook and sketch out a few rough ideas before I even touch a tool. Don’t worry about making it perfect; just get those initial concepts out of your head and onto paper so you have a roadmap to follow.
- 2. Next, let’s talk supplies. Since I love upcycling, I rarely buy anything brand new. Scour your garage or hit up a local thrift store for some old wooden frames, interesting canvases, or even some scrap wood. Once you’ve gathered your base materials, grab your “engine” components: acrylic paints, some high-quality brushes, and maybe some mounting putty or command strips. Having the right tools on hand prevents that mid-project frustration of having to run back to the store.
- 3. Now, it’s time to prep your canvas or surface. If you’re working with reclaimed wood, give it a light sanding to smooth out any rough patches—think of it like cleaning up your code before you start building a new feature. If you’re using a canvas, applying a base coat of primer or a solid neutral color can make a huge difference in how your final colors pop. You want a clean slate to work on.
- 4. This is the fun part: the actual creation! Start by mapping out your composition. I usually start with the larger shapes or background colors first, then layer in the finer details. If you’re feeling nervous about making a mistake, remember that everything is fixable with a bit of patience and a little extra paint. Don’t be afraid to experiment with different textures by using a sponge or even a crumpled-up paper towel to add some depth.
- 5. Once you’ve finished your masterpiece, you have to let it dry completely. This sounds obvious, but I’ve definitely been guilty of trying to hang something too early, only to end up with a sticky mess on my hands. If you’re using heavy layers of paint or adding 3D elements like fabric or dried botanicals, give it an extra few hours (or even overnight) to ensure everything is set and secure.
- 6. Finally, let’s get that art onto your walls. Before you hammer a single nail, I highly recommend using painter’s tape to mark out where the piece will sit. This lets you step back and see if the scale actually works with your furniture. Once you’re happy with the placement, use a level to make sure it’s straight—nothing kills the “professional” look faster than a crooked frame. Now, take a step back, grab a coffee, and enjoy the view!
Mastering Modern Home Decor Diy With Confidence
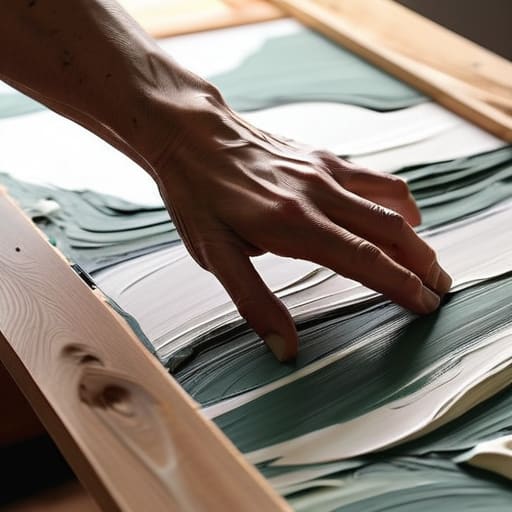
Once you’ve got the basics down, the real fun begins when you start experimenting with your own unique style. I’ve found that the secret to successful modern home decor DIY isn’t about spending a fortune at high-end boutiques; it’s about having the confidence to play with what you have. If you’re feeling a bit intimidated by a blank canvas, I highly recommend looking into abstract canvas painting techniques. You don’t need to be a master illustrator to create something stunning—sometimes, just layering colors and letting the brush do the work creates a sophisticated look that feels intentional and high-end.
Another way to elevate your space is by playing with dimension. Instead of sticking to flat images, try incorporating some textured wall art methods like using modeling paste or even fabric scraps to add depth. This adds a tactile element that makes your pieces look like they belong in a professional gallery. My best piece of advice? Don’t overthink the “perfection” aspect. These are budget friendly wall decor projects meant to reflect your personality, so embrace the happy accidents along the way!
Budget Friendly Wall Decor Projects for Every Skill Level
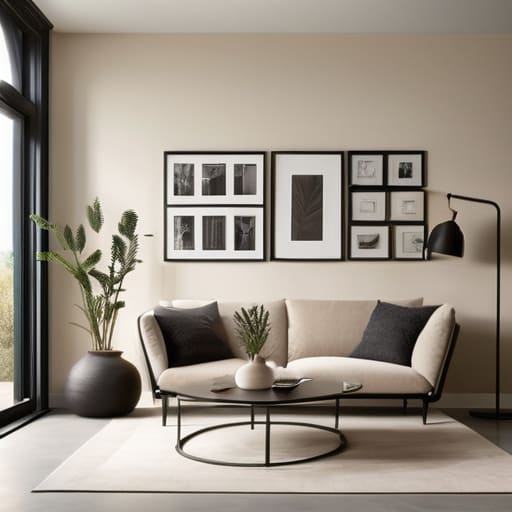
One thing I’ve learned from years of upcycling old furniture is that you don’t need a massive budget to create something that looks high-end. If you’re just starting out, I highly recommend looking into budget friendly wall decor projects that utilize items you likely already have lying around the house. For instance, you can take old, mismatched picture frames from a thrift store, spray paint them a uniform matte black, and suddenly they look like a curated collection. It’s all about seeing the potential in the “junk” before it hits the landfill.
For those who want to get a bit more hands-on without breaking the bank, experimenting with textured wall art methods is a total game changer. You don’t need expensive professional kits; a simple tub of joint compound from the hardware store and a putty knife can turn a basic canvas into a stunning, sculptural piece. It’s one of my favorite easy craft ideas for living room updates because it adds that sophisticated, tactile dimension that makes a space feel much more expensive than it actually was. Just grab some basic wall art supplies for beginners and start playing around—there’s no such thing as a mistake when you’re experimenting!
Pro-Tips for Polishing Your Projects and Avoiding Common Pitfalls
- Don’t skip the prep work; whether you’re painting a canvas or sanding down an old wooden frame, taking that extra twenty minutes to clean and prime your surface makes the difference between a “craft project” and actual decor.
- Think about your lighting before you hang anything; I’ve learned the hard way that a beautiful piece can look totally washed out or hideously shadowed if you don’t consider how the natural light hits your walls during the day.
- Mix your textures to add depth; if you’re making something minimalist, try incorporating a bit of reclaimed wood or a tactile fabric to keep the piece from feeling flat and one-dimensional.
- Embrace the “imperfection” of handmade items; if a line isn’t perfectly straight or a color bleeds slightly, don’t scrap the whole thing—sometimes those little quirks are exactly what give the piece its soul and character.
- Always scale your art to the space; a tiny piece of art on a massive dining room wall looks a bit lost, so don’t be afraid to group smaller pieces together or go big with your materials to command the room.
Quick Wins for Your Next Project
Don’t let perfectionism stall your creativity; the best part of DIY is the learning process, so start with something small and let your confidence grow as you go.
Mix and match your resources by combining tech tools—like finding inspiration on Pinterest—with hands-on materials to create decor that feels uniquely yours.
Keep your eye on the budget without sacrificing style by upcycling old frames or using affordable textures to give your walls a high-end, custom look.
Finding Your Creative Rhythm
“At the end of the day, wall art isn’t about buying the perfect piece from a showroom; it’s about the confidence you gain when you realize you have the tools to turn a blank space into something that actually tells your story.”
Sarah Mitchell
Final Thoughts on Your Creative Journey
At the end of the day, making your own wall art is about more than just filling up empty space on a room; it’s about the process of experimentation. We’ve covered everything from choosing the right materials and staying within a tight budget to mastering modern aesthetics that make your home feel uniquely yours. Whether you decided to go the route of upcycled wood pieces or kept it simple with minimalist canvas prints, the most important thing is that you took the leap and actually started building. Remember, your first attempt doesn’t have to be a masterpiece to be a success—it just needs to be a stepping stone toward your next creative breakthrough.
As I often tell my mentees when they are feeling stuck in their careers, the best way to grow is simply to start doing the work, even when you don’t feel like an expert yet. DIY projects are exactly the same. Don’t let the fear of a messy workspace or a slightly crooked frame stop you from expressing yourself. Every mistake is just a bit of data that helps you refine your skills for the next project. So, grab your tools, open that notebook of yours, and go create something that makes you feel proud every time you walk through the door. I can’t wait to see what you build!
Frequently Asked Questions
What kind of tools should I keep in my kit if I want to move from simple paper crafts to more advanced wood or mixed-media pieces?
If you’re ready to move beyond paper and start playing with wood or mixed media, it’s time to level up your toolkit. Start with a decent cordless drill and a set of wood glue—they’re absolute game-changers. I’d also grab a miter saw for clean cuts and some sandpaper in various grits to get that professional finish. Honestly, even a basic orbital sander will save your wrists and make your pieces look much more polished!
How do I figure out if a piece of DIY art actually fits my existing room layout without it looking cluttered or out of place?
I’ve definitely been there—standing in a room with a finished project, wondering if it looks intentional or just like “stuff” piled in a corner. My favorite trick? Use painter’s tape to outline the art’s dimensions on your wall before you even touch a hammer. It helps you visualize the scale and negative space. Also, try stepping back to the doorway; if your eyes jump straight to the piece without feeling overwhelmed, you’ve nailed the balance!
I'm worried about damaging my walls—are there any reliable, damage-free ways to hang heavier DIY projects?
I totally get that anxiety—there’s nothing worse than finishing a project you’re proud of only to see a huge hole in your drywall! For medium-weight pieces, I swear by Command heavy-duty picture hanging strips; they’re a lifesaver. If you’re tackling something truly substantial, like a chunky reclaimed wood frame, skip the adhesive and use those small, thin nails that go in at an angle. They leave tiny pinpricks that are incredibly easy to patch later!
