I remember sitting on the floor of my first tiny apartment in Berkeley, surrounded by half-finished upcycling projects and feeling completely defeated because I didn’t have a stable surface to work on. I kept telling myself I needed to save up thousands for a professional-grade station, but the truth is, that’s just a way to procrastinate. You don’t need a massive budget or a high-end studio to get started; you just need a solid plan. Learning how to build a workbench is honestly the best investment you can make for your creative confidence, and it’s way more approachable than most people make it out to be.
In this guide, I’m stripping away all the fluff and the intimidating jargon to show you how to construct a sturdy, reliable workspace that actually lasts. I’ll walk you through selecting the right lumber, avoiding the common structural mistakes that lead to a wobbly mess, and organizing your workflow so you aren’t overwhelmed. Whether you’re a complete beginner or just looking to upgrade your setup, I’m going to give you the no-nonsense steps you need to finally build a foundation for your projects.
Table of Contents
Guide Overview
Tools & Supplies
- Circular saw or miter saw for cutting lumber
- Power drill for driving screws
- Tape measure for accurate marking
- Speed square for ensuring 90-degree angles
- Level to ensure a flat work surface
- 4×4 lumber (for legs) 2 pieces
- 2×4 lumber (for frame and bracing) 6 pieces
- 3/4 inch plywood (for tabletop) 1 sheet
- 2.5 inch wood screws (for assembly) 1 box
- Wood glue (for joint stability) 1 bottle
Step-by-Step Instructions
- 1. First things first, you need to grab your materials. I always recommend heading to your local lumber yard rather than a big-box store if you can; the quality of the wood is usually way better for a project like this. You’ll want some sturdy 4x4s for the legs, 2x4s for the frame, and a thick piece of plywood or even some solid butcher block for the top. Don’t forget a box of heavy-duty wood screws and some wood glue—glue is your best friend when it comes to making a workbench feel solid rather than wobbly.
- 2. Once you have your wood, it’s time to get cutting. If you don’t own a miter saw, don’t sweat it; most hardware stores can make a few precise cuts for you if you bring your measurements. You’re looking to create two identical rectangular frames that will serve as the top and bottom supports. I like to use my small notebook to sketch out the dimensions before I make a single cut, just to make sure I haven’t missed a decimal point somewhere.
- 3. Now, let’s start the assembly by building those frames. Lay your 2x4s out on a flat surface and screw them together to form your rectangles. I highly suggest pre-drilling your holes with a pilot bit first. If you skip this, you’re almost guaranteed to split the wood, and there is nothing more frustrating than a cracked piece of lumber halfway through a build. Use plenty of wood glue on the joints to ensure everything stays square and tight.
- 4. Next, we need to attach the legs to the frames. This is where the workbench really starts to take shape. Stand your 4×4 legs up inside the corners of your bottom frame and screw them into place. When you move on to the top frame, make sure it sits perfectly level on top of those legs. If things feel a little bit off, don’t panic; you can usually shim a leg or two to get it level before you commit to the final screws.
- 5. Now for the fun part: laying down the tabletop. If you’re using plywood, I find it’s best to glue it directly to the top frame to prevent any shifting later on. If you’re feeling a bit more ambitious and using solid wood planks, make sure you leave a tiny bit of breathing room between them for natural expansion and contraction. Once it’s down, drive your screws in, but be sure to countersink them so they sit below the surface of the wood.
- 6. Before you start throwing your tools on it, you’ve got to smooth it out. I always spend a good chunk of time with my orbital sander, moving from a coarse grit up to a fine grit. You want that surface to be smooth as silk so you aren’t catching splinters while you’re working on your next big project. If you’re planning on doing messy work like painting or staining, now is the perfect time to apply a protective sealant.
- 7. Finally, give your workbench a little bit of personality. Since I love upcycling, I often find old metal handles or even vintage-looking organizers to screw onto the side. This isn’t just about making it look pretty; it’s about making it functional for your specific needs. Whether you need a spot for your drill or a little tray for your screws, customize it to work for you, and you’ll find yourself wanting to spend way more time in your new workspace.
Selecting the Best Lumber for Workbench Projects
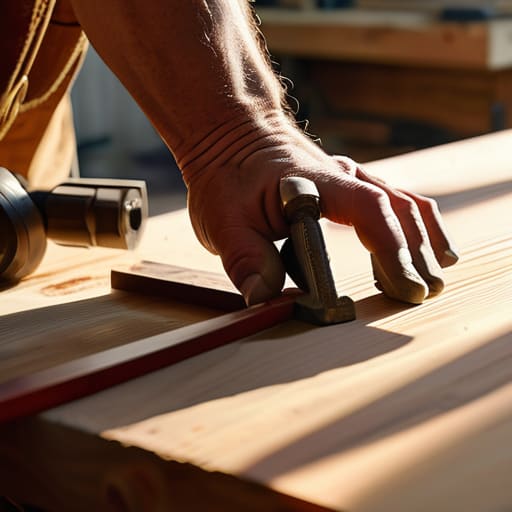
When you’re diving into your first build, the wood you pick is going to make or break your experience. I know it’s tempting to just grab the cheapest pine boards at the big-box store and call it a day, but you really want to look for something that won’t warp the second you tighten a clamp. For a solid foundation, I usually lean toward Douglas Fir or Southern Yellow Pine. They are incredibly dense and affordable, making them the gold standard for lumber for workbench projects if you’re on a budget. Just make sure you’re checking for straightness; grab a board and sight down the edge like an arrow to ensure it isn’t bowed or twisted.
If you’re aiming for a more permanent, heavy duty workbench design that you’ll pass down to your kids, you might want to consider hardwoods like Maple or Oak. They are much more expensive and can be a bit of a headache to work with if you aren’t used to them, but the stability is unmatched. Honestly, though, for most of us just starting out, a well-chosen softwood is more than enough to create a sturdy workshop table construction that can handle years of projects.
Mastering Heavy Duty Workbench Design Principles
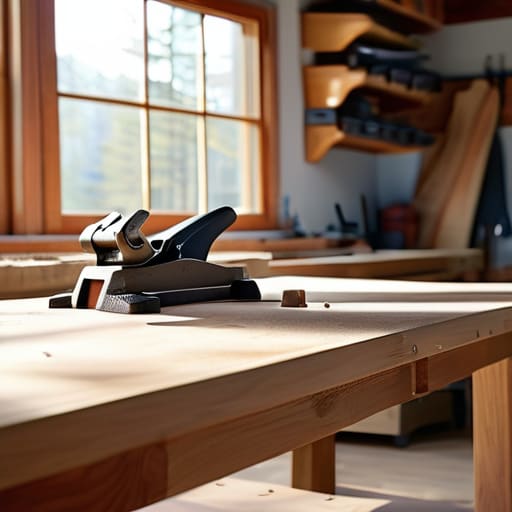
When you’re moving past basic assembly and looking into true heavy duty workbench design, you have to start thinking about mass and stability. A workbench isn’t just a table; it’s your foundation. If it wobbles even a tiny bit when you’re sawing or sanding, it’s going to drive you crazy. I always tell my students that mass is your best friend here. The more weight you can pack into the base, the less likely that surface is to shift during heavy-duty tasks. I usually aim for a design that utilizes thick legs and a beefy top to ensure it stays rock-solid.
Another thing I’ve learned through years of trial and error is the importance of joinery over just driving screws. While screws are fine for quick projects, if you want sturdy workshop table construction that lasts a lifetime, you should look into mortise and tenon joints. This creates a much more rigid frame that can handle the lateral forces of hand tools. It’s a bit more work upfront, but once you see how much more reliable your workspace feels, you’ll never go back to a flimsy setup.
Pro-Tips to Save You Time (and a Massive Headache)
- Don’t skimp on the stability. I’ve learned the hard way that a wobbly bench is more than just annoying—it actually makes your work less precise. If you feel even a tiny bit of sway when you’re sawing or sanding, go back and add some cross-bracing. It’s worth the extra ten minutes.
- Think about your height before you drive that first screw. I used to build everything based on standard table heights, but I realized that if you’re doing fine detail work, you actually want it a bit higher to save your back. Grab a stool and test your posture before you commit to the build.
- Build in some storage from the jump. I love using my workbench for more than just assembly; I need my chisels, clamps, and measuring tapes within arm’s reach. Even a simple shelf underneath or a few pegboard holes can keep your workspace from turning into a cluttered mess.
- Leave room for error and expansion. Wood is a living thing, and it’s going to move with the humidity. If you’re attaching a solid wood top, make sure you’re using techniques that allow for that natural movement so your bench doesn’t crack or warp on you down the road.
- Keep your workspace organized with a dedicated “clamping zone.” When I’m designing my benches, I always make sure there’s plenty of overhang on the edges. Having that extra space to clamp a board securely makes a world of difference when you’re working on something larger than a handheld gadget.
Quick Wins for Your New Build
Don’t overcomplicate the design; a heavy, stable surface beats a fancy, complicated one every single time.
Invest in quality lumber from the start, because your workbench is the foundation for every other project you’ll ever tackle.
Focus on stability over aesthetics—it doesn’t have to look like a showroom piece to be the most useful tool in your shop.
The Heart of the Shop
“A workbench isn’t just a piece of furniture; it’s the foundation for every project you’ll ever tackle. If you build it with intention and a bit of grit, it becomes more than just a workspace—it becomes the place where your biggest ideas actually take shape.”
Sarah Mitchell
Bringing Your Workbench to Life
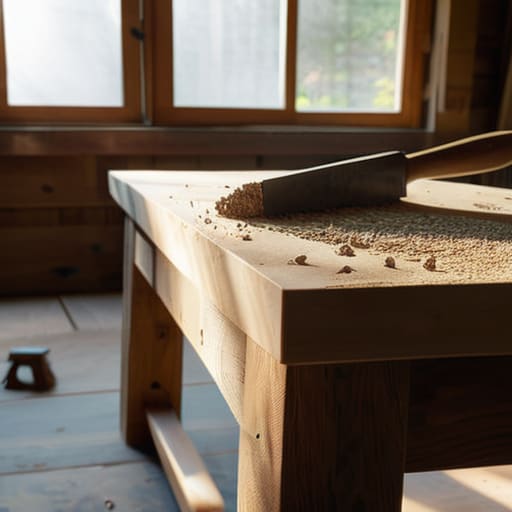
At the end of the day, building a workbench isn’t just about following a blueprint; it’s about the intentional choices you make along the way. We’ve covered a lot of ground, from picking out the sturdiest lumber that won’t warp on you in six months to applying those heavy-duty design principles that ensure your workspace stays rock-solid under pressure. Remember, a great workbench is the foundation of everything else you’ll create, whether you’re soldering a new circuit board or sanding down a piece of upcycled oak. By focusing on a solid structural design and choosing materials that can actually handle a bit of abuse, you’re setting yourself up for years of successful projects.
I know that starting a big build like this can feel a little intimidating, especially if you’re still finding your footing in the workshop. But honestly? The most important tool you have isn’t in your toolbox—it’s your willingness to just start building. There will be mistakes, sure; maybe a joint won’t be perfectly flush or a measurement will be off by a hair, but that’s just part of the learning curve. Every time you pick up a saw or a drill, you’re leveling up your skills and building something uniquely yours. So, grab your notebook, clear off that space, and get to work. I can’t wait to see what you create!
Frequently Asked Questions
I've got a pretty tight space in my garage, so how can I design a workbench that's sturdy but doesn't take up the whole room?
I totally get it—my first “workshop” was basically a corner of my tiny apartment, so I know the struggle! If you’re tight on space, I highly recommend a wall-mounted folding workbench or a mobile workstation on heavy-duty locking casters. You can tuck it away when you’re not using it, but it’ll still feel rock-solid when you’re actually working. It’s all about maximizing your footprint without sacrificing that stability you need.
Should I be looking into adding a vise or any specific clamping systems while I'm still in the middle of the build?
That is such a great question, and honestly, it’s one I wish I’d asked sooner when I was building my first setup. If you have the budget and the space, absolutely go for it. Integrating a vise or a clamping system while the frame is still open makes it so much easier to mount everything securely. It’s way better to plan for that stability now than to realize later you’ve got nothing to hold your wood steady!
Since I'm just starting out, is it worth spending more on high-quality hardware, or can I get away with standard screws and bolts for my first one?
Honestly, don’t break the bank on fancy hardware just yet. Since this is your first build, standard construction screws and bolts from a local hardware store are more than enough to get the job done. You want a sturdy bench, not a museum piece! Save that extra cash for better lumber or a decent drill bit. Just make sure you’re using the right type of screw for the wood—that’s more important than the brand name.
