There I was, sitting at my workbench at 11:00 PM, trying to focus on a delicate sanding job for an old mid-century dresser, when that rhythmic drip… drip… drip… started echoing through my kitchen. It’s one of those sounds that slowly starts to feel like a ticking time bomb for your sanity (and your water bill). Most people think they need to call an expensive plumber the second they hear that noise, but I’m here to tell you that’s a total myth. Learning how to fix a leaky faucet is actually one of the most rewarding “quick wins” you can tackle in your home. It’s not about having a professional toolkit; it’s about having the right mindset and a little bit of patience.
In this guide, I’m stripping away all the confusing jargon and technical fluff to give you a straightforward, step-by-step roadmap to silence that annoying leak for good. I’ll walk you through exactly what tools you actually need, how to identify the culprit, and how to execute the repair without making a massive mess. My goal is to help you embrace the DIY spirit so you can feel confident tackling small repairs on your own, saving you both time and money.
Table of Contents
- Step-by-Step Instructions
- Uncover the Common Causes of Dripping Taps
- Gather Essential Plumbing Tools for Faucet Repair
- Pro Tips to Keep Your Plumbing (and Your Sanity) Intact
- Quick Wins to Keep Your Sink Running Smoothly
- ## The Bigger Picture
- You've Got This: Final Thoughts on Your Fix
- Frequently Asked Questions
Guide Overview
Tools & Supplies
- Adjustable wrench for loosening nuts
- Screwdriver (Phillips or Flathead) to remove handles
- Allen wrench to loosen set screws
- Replacement washers or O-rings (1-2 depending on model)
- Plumber's grease (1 small tube)
Step-by-Step Instructions
- 1. First things first, we need to shut off the water so you don’t end up with a mini indoor pool in your kitchen. Look under the sink for the shut-off valves and turn them clockwise until they stop. Once you’ve done that, turn the faucet on to drain any remaining water and relieve the pressure in the lines.
- 2. Before we start unscrewing things, I highly recommend closing the drain with a stopper or a rag. There is nothing more frustrating than a tiny, essential screw deciding to take a dive down the drain right when you need it most. Trust me, protecting those small parts will save you a massive headache later.
- 3. Now, let’s get into the guts of the faucet. Use an adjustable wrench to carefully loosen the handle or the decorative cap. If things feel stuck, don’t force them too hard—you don’t want to strip the hardware. A little bit of patience and a gentle touch go a long way when you’re working with older fixtures.
- 4. Once the handle is off, you’ll likely see the cartridge or the stem. This is usually the culprit behind the drip. Use your wrench to unscrew the packing nut and pull the cartridge straight up. I usually like to lay everything out on a towel in the exact order I took it out so I know exactly how it goes back together.
- 5. Take a close look at the O-rings and the seals. Over time, these little rubber bits get worn down or cracked, which is almost always why you’re hearing that annoying drip. If they look beat up, it’s time to swap them out. I always suggest taking the old parts to the hardware store with you to ensure you get a perfect match.
- 6. After you’ve replaced the faulty parts, it’s time to reassemble the faucet. Slide the new cartridge back in, tighten the packing nut, and pop the handle back on. Make sure everything is snug but not overtightened, as you don’t want to crack the new seals by being too aggressive with the wrench.
- 7. Finally, turn your water supply valves back on slowly. Check for any leaks around the base or the handle as the pressure builds up. If everything stays dry, congratulations! You just conquered a home repair and saved yourself a service call fee.
Uncover the Common Causes of Dripping Taps
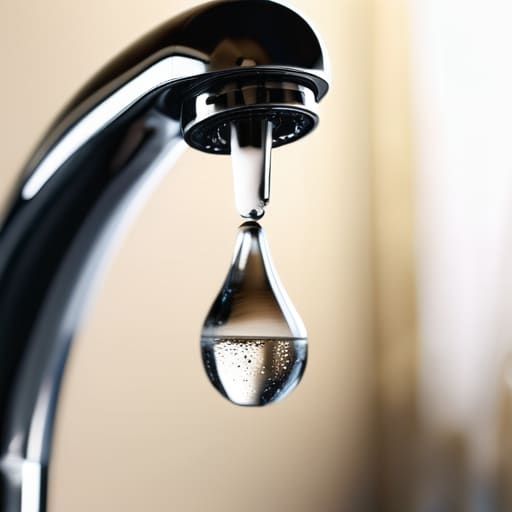
Before you dive into the actual repair, it helps to play a little detective. Most of the time, that annoying sound isn’t caused by a catastrophic pipe failure, but rather by small, worn-out components inside the fixture itself. One of the most common causes of dripping taps is a degraded washer. Over time, the constant friction of turning the handle on and off wears down the rubber, preventing a tight seal. If you’re working with a more modern setup, you might need to focus on cartridge faucet troubleshooting, as these internal mechanisms can get clogged with mineral deposits or simply fail due to age.
It’s also worth checking if the issue is coming from the handle itself. Sometimes, a loose screw or a worn-out O-ring can make it feel like the whole thing is broken when it’s actually just a minor adjustment. Having the right plumbing tools for faucet repair on hand—like a screwdriver set and a couple of adjustable wrenches—will make identifying these culprits much easier. Once you pinpoint whether it’s a worn cartridge or a simple seal issue, you’ll feel way more confident tackling the actual fix!
Gather Essential Plumbing Tools for Faucet Repair
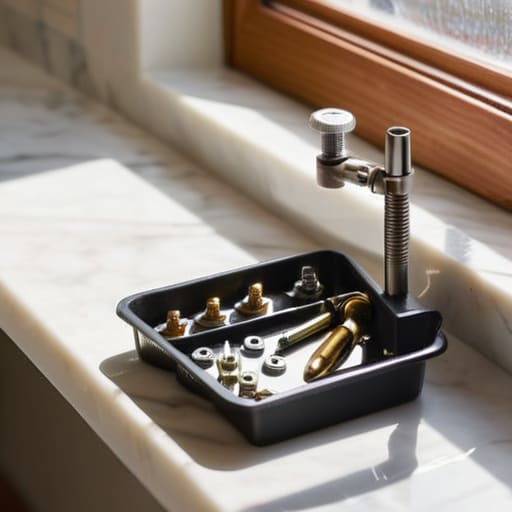
Before you dive into the actual repair, you’ll want to clear some space on your counter and lay out your gear. I’ve learned the hard way that there is nothing more frustrating than being halfway through a job only to realize you’re missing a specific screwdriver or a specialized wrench. To truly stop a water leak at your sink without the headache, you’ll need a reliable adjustable wrench, a set of screwdrivers (both Phillips and flathead), and perhaps some needle-nose pliers for those tiny, stubborn parts. If you’re dealing with a more modern setup, you might even need specific supplies for cartridge faucet troubleshooting, so having a small container handy to organize your screws and washers is a total lifesaver.
I always keep a little kit tucked away in my utility drawer specifically for these moments. Beyond the basics, I highly recommend grabbing some plumber’s grease and a few assorted rubber washers. Sometimes, you don’t need a whole new fixture; you might just need to replace a faucet washer that has worn down over time. Having these small components on hand turns a potential hardware store run into a quick, satisfying win.
Pro Tips to Keep Your Plumbing (and Your Sanity) Intact
- Always shut off the water supply before you dive in—trust me, the last thing you want is a DIY project turning into an indoor swimming pool!
- Take photos of every single piece as you take it apart; when you’re staring at a pile of washers and screws, those pictures will be your best friend for putting it all back together.
- Don’t just replace the one part that looks broken; if you’re already in there, swap out the worn-out O-rings or washers too, because it’s much easier to do it once than to redo it next month.
- Lay a towel down over the sink drain before you start working so you don’t accidentally drop a tiny screw down the pipes—I’ve learned that lesson the hard way more than once.
- When you’re putting the new parts in, be gentle; over-tightening everything might seem like a good idea, but it can actually crack the housing or strip the threads.
Quick Wins to Keep Your Sink Running Smoothly
Don’t panic if you see a drip—most faucet issues are just simple fixes like replacing a worn-out washer or O-ring, and you definitely don’t need to call a pro to handle it.
Success is all about the prep work; having your tools ready and knowing exactly why that tap is leaking will save you a massive amount of frustration halfway through the job.
Think of this as a small win for your home and your confidence—once you master this basic repair, you’ll feel way more empowered to tackle the next DIY project that comes your way.
## The Bigger Picture
“Fixing a leaky faucet isn’t just about stopping a drip; it’s about that incredible feeling of realizing you don’t need to call a professional to solve a problem in your own home—you’ve got the tools, you’ve got the skill, and you’ve got this.”
Sarah Mitchell
You've Got This: Final Thoughts on Your Fix
Taking a look back at what we’ve covered, fixing that drip wasn’t nearly as intimidating as it seemed at first. We moved from identifying whether it was a worn-out washer or a faulty cartridge to getting our hands dirty with the right tools. By following those steps—shutting off the water, disassembling the handle, and replacing the faulty parts—you’ve effectively turned a frustrating household annoyance into a triumphant DIY win. It’s much more satisfying to hear that silence in the kitchen knowing you were the one who actually solved the problem rather than just calling someone else to do it for you.
I know that sometimes, when you’re staring at a disassembled sink and a pile of tiny screws, it can feel a little overwhelming. But honestly? That’s exactly where the growth happens. Whether you’re debugging a complex piece of code at work or tackling a plumbing repair in your bathroom, the principle is the same: break it down, stay patient, and keep moving forward. Don’t let a little water pressure dampen your spirit; every small project you complete builds a foundation of confidence that will carry you into much bigger adventures. Now, go grab a coffee and celebrate your handiwork—you’ve earned it!
Frequently Asked Questions
What should I do if I follow all the steps but the dripping doesn't actually stop?
Ugh, I know that feeling—you’ve done everything by the book, wiped your brow, and yet, that annoying drip, drip, drip just won’t quit. Don’t panic! If the steps didn’t work, you might have a hairline crack in the valve body or a worn-out seat that needs replacing. At this point, I’d recommend checking if you need a specific replacement part or, honestly, calling in a pro before you accidentally turn your kitchen into a swimming pool.
Is it worth it to try and fix an older faucet myself, or am I better off just buying a brand-new one?
Honestly, it depends on the “soul” of the faucet. If it’s a high-quality, solid brass piece with character, I say go for the repair! There’s something so rewarding about breathing life back into something sturdy. But, if it’s a cheap, plastic model that’s starting to corrode, your time is better spent picking out a sleek new one. Don’t waste energy fighting a losing battle—fix what’s worth saving and upgrade the rest!
How can I tell if I just need a new rubber washer or if the entire cartridge needs to be replaced?
This is such a common crossroads! Here’s my rule of thumb: if you take the faucet apart and see a washer that’s visibly cracked, flattened, or crumbling, start there—it’s a cheap, quick fix. However, if the leak persists even with a fresh washer, or if the handle feels “gritty” or stiff when you turn it, the cartridge itself is likely worn out. Honestly, if it’s a cartridge model, replacing the whole unit is often less headache in the long run!
