I was standing in my living room last Saturday, surrounded by a pile of half-finished projects and a very expensive-looking piece of reclaimed oak, staring at a blank wall with pure dread. I’ve spent years debugging complex code in Silicon Valley, but for some reason, the simple task of figuring out how to install a shelf without it ending up crooked or, worse, crashing onto my floor, felt completely overwhelming. We’ve all been there—staring at a box of hardware that looks more like a puzzle than a set of tools, wondering if we should just give up and buy something pre-assembled.
But here’s the thing: you don’t need a master carpenter’s license or a workshop full of heavy machinery to get this right. In this guide, I’m stripping away the jargon and the intimidating “pro-only” fluff to give you a straightforward, step-by-step blueprint for success. I’ll walk you through everything from finding that elusive stud to picking the right anchors, ensuring your new setup is as sturdy as a well-written script. Grab your drill and let’s get to work—I promise you’re going to love the feeling of finally reclaiming your space.
Table of Contents
- Step-by-Step Instructions
- Precision Tools Mastering Wall Stud Finder Usage and Hardware
- Strong Foundations Drilling Into Drywall vs Studs for Success
- Pro Tips to Keep Your Shelves from Crashing Down
- Quick Wins for a Sturdy Shelf
- The Real Magic of DIY
- You’ve Got This: From Blueprint to Reality
- Frequently Asked Questions
Guide Overview
Tools & Supplies
- Drill/Driver for making holes and driving screws
- Level to ensure the shelf is straight
- Pencil for marking placement
- Measuring tape for accuracy
- Shelf unit 1 unit
- Wall anchors 4-6 pieces
- Screws 4-6 pieces
Step-by-Step Instructions
- 1. First things first, let’s talk gear. Before you even touch a hammer, you’ll need to gather your supplies: a level, a drill with bits, a screwdriver, a pencil, and your shelf hardware. I always find it helpful to lay everything out on the floor first so I’m not scrambling halfway through a project. If you’re working with drywall, make sure you have some heavy-duty anchors on hand, because nothing ruins a mood faster than a shelf crashing down an hour later.
- 2. Once you have your tools ready, it’s time to find your spot. Grab your pencil and mark exactly where you want the top of the shelf to sit. I’m a huge fan of using a level here—don’t skip this! Even a tiny tilt will be painfully obvious once you start placing your favorite books or plants on it. If you’re lucky enough to have a stud nearby, mark that spot clearly, as it’ll provide the sturdiest foundation for your new setup.
- 3. Now, let’s get to the drilling. If you’ve located a stud, you can drill a pilot hole directly into the wood. If you’re just hitting drywall, use your drill to create a clean hole for your anchors. I’ve definitely learned the hard way that drilling too fast can cause the plaster to crack, so take it slow and steady. Think of it like debugging code—you want to be precise rather than rushing to the finish line.
- 4. Next, it’s time to secure those brackets. Align your bracket with the holes you just drilled and hold it firmly in place. If you’re working solo, this is where I usually wish I had a second pair of hands, but you can manage by using a bit of painter’s tape to hold things steady. Drive your screws through the bracket and into the wall or anchors. You want them to be snug but not overtightened, otherwise, you might strip the screw or crack the bracket.
- 5. With the brackets firmly attached, go ahead and slide your shelf into place. Check it one more time with your level—I know, I’m being repetitive, but measure twice, cut once applies to installation just as much as woodworking! Once you’re sure it’s perfectly straight, use the small set screws (if your bracket style has them) to lock the shelf to the hardware. This prevents the wood from sliding forward.
- 6. Finally, give your shelf a little “stress test.” Apply some gentle pressure with your hands to make sure everything feels solid and secure. If it wiggles, don’t panic; just check if your screws need a quick tighten or if your anchors aren’t seated deep enough. Once it’s stable, the fun part begins: decorating! Whether it’s tech gadgets or vintage finds, you’ve officially transformed your space with your own two hands.
Precision Tools Mastering Wall Stud Finder Usage and Hardware
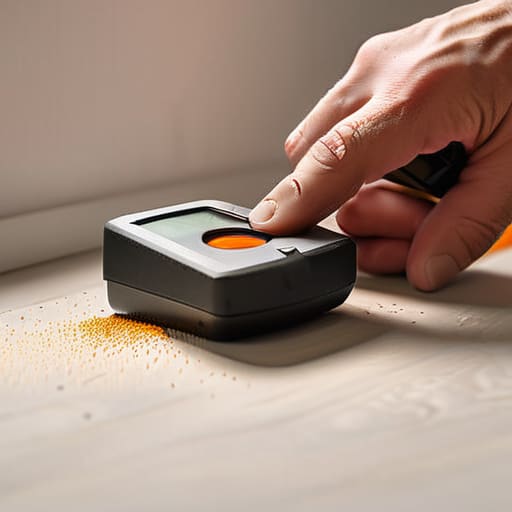
Before you even pick up your drill, let’s talk about the most important part: finding where your shelf is actually going to live. I’ve seen so many DIY projects go sideways because someone relied on luck instead of a good wall stud finder usage routine. If you’re just hitting drywall, those plastic anchors might hold for a light photo frame, but they won’t stand a chance against a heavy stack of cookbooks. Whenever possible, I always aim to secure my brackets directly into the wooden studs. It’s the difference between a shelf that stays put and one that ends up in a pile on the floor.
Once you’ve located your studs, you need to think about your hardware. If you’re going for that sleek, modern look with floating shelf mounting hardware, you’ll need to be extra precise with your measurements. These kits often have specific requirements for how deep the rods go into the wall. I always keep my little notebook handy to jot down the exact measurements of my brackets before I start drilling; it saves so much headache during the actual installation. Don’t rush this part—measure twice, drill once!
Strong Foundations Drilling Into Drywall vs Studs for Success
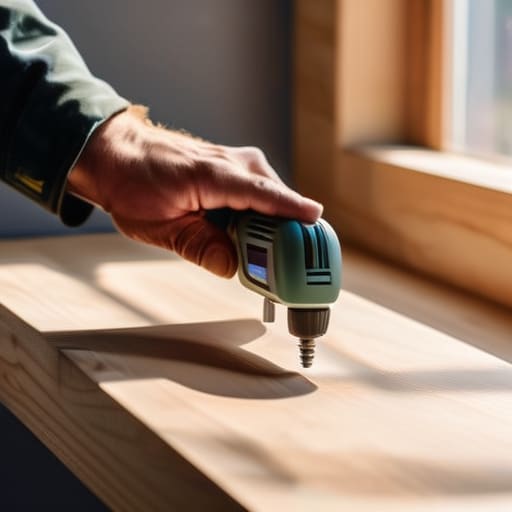
This is where most people get nervous, but honestly, understanding the difference between drilling into drywall vs studs is the secret to making sure your project doesn’t end up in a pile of debris on the floor. If you’re planning on displaying anything heavier than a single succulent, you really want to aim for those wooden studs. They provide a solid, structural anchor that can handle significant stress. When you’re working with just the drywall, you’re essentially relying on the strength of the gypsum and your anchors, which can be a bit finicky if you aren’t careful.
If your layout doesn’t align perfectly with the studs, don’t panic—you can still make it work with the right floating shelf mounting hardware. Just make sure you’re using high-quality toggle bolts or heavy-duty drywall anchors rather than the cheap plastic ones that usually come in the box. I always tell my mentees that testing the weight capacity for wall shelves before you actually load them up is a total game-changer. It’s much better to over-engineer your setup now than to deal with a sagging shelf later!
Pro Tips to Keep Your Shelves from Crashing Down
- Don’t skip the level check—even if you think your walls are straight, they rarely are, so grab a level (or a leveling app on your phone) to make sure your hard work doesn’t end up looking crooked.
- Test your weight limits before you decorate; there’s nothing worse than picking out the perfect collection of heavy cookbooks only to realize your brackets weren’t meant for that kind of load.
- Use a bit of painter’s tape to mark your drill points first; it’s a total lifesaver for visualizing the layout and preventing those accidental, messy holes in your drywall.
- If you’re working with masonry or brick instead of drywall, make sure you swap out your standard drill bit for a masonry bit, otherwise, you’ll just end up frustrated and with a burnt-out drill.
- Always keep a few extra anchors and screws in your “project drawer”—you’d be surprised how often a slightly larger screw is the difference between a shelf that wobbles and one that feels rock solid.
Quick Wins for a Sturdy Shelf
Don’t skip the stud search—even if you have fancy drywall anchors, finding a solid stud is the absolute best way to ensure your shelf doesn’t end up on the floor.
Invest in a decent level and a quality drill; having the right tools makes the difference between a crooked DIY disaster and a professional-looking finish.
Always double-check your measurements before you pull the trigger on that drill bit, because once you’ve made that hole in the drywall, there’s no easy undo button!
The Real Magic of DIY
“Installing a shelf isn’t just about getting some wood onto a wall; it’s about that incredible feeling of looking around your room and knowing you didn’t just buy a space—you actually built it.”
Sarah Mitchell
You’ve Got This: From Blueprint to Reality
Putting it all together might have felt a little daunting when you first picked up that stud finder, but look at what you’ve accomplished. We’ve covered everything from the essential precision of your tools to the critical decision of whether to anchor directly into a stud or rely on heavy-duty drywall anchors. By taking the time to measure twice and drill once, you’ve ensured that your new shelf isn’t just a decorative piece, but a sturdy, reliable addition to your home. Remember, the secret to a professional-looking finish isn’t magic; it’s really just about having the right foundation and a little bit of patience during the setup process.
Now comes the best part—the moment you actually get to style it. Whether you’re displaying a collection of tech gadgets, your favorite succulents, or some vintage finds you rescued from a thrift store, that shelf is a testament to your own growing skill set. I know that stepping into DIY territory can feel intimidating at first, but I promise that every project you finish builds a new layer of confidence and capability. So, grab your decorations, clear some space, and enjoy the view. You didn’t just hang a shelf today; you mastered a new skill, and that is something worth celebrating.
Frequently Asked Questions
What should I do if my stud finder keeps giving me inconsistent readings?
Ugh, I’ve been there—it’s incredibly frustrating when your gear feels like it’s gaslighting you! First, check your batteries; low power is the most common culprit for wonky readings. If that’s not it, try moving away from electrical wires or metal pipes, as those can throw off the sensor. I also find it helps to scan slowly in a pattern. If it’s still acting up, grab a magnet to hunt for the screws in the studs instead.
Can I use these same brackets for heavy books, or do I need different hardware for heavier loads?
That’s a great question, and honestly, it’s the one that catches most people off guard! If you’re planning on loading those shelves with heavy hardcovers or a full collection of tech manuals, those standard drywall anchors won’t cut it. They’ll eventually wiggle loose or pull right out. For heavy loads, you really want to bypass the drywall entirely and screw directly into the studs. If you can’t hit a stud, grab some heavy-duty toggle bolts instead.
How do I make sure my shelf is actually level without it looking crooked once it's up?
Honestly, there’s nothing more frustrating than finishing a project only to realize your shelf is tilting like the Leaning Tower of Pisa. To avoid that, grab a bubble level—don’t just eyeball it! Place the level on top of your shelf or the bracket before you drive those screws in. If you’re working solo, use a bit of painter’s tape to mark your holes first. It’s a tiny extra step that saves so much headache.
