I was standing in the middle of my first tiny apartment in San Francisco, staring at these flimsy, mass-produced blinds that felt more like plastic sheets than actual home decor. I remember thinking, there has to be a better way to make this place feel like mine without spending a month’s rent at a high-end boutique. That was the moment I decided to stop settling and finally tackle my first project with diy curtains. I quickly realized that you don’t need a professional interior designer or a degree in textile engineering to transform a room; you just need the right approach and a little bit of grit.
In this guide, I’m stripping away the fluff and giving you the straight-up, actionable steps to create custom window treatments that actually look expensive. Whether you’re looking to master a simple no-sew method or you’re ready to break out the sewing machine for something more substantial, I’ve got you covered. We’re going to walk through fabric selection, measuring like a pro, and the little hardware hacks that make all the difference. Let’s get into it and turn those boring windows into a total design win.
Table of Contents
- Step-by-Step Instructions
- Smart Fabric Selection for Window Treatments
- Pro Techniques for Hemming Fabric Without Sewing
- Pro-Tips to Keep Your Curtains Looking Polished and Professional
- Quick Wins for Your Window Makeover
- The Joy of a Custom Space
- Final Thoughts on Your Window Transformation
- Frequently Asked Questions
Guide Overview
Tools & Supplies
- Sewing machine for stitching hems and edges
- Fabric scissors for clean cuts
- Measuring tape for accurate dimensions
- Pins or clips to hold fabric in place
- Iron to press seams flat
- Fabric (2-3 yards depending on window size)
- Thread (1 spool matching fabric color)
- Curtain rod (to hang finished product)
- Measuring tape (to calculate fabric width and length)
Step-by-Step Instructions
- 1. First things first, you’ve got to grab your measurements. I know, I know—it sounds tedious, but trust me, measure twice and cut once is the golden rule in both software engineering and woodworking for a reason. Grab a metal measuring tape (don’t use a flimsy fabric one!) and measure the width of your window, then add about 6 to 10 inches to each side so the curtains actually look lush and cover the frame properly. For the length, decide if you want them to just graze the floor or pool slightly for that extra cozy vibe.
- 2. Next, let’s pick out your fabric. Since I spend a lot of my weekends upcycling old furniture, I’m a huge fan of hitting up thrift stores for high-quality linens or heavy cottons. If you’re buying new, look for something with a decent weight so it hangs beautifully and doesn’t just look like a thin sheet. Once you’ve found “the one,” make sure you buy significantly more yardage than you think you need to account for the hems and any pattern matching.
- 3. Time to get that fabric ready for its transformation. Lay your fabric out on a large, flat surface—a clean floor works great if you don’t have a massive cutting table. Use a piece of tailor’s chalk or a washable fabric marker to mark out your dimensions, adding an extra two inches to the top and bottom for your hems. I always find it helpful to use a rotary cutter instead of standard scissors if you can; it gives you much cleaner, straighter lines that make the sewing process a total breeze.
- 4. Now, let’s tackle the sewing part. If you’re a total beginner, don’t let the sewing machine intimidate you; it’s really just a little piece of hardware that needs a bit of debugging. Start by folding your edges over to create your hems—I usually do a double fold so you don’t see the raw edge of the fabric. Pin everything securely in place. If you’re making rod pocket curtains, you’ll want to sew a long tube along the top, so take your time with the stitching to ensure it’s straight and sturdy.
- 5. Once you’ve finished sewing your hems, it’s time to give your new curtains a little “system update” with some steam. I swear by a good handheld steamer to get out those annoying fold lines from the fabric being rolled up. This step is what really makes the difference between something that looks “homemade” and something that looks professionally custom-made. It smooths out the texture and helps the fabric settle into its new shape.
- 6. Finally, let’s get them up on the window! Before you slide them onto the rod, double-check that your hardware is mounted securely into the wall studs if possible. If you’re using a rod pocket style, just slide the rod through the top casing you sewed earlier. If you’ve opted for curtain rings, hook them onto the rings and then onto the rod. Stand back, take a look, and celebrate the win—you just leveled up your living space without breaking the bank!
Smart Fabric Selection for Window Treatments
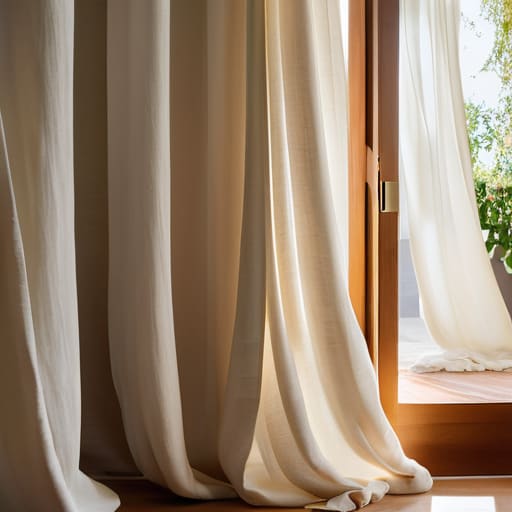
When you’re starting out, it’s easy to get swept up in a pretty pattern, but I’ve learned the hard way that texture and weight matter just as much as color. If you’re looking for that high-end feel, you really need to consider your fabric selection for window treatments based on the light in your room. For instance, if you’re working with a bright, sunny living room, a heavy linen or velvet can help dampen the glare and add some much-needed coziness. On the flip side, if you want to keep things airy, a lightweight cotton voile works wonders.
I also always tell my coaching clients that “measure twice, buy once” applies to textiles too! Before you commit to a yardage, grab a scrap of something similar to see how it drapes. If you aren’t feeling particularly crafty, don’t sweat it—you can actually achieve some pretty impressive results by hemming fabric without sewing using iron-on hem tape. It’s a total lifesaver for beginners who want that polished, professional look without needing to master a sewing machine right away.
Pro Techniques for Hemming Fabric Without Sewing
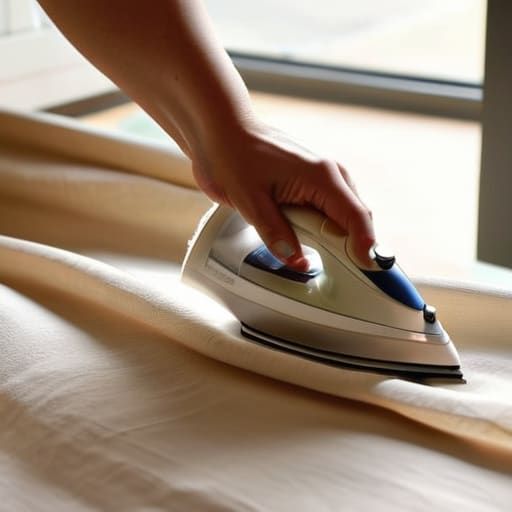
If you’re anything like me, you probably love the look of high-end drapery but dread the thought of unpicking a seam or wrestling with a sewing machine. The good news is that you don’t need to be a master tailor to get those crisp, clean edges. One of my favorite hacks for hemming fabric without sewing is using high-quality iron-on hem tape. It’s essentially a double-sided adhesive that melts into the fibers when you apply heat. Just fold your fabric to the desired length, lay the tape inside the fold, and press it with an iron. It’s a total game-changer for achieving those professional custom window drapery techniques without the massive learning curve.
For a slightly more permanent feel—especially if you’re working with heavier linens—I’d recommend looking into fabric glue specifically formulated for textiles. It’s a bit more forgiving than tape if you’re working on a tricky corner. Just remember to test a small scrap first to ensure it doesn’t bleed through your chosen material. Whether you’re going for a minimalist vibe or something more textured, these little shortcuts make the whole process feel much more approachable and efficient.
Pro-Tips to Keep Your Curtains Looking Polished and Professional
- Don’t skimp on the hardware; a flimsy rod can make even the most expensive-looking fabric sag and look cheap, so invest in a sturdy rod that matches the weight of your material.
- Measure twice, cut once—and then measure a third time—because there is nothing more frustrating than realizing your panels are two inches too short after you’ve already committed to the hem.
- Use clip rings instead of traditional rod pockets if you want that high-end, boutique hotel vibe; it makes the curtains drape much more naturally and makes them way easier to slide open.
- If you’re working with lightweight or sheer fabrics, consider using a lightweight iron or a handheld steamer right after hanging them to get rid of those stubborn fold lines from the packaging.
- Play with “stack back” by making sure your curtain rod is wider than your actual window; this allows the fabric to rest on the wall when open, letting in way more natural light.
Quick Wins for Your Window Makeover
Don’t overthink the fabric; focus on how the weight and texture will interact with your room’s lighting to create the vibe you’re after.
You don’t need to be a master seamstress to get a polished look—using clever hemming hacks can make your DIY curtains look professionally tailored.
Treat your DIY project like a tech build: plan your measurements carefully upfront so you aren’t stuck troubleshooting mid-installation.
The Joy of a Custom Space
“At the end of the day, DIY curtains aren’t just about covering a window; they’re about the satisfaction of looking around your home and knowing you had the tools, the tech, and the grit to build something beautiful yourself.”
Sarah Mitchell
Final Thoughts on Your Window Transformation
Taking on a DIY project like this can feel a bit daunting at first, but look at how far you’ve come. We’ve covered everything from selecting the perfect, high-quality fabric to utilizing those clever no-sew hemming techniques that save you both time and a massive headache. By focusing on the right materials and applying these professional shortcuts, you’ve essentially bypassed the steep learning curve of traditional tailoring. You now have the foundational knowledge to move from basic window coverings to truly customized interior styling that looks like it came straight out of a high-end showroom, all without breaking your budget.
At the end of the day, whether you’re debugging a tricky piece of code or figuring out how to drape fabric over a curtain rod, it’s all about the process of building something with your own two hands. Don’t sweat the small imperfections; those little quirks are often what give a handmade piece its unique character and soul. I really hope this guide gives you the spark you need to embrace the DIY spirit and start transforming your living space. Grab your notebook, pick out a color you love, and just start creating—I can’t wait to see what you build!
Frequently Asked Questions
How do I figure out exactly how much extra fabric I need to account for those beautiful, breezy folds?
That’s such a great question! If you want those lush, breezy folds, you can’t just buy the width of your window. I always recommend the “2.5x rule”: multiply your window width by 2.5 to get that high-end, gathered look. If you’re going for something more subtle, 2x width works too. Grab your notebook and jot that down—getting the fullness right is the secret sauce to making DIY curtains look professional rather than skimpy!
Is it worth investing in a heavy-duty rod, or can I get away with something more lightweight for a DIY setup?
Honestly, it really depends on the fabric you picked out. If you’re going with those lightweight, breezy linens we talked about, a budget-friendly, slim rod will work just fine. But, if you’ve opted for heavy velvet or blackout curtains, don’t skimp—a flimsy rod will eventually bow or pull straight out of the wall. I always say: invest in the hardware that supports your vision so you aren’t fixing it later!
How can I make sure my DIY curtains don't look "homemade" by ensuring they hang perfectly straight?
This is such a common worry, but honestly, the secret isn’t in your sewing skills—it’s all about the physics of the hang. To avoid that “homemade” look, I always recommend using a heavy-duty iron to press your hems crisp before hanging. Most importantly, don’t hang them immediately! Let the fabric “settle” for a day or two. If they still look wonky, use weighted hem tape at the bottom to ensure they drop perfectly straight.