I was staring at my favorite pair of vintage Levi’s last Sunday, a tiny, jagged tear right along the pocket, and my first instinct wasn’t to head to the mall for a new pair. Honestly, I used to think that if something wasn’t perfect, it was basically trash, but that mindset is such a waste of good fabric. Learning how to mend clothes isn’t about being a master seamstress or owning a fancy sewing machine; it’s actually about reclaiming your stuff and breaking that cycle of constant consumption. Just like when I’m upcycling an old mid-century dresser I found at a thrift store, there is something incredibly satisfying about seeing something broken become something beautifully functional again.
In this guide, I’m stripping away all the intimidating jargon and complex patterns to give you the real-world basics. I’ll walk you through the most essential, high-impact repairs—from fixing a popped button to tackling those annoying holes in your favorite knits—using tools you likely already have in a junk drawer. My goal is to give you the confidence to stitch rather than toss, providing you with a practical toolkit to extend the life of your wardrobe and save a little cash in the process.
Table of Contents
- Step-by-Step Instructions
- Mastering the Basics Sewing Kit Essentials for Beginners
- Invisible Mending Techniques to Restore Your Favorite Pieces
- Pro-Tips from My Sewing Basket: How to Level Up Your Mending Game
- Quick Wins for Your Wardrobe
- ## Why I Love Mending
- Bringing It All Together
- Frequently Asked Questions
Guide Overview
Tools & Supplies
- Hand sewing needles (various sizes)
- Fabric scissors (sharp for clean cuts)
- Seam ripper (to remove old threads)
- Sewing thread (matching colors)
- Fabric scraps (for patching)
- Embroidery floss (for decorative mending)
Step-by-Step Instructions
- 1. First things first, grab your supplies. You don’t need a massive sewing machine to get started; a simple needle, some high-quality thread that matches your fabric, and a pair of sharp scissors will do the trick. I always recommend checking the fabric composition on the tag so you can pick a thread that won’t snap or cause puckering while you work.
- 2. Once you’ve got your gear, turn the garment inside out. It might feel a little counterintuitive, but working from the back ensures that your stitches stay hidden on the right side of the cloth. This is the secret to making a repair look like a professional fix rather than a rushed patch job.
- 3. Now, let’s talk about the “anchor stitch.” Thread your needle and tie a small knot at the end, then push the needle through the fabric from the back to the front. This creates a secure starting point so your entire repair doesn’t unravel the moment you put the clothes back on.
- 4. If you’re dealing with a small hole or a tear, I swear by the running stitch. Just guide the needle in and out of the fabric in a straight line, keeping your stitches small and even. If the hole is a bit larger, you might want to try a “darning” technique, which involves weaving the thread back and forth across the gap to essentially rebuild the fabric from scratch.
- 5. As you move along, try to keep your tension consistent. If you pull the thread too tight, the fabric will bunch up and look wonky; if it’s too loose, the hole will just keep growing. Think of it like debugging a piece of code—you want everything to be precise and stable so the whole system holds up under pressure.
- 6. Once you’ve covered the entire area and the gap is closed, don’t just pull the thread out! You need to tie off your work by looping the thread through itself a couple of times to create a sturdy knot. This ensures that your hard work stays put even after a trip through the washing machine.
- 7. Finally, snip off any excess thread with your scissors, being careful not to cut the actual fabric. Turn the item right-side out, give it a quick once-over in the mirror, and celebrate your win. You just saved a piece of clothing from the landfill, and that’s a huge victory for both your wallet and the planet!
Mastering the Basics Sewing Kit Essentials for Beginners
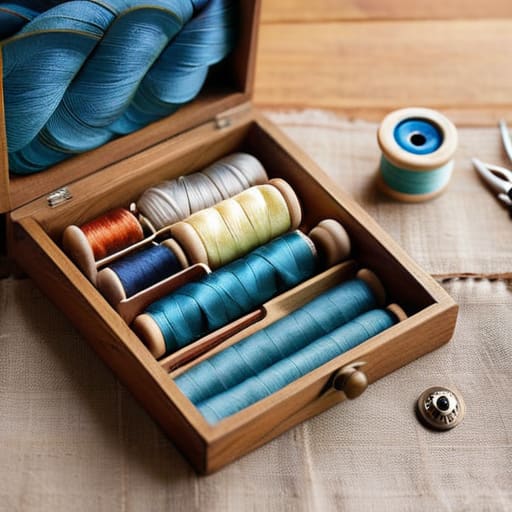
Before you dive into your first project, you need to get your workspace set up. I’ve learned the hard way that hunting for a single needle in a messy junk drawer is the quickest way to lose your motivation. Instead, I recommend putting together a dedicated little stash of sewing kit essentials for beginners. You don’t need a massive, professional machine to start; a simple kit with a variety of thread colors, sharp fabric scissors, a seam ripper (trust me, you’ll use this more than you think!), and a few different needle sizes will get you through most repairs.
Once you have your tools, it’s all about having the right supplies for the specific job at hand. For instance, if you’re tackling a pair of well-loved jeans, you’ll want to look into how to patch denim holes using scraps of similar weight fabric. If it’s just a loose thread or a tiny snag, you might want to explore some invisible mending techniques to keep the repair from being an eyesore. Having the right gear makes the process feel less like a chore and more like a rewarding new skill.
Invisible Mending Techniques to Restore Your Favorite Pieces
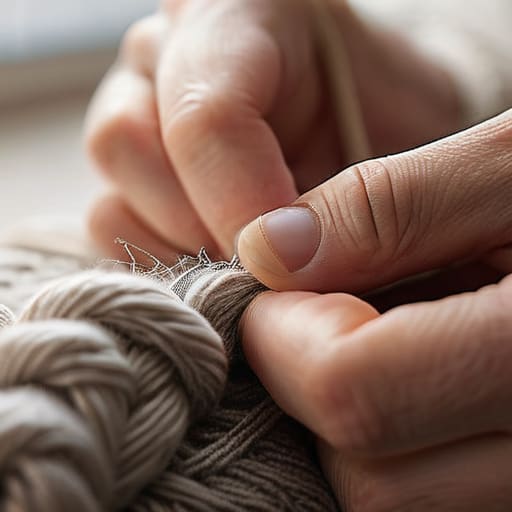
Sometimes, the goal isn’t just to fix a hole, but to make it look like it never happened in the first place. This is where invisible mending techniques really come into play. If you’ve got a tiny snag in a delicate sweater or a small fray on a silk blouse, you don’t want a bulky patch ruining the silhouette. I love using a method called “reweaving” for these spots—it’s essentially using a needle to mimic the original grain of the fabric. It takes a bit of patience and a steady hand, but seeing a repair vanish into the weave is incredibly satisfying.
For those tougher, more structural issues, you might need to lean on different fabric reinforcement methods. If you’re dealing with thinning areas in high-friction spots, like the inner thighs of trousers, I recommend using a lightweight fusible interfacing on the underside. It provides a hidden layer of support without adding unnecessary bulk. It’s a bit like debugging code; you’re looking for the underlying weakness and adding just enough structure to keep the whole system running smoothly without changing the outward appearance.
Pro-Tips from My Sewing Basket: How to Level Up Your Mending Game
- Don’t just grab any old needle; matching the weight of your needle to the fabric is a total game-changer. Using a heavy needle on delicate silk is a recipe for disaster, so take a second to match them up!
- Always thread your needle with a bit more length than you think you’ll need. There’s nothing more frustrating than being halfway through a repair only to realize you’re running out of thread.
- Think of mending as an opportunity for “visible mending.” If you can’t make the fix invisible, lean into it! Using a contrasting thread color to create a cool pattern can turn a hole into a design feature.
- Always double-knot your starting and ending threads. I’ve learned the hard way that a single knot can easily slip, leaving your hard work to unravel right as you’re feeling proud of it.
- Treat your fabric like it’s precious—and it is! Before you start sewing, use a piece of tailor’s chalk or even a pencil to mark your lines. It keeps your stitches straight and prevents that “oops, I went crooked” feeling.
Quick Wins for Your Wardrobe
Don’t let a small tear ruin a great outfit—investing in a basic sewing kit and learning a few foundational stitches can save your favorite pieces from the landfill.
When you’re dealing with visible damage, lean into invisible mending techniques to make those repairs look seamless and professional.
View mending as a skill rather than a chore; it’s a practical way to embrace sustainability and take more control over your personal style.
## Why I Love Mending
“Mending isn’t just about fixing a hole in a sweater; it’s about reclaiming your stuff and finding a little bit of pride in making something last a little longer.”
Sarah Mitchell
Bringing It All Together
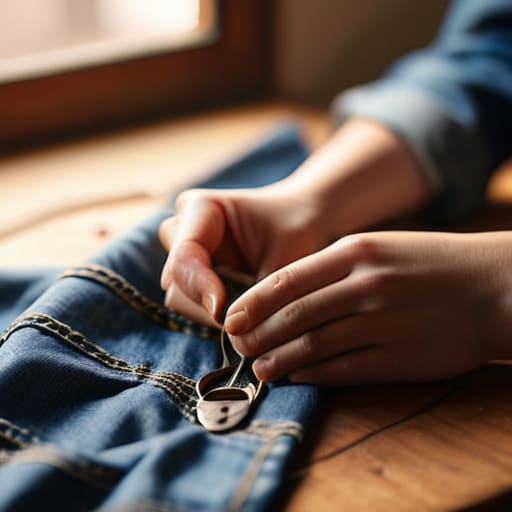
At the end of the day, mending your own clothes is about more than just fixing a loose thread or a tiny hole; it’s about reclaiming your wardrobe. We’ve walked through everything from setting up your first basic sewing kit to mastering those tricky invisible mending techniques that make repairs look like they never even happened. Whether you are reinforcing a seam on a favorite pair of jeans or using a creative patch to give an old sweater a second life, the goal is to move away from the “disposable” mindset. By applying these skills, you’re not just saving money—you’re actively extending the lifecycle of the things you love most.
I know that picking up a needle for the first time can feel a little intimidating, especially if you aren’t used to working with your hands, but I promise it gets easier with every stitch. Much like learning a new programming language or starting a complex woodworking project, it’s all about patience and practice. Don’t get discouraged if your first few attempts look a little wonky; that’s just part of the process! Embrace the imperfections and remember that every successful repair is a huge win for your sustainability journey. You’ve got this, and I can’t wait to see the incredible, well-loved pieces you’ll keep in rotation for years to come.
Frequently Asked Questions
What should I do if I accidentally make the hole even bigger while trying to fix it?
Oh man, we’ve all been there! I once tried to fix a tiny snag in a linen shirt and ended up with a hole the size of a coin. Don’t panic, though. If you overshoot the mark, stop immediately. Instead of trying to sew the edges back together—which usually puckers the fabric—pivot to a decorative fix. This is where embroidery or a cool iron-on patch becomes your best friend!
Is it worth trying to mend high-end designer clothes, or should I just save my energy for my everyday basics?
Honestly, if it’s a piece you truly love, go for it! I always say: don’t let a tiny snag rob you of a killer outfit. High-end fabrics can be tricky, but the payoff of reviving a designer staple is so rewarding. That said, if you’re just starting out, maybe stick to your favorite denim or cotton tees first. Build your confidence there before tackling that silk blouse!
How can I tell if a garment is actually "mendable," or is it a lost cause once the fabric starts fraying too much?
That’s such a great question, and honestly, I’ve been there—staring at a sweater wondering if it’s worth the effort. Here’s my rule of thumb: if the fraying is localized, like a small hole or a worn hem, it’s totally salvageable! But if the fabric is thinning across the whole garment or the structural seams are disintegrating, it might be a lost cause. If you can still feel the integrity of the weave, go for it!
