I was standing in the middle of my first tiny apartment in San Francisco, staring at a wall that was a truly depressing shade of beige, clutching a cheap roller and feeling completely overwhelmed. I had watched a dozen “quick” tutorials, but none of them mentioned the sheer amount of painter’s tape required or the way a single drip can ruin your entire weekend. Most people think that learning how to paint a room is just about picking a pretty color and slapping it on the drywall, but the truth is that the real magic happens in the prep work you didn’t realize you needed.
I’m not here to give you a polished, unrealistic montage of a perfect home makeover; I want to give you the actual, gritty details that make a project successful. In this guide, I’m breaking down my no-nonsense approach to tackling your walls without the unnecessary stress or the expensive mistakes. We’re going to cover everything from selecting the right tools to the specific techniques that ensure a professional finish. Whether you’re refreshing a home office or tackling a bedroom, I’ll help you navigate the process with confidence.
Table of Contents
- Step-by-Step Instructions
- Your Essential Painting Supplies Checklist for Success
- How to Prep Walls for Painting and Professional Results
- Pro Secrets for a Flawless Finish
- Quick Tips to Keep Your Project on Track
- The Secret to a Pro Finish
- Finishing Strong: Your Newly Transformed Space
- Frequently Asked Questions
Guide Overview
Tools & Supplies
- Paintbrush for cutting in edges and corners
- Roller and tray for large wall surfaces
- Painter's tape for protecting trim and ceilings
- Drop cloth to protect floors and furniture
- Interior paint 1-2 gallons per room
- Painter's tape 1 roll
- Sandpaper fine grit for smoothing walls
- Spackle small container for filling holes
Step-by-Step Instructions
- 1. Before you even crack open a paint can, you’ve got to clear the stage. Move your furniture to the center of the room and cover it with some old sheets or plastic drop cloths. I can’t tell you how many times I’ve seen a beautiful DIY project ruined by a stray splatter of navy blue on a beige sofa. Grab some painter’s tape and run it along your baseboards, window frames, and the ceiling edge. You want a crisp, clean line that makes all your hard work look professional rather than messy.
- 2. Next up is the prep work that most people try to skip, but trust me, it’s the most important part. Take a damp cloth and wipe down your walls to get rid of any dust or cobwebs. If you’re working with an older wall that has some nicks or small holes from old picture frames, grab a bit of spackle. Fill those spots in, let them dry, and then give them a light sand with some fine-grit sandpaper until the surface is smooth. If you don’t do this, those little imperfections will show up like sore thumbs once the light hits the new paint.
- 3. Now, it’s time to get your tools ready. I always keep a little notebook nearby to jot down my “kit list” so I don’t forget anything halfway through the job. You’ll need a high-quality angled brush for the edges, a roller with a medium nap, a paint tray, and an extension pole if you’re working on taller walls. Don’t skimp on the brushes; a cheap, scratchy brush will just leave streaks and make your life much harder in the long run.
- 4. We’re going to start with what I call “cutting in.” This means using your angled brush to paint a border around the edges of the room—along the ceiling, the corners, and around the trim—where the roller can’t reach. It’s a bit more tedious than the rolling part, but it’s the secret to a flawless finish. Try to work in small sections so the “cut in” paint stays wet when you start rolling; this helps the different textures blend together seamlessly.
- 5. Once your edges are set, grab your roller and start working on the large, flat surfaces. I find it’s best to work in small, manageable sections—about a 3-foot square at a time. Use a “W” or “M” motion to distribute the paint evenly, then fill in the gaps. This prevents you from loading up too much paint in one spot and creating those dreaded drips. Remember, it’s much better to do two thin coats than one heavy, gloopy one that runs down the wall.
- 6. Patience is your best friend here. Once you finish your first coat, step back and let it dry completely before even thinking about that second layer. If you rush it, you’ll end up pulling the first layer right back off with your roller. Check the can for the specific drying time, but usually, a few hours is plenty. That second coat is what really brings the color to life and gives you that deep, consistent look you’re aiming for.
- 7. Finally, the most satisfying part: the cleanup. Once the paint is dry to the touch, carefully peel off your painter’s tape. If the paint is still slightly tacky, you might want to pull it at a 45-degree angle to ensure you don’t chip the new finish. Clean your brushes and rollers immediately with warm soapy water—if you let the paint dry in the bristles, those tools are good as gone. Take a moment to step back, grab a coffee, and just admire the transformation you just pulled off!
Your Essential Painting Supplies Checklist for Success
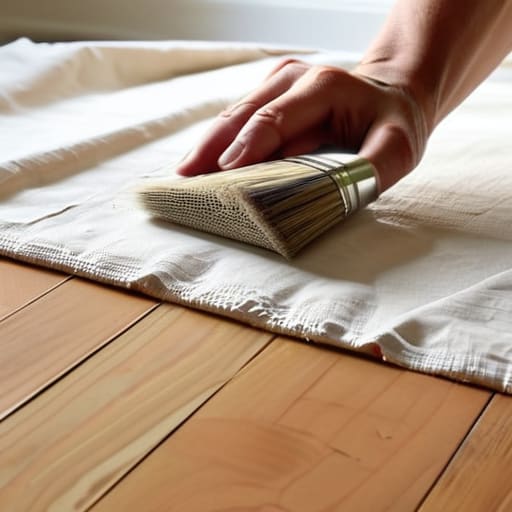
Before you dive into the fun part, let’s talk about the gear. I’ve learned the hard way that showing up to a project without the right tools is a recipe for frustration. Having a solid essential painting supplies checklist ready to go will save you from those mid-project runs to the hardware store. Beyond just brushes and rollers, don’t overlook the importance of high-quality drop cloths; using cheap plastic can lead to messy tears that leave paint splatters on your hardwood.
When it comes to the actual application, I always suggest investing a little extra in your brushes. It might feel counterintuitive to spend more upfront, but using a decent synthetic brush is the secret to mastering painting techniques for a smooth finish without those annoying brush strokes. Also, if you’re nervous about the edges, take your time learning how to use painter’s tape effectively—apply it, press it down firmly with a putty knife, and peel it back while the paint is still slightly tacky. It makes all the difference when you’re finally covering trim and baseboards.
How to Prep Walls for Painting and Professional Results
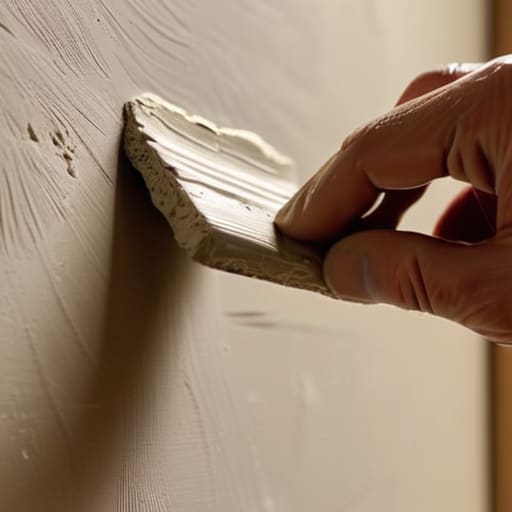
I’ve learned the hard way that the secret to a professional-looking finish isn’t actually the painting itself—it’s everything you do before the brush ever touches the surface. If you skip the prep, you’re basically asking for streaks and bumps. Start by giving your walls a good wipe-down with a damp cloth to remove dust and cobwebs. If you’re dealing with small dents or nail holes, grab some spackle, fill them in, and sand them down until they’re completely flush with the wall. Trust me, once you start applying color, those tiny imperfections will pop like crazy.
Once your walls are smooth and clean, it’s time to get strategic with your boundaries. Learning how to use painter’s tape effectively is a total game-changer; just make sure you press the edges down firmly with your fingernail to prevent any bleed-through. I always spend extra time covering trim and baseboards to ensure those lines stay crisp and clean. It might feel a little tedious at first, but taking this extra step is what separates a “weekend DIY” from a result that actually looks like a pro did it.
Pro Secrets for a Flawless Finish
- Don’t skip the “cutting in” phase—use a high-quality angled brush to paint those tricky edges around the ceiling and baseboards before you even touch the roller; it makes the whole process way less stressful.
- Test your color on a large swatch or a piece of poster board first, because lighting in a room changes everything from midday sun to late-night lamp glow.
- Always keep a wet rag handy; even the pros make a mess sometimes, and being able to wipe away a stray drip immediately saves you a massive headache later.
- Work in small sections and maintain a “wet edge” by overlapping your strokes, which prevents those awkward lines where the paint dries unevenly.
- If you’re working on a DIY project after a long day at the office, don’t rush the second coat—letting the first layer dry completely is the difference between a professional look and a patchy disaster.
Quick Tips to Keep Your Project on Track
Don’t rush the prep work—I know it’s tempting to jump straight to the fun part, but taking that extra time to clean and patch your walls is what actually makes the final result look professional rather than amateur.
Invest in decent tools rather than the cheapest option you can find; a high-quality brush and roller won’t just make the job faster, they’ll save you a massive headache with uneven textures and annoying drips.
Remember that painting is a marathon, not a sprint, so embrace the process and don’t be afraid to take breaks—it’s much better to step away for a coffee than to rush through a corner and end up with a mess you have to fix later.
The Secret to a Pro Finish
“I’ve learned through both debugging code and sanding down old oak tables that the magic isn’t actually in the final stroke of the brush; it’s in the patience you show during the prep work. If you respect the process, the results will always speak for themselves.”
Sarah Mitchell
Finishing Strong: Your Newly Transformed Space
I know that staring at a half-finished room can feel a little overwhelming, but look how far you’ve come! We’ve covered everything from gathering your essential toolkit to the heavy lifting of wall prep and the actual application of that fresh color. It’s easy to want to rush through the final stages, but remember that the magic really happens in the details. By taking the time to protect your floors and master your brush strokes, you aren’t just slapping paint on a wall; you are building a foundation for a space that feels intentional and polished. Don’t skip those final clean-up steps—they make all the difference in leaving your home looking professional rather than just “DIY-ed.”
At the end of the day, whether you’re refreshing a tiny home office or tackling a massive living room, the goal is the same: to create an environment that inspires you. There is something so incredibly rewarding about looking at a room and knowing, “I did that.” It’s more than just a change in color; it’s about the confidence you gain by taking a project from a messy concept to a finished reality. So, grab a coffee, take a step back, and soak in that transformation. You’ve earned it, and I can’t wait to see what you decide to tackle next!
Frequently Asked Questions
How do I figure out exactly how much paint I need to buy so I don't end up with too much or, even worse, running out halfway through?
There’s nothing more frustrating than being mid-stroke on a beautiful accent wall only to realize you’re scraping the bottom of the can. To avoid that, grab a measuring tape and calculate your total square footage (length x height of each wall). Subtract any large windows or doors, then divide that number by roughly 350—that’s the average coverage for one gallon. Always grab an extra quart for touch-ups later; trust me, you’ll thank me!
I'm worried about the mess—what are your best tricks for protecting my floors and furniture from accidental drips?
I totally get it—the fear of a rogue drip hitting your hardwood is real! Honestly, I’ve learned the hard way that “being careful” isn’t a strategy. My golden rule? Over-prepare. Use heavy-duty canvas drop cloths for floors; they absorb spills way better than plastic. For furniture, grab some old bedsheets or lightweight moving blankets. And pro tip: tape your painters’ tape down extra secure around baseboards. It’s much easier to clean a cloth than to sand out a stain!
How long should I actually wait between coats, and how can I tell if the wall is dry enough to keep going?
This is such a common question, and honestly, rushing it is the fastest way to end up with a streaky mess. Generally, you’ll want to wait at least two to four hours between coats, but don’t just rely on the clock. The best way to tell? Give the wall a gentle touch with the back of your hand. If it feels even slightly tacky or cool to the touch, it’s not ready. Wait until it’s completely dry and matte.