I was standing in my garage last weekend, surrounded by sawdust and a half-finished mid-century modern armchair, staring at a pile of torn, dusty velvet that looked more like a disaster than a design choice. It’s easy to look at a piece of furniture with a busted seat and think you need to spend hundreds at a professional shop or, worse, just toss it in the landfill. But here’s the thing: learning how to reupholster a chair isn’t about having a master craftsman’s workshop; it’s really just about having a little bit of grit and the right sequence of steps. I used to think I needed expensive industrial machinery to get a clean finish, but I quickly learned that simplicity beats complexity every single time.
In this guide, I’m stripping away all the intimidating jargon and fancy fluff to give you a straight-shooting roadmap. I’ll walk you through everything from picking the right fabric to the tiny, crucial details of stapling that make the difference between a DIY mess and a professional-looking piece. My goal is to give you the practical, actionable steps you need to tackle this project with confidence. Whether you’re looking to save money or just want the satisfaction of saying, “I made this,” let’s get to work!
Table of Contents
- Step-by-Step Instructions
- Curating Your Kit Essential Upholstery Tools and Supplies
- Selecting Your Style a Guide to Choosing the Right Upholstery Fabric
- Pro-Tips from My Workbench: Avoiding the Common Pitfalls
- Quick Tips for Your Upholstery Success
- Finding Beauty in the Old
- Your New Favorite Seat Awaits
- Frequently Asked Questions
Guide Overview
Tools & Supplies
- Staple gun and staples for securing fabric
- Pliers for pulling old staples and fabric
- Scissors for cutting fabric and foam
- Measuring tape for calculating dimensions
- Screwdriver for removing seat components
- Upholstery fabric (1-3 yards depending on size)
- High-density foam (1 piece)
- Batting/Dacron (1 roll or sheet)
- Dust cover fabric (1 small piece for bottom)
Step-by-Step Instructions
- 1. Before you even touch a tool, you need to deconstruct the chair completely. Grab a screwdriver and carefully remove any decorative trim or legs that might get in your way. Once the frame is bare, use a pair of pliers to pull out every single old staple and nail. I know, it’s a bit tedious, but you really want a completely clean surface before you start the new phase.
- 2. Now it’s time to inspect the “bones” of your chair. Check the wooden frame for any wobbles or loose joints; if it feels shaky, now is the time to grab some wood glue and clamps to reinforce the structure. While you’re at it, take a close look at the existing padding. If the foam is crumbling or looks totally flattened, go ahead and swap it out for some fresh high-density foam so your new fabric actually stays comfortable.
- 3. Next, let’s get tactical with your new fabric. Lay your fabric out on a large, clean workspace and place the chair seat (or backrest) right on top of it. You want to leave enough “overage” around the edges to pull it tight, so don’t be afraid to be a little generous with the extra material. I usually use my small notebook to sketch out where the pattern should sit so I don’t accidentally end up with a lopsided design.
- 4. This is where the real magic happens: the stapling. Start by pulling the fabric taut and placing a staple in the center of each side—top, bottom, left, and right. This creates a “cross” pattern that helps prevent wrinkles from forming. Work your way from the center out toward the corners, always keeping the tension even. It’s a bit like debugging a piece of code; if you don’t get the foundation right, the whole thing will fail later on.
- 5. Tackling the corners is probably the trickiest part of the whole process. You can’t just bunch the fabric up; you need to fold it neatly into crisp, clean pleats to avoid a bulky, messy look. I like to pull the fabric tight, tuck the excess into a neat fold, and then staple it down firmly. Take your time here—precision is everything when you’re aiming for that professional finish.
- 6. Once you’ve finished stapling all the way around, take a moment to do a “quality assurance” check. Run your hands over the fabric to feel for any lumps or loose spots. If everything feels smooth, use a pair of sharp fabric scissors to trim away any excess material that’s hanging off the bottom. Finally, if your chair has decorative nailhead trim, go ahead and add that for a flawless, high-end look that makes the whole project feel complete.
Curating Your Kit Essential Upholstery Tools and Supplies
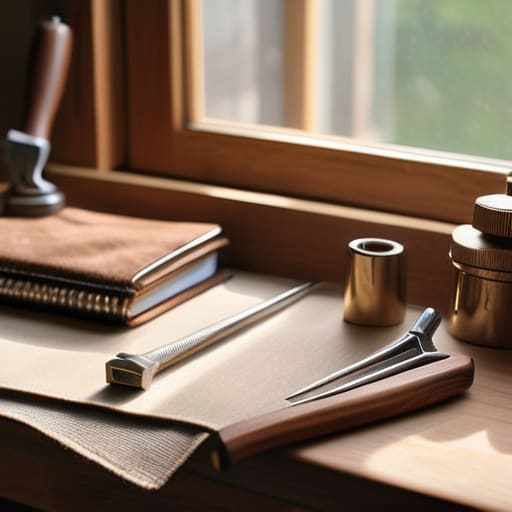
Before you dive into the actual work, let’s talk about what you’ll need on your workbench. I’ve learned the hard way that half the battle is having the right gear ready to go so you don’t lose your momentum halfway through. You aren’t going to need a massive workshop, but investing in quality upholstery tools and supplies makes a world of difference. I always keep my small notebook handy to sketch out my plan, but for the physical work, a heavy-duty staple gun is your best friend. When you start practicing your staple gun techniques for furniture, remember that consistency is key—you want your staples to be even and secure to prevent the fabric from sagging later.
Another thing that tripped me up early on was the material itself. Don’t just grab the first pretty pattern you see at the craft store! You really need to focus on choosing the right upholstery fabric based on how much use the chair will get. I usually recommend looking at an upholstery fabric weight guide to ensure the material is durable enough for a seat. If you’re feeling ambitious, you might even consider replacing chair foam padding while the frame is bare to give it that “brand new” feel.
Selecting Your Style a Guide to Choosing the Right Upholstery Fabric
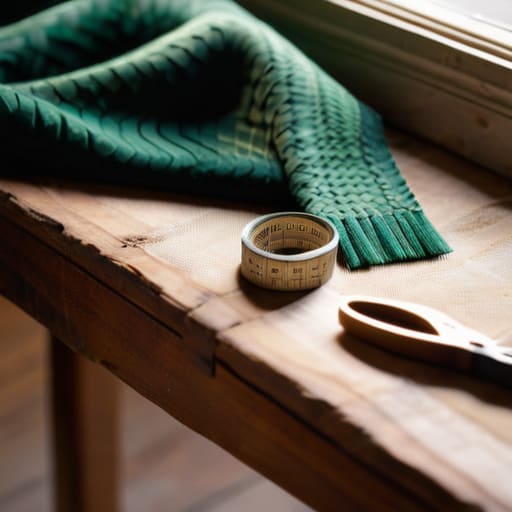
Now comes the part where you actually get to play designer! When you’re choosing the right upholstery fabric, it’s tempting to just grab the prettiest pattern you see at the craft store, but I’ve learned the hard way that looks aren’t everything. You have to consider how the chair will actually be used. If it’s a high-traffic dining chair, you’ll want something durable and easy to wipe down. If it’s a reading nook accent piece, you can go a bit bolder with textures like velvet or heavy linen.
One thing I always tell my friends is to keep an upholstery fabric weight guide in mind before you buy. If the material is too thin, it’s going to bunch up and look messy once you start pulling it taut. You want something with enough “heft” to hold its shape. Also, if you’re planning on replacing chair foam padding at the same time, make sure your fabric choice complements that new, plush feeling. A heavy-duty weave usually pairs beautifully with thicker foam for that high-end, professional look we’re all after!
Pro-Tips from My Workbench: Avoiding the Common Pitfalls
- Don’t toss the old fabric just yet! Even if it’s looking pretty rough, use it as a literal template to cut your new fabric. It’s the easiest way to make sure your new pattern lines up perfectly with the chair’s frame.
- Take way more photos than you think you need. Before you pull a single staple, snap close-ups of how the fabric folds around the corners and how the seams meet. When you’re halfway through and feeling stuck, those photos will be your absolute lifesaver.
- Tension is everything. It’s tempting to pull as hard as you can to get those wrinkles out, but if you go too overboard, you’ll actually distort the shape of the cushion. Aim for “snug and smooth,” not “drum-tight.”
- Always work in small sections. Instead of trying to wrap the whole fabric around the back at once, work your way from the center outward. It helps keep the tension even and prevents those annoying bunches of fabric from forming in the corners.
- Test your staples before you commit. I always keep a small scrap of the new fabric nearby to test my staple gun. You don’t want to realize halfway through that your staples are too long or that they’re tearing through your beautiful new material.
Quick Tips for Your Upholstery Success
Don’t rush the prep work—taking the extra time to strip that chair down to the frame and ensure everything is clean will make the actual fabric application so much smoother.
Quality over quantity when it comes to tools; investing in a decent staple gun and a pair of heavy-duty fabric shears will save you a massive amount of frustration in the long run.
Embrace the learning curve and don’t sweat the small stuff—if a seam isn’t perfectly straight on your first try, remember that even seasoned pros started exactly where you are!
Finding Beauty in the Old
“Don’t look at a worn-out chair as something that needs to be tossed; look at it as a blank canvas waiting for a little bit of grit and some fresh fabric to bring it back to life.”
Sarah Mitchell
Your New Favorite Seat Awaits
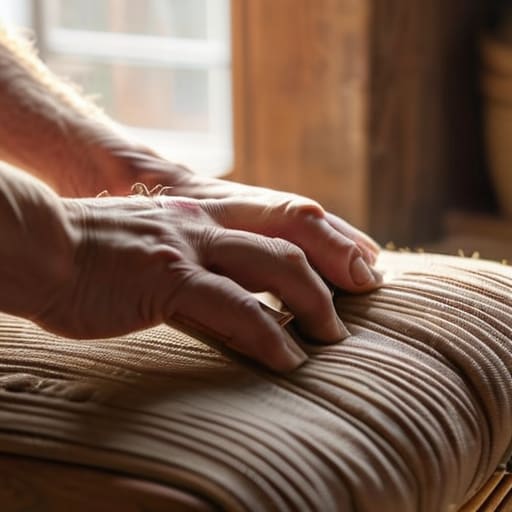
Taking on a project like this can feel like a lot when you first look at that pile of tools and fabric, but you’ve officially done the hard part. We’ve walked through everything from gathering your essential kit to picking out a fabric that actually stands the test of time. Remember, the secret to a professional finish isn’t about having a fancy workshop; it’s all about the attention to detail you put into those staple lines and the way you tension your material. If you hit a snag or a seam looks a little wonky, don’t sweat it—just take a breath, pull it tight, and keep moving forward.
At the end of the day, reupholstering isn’t just about saving a bit of money or fixing a piece of furniture; it’s about the incredible satisfaction of saying, “I built this.” There is something so deeply rewarding about looking at a chair in your living room and knowing you had the grit to transform it with your own two hands. Whether you’re looking to level up your DIY skills or just want to add a bit of personality to your home, I hope this project gives you the confidence to tackle whatever comes next. Now, grab a coffee, sit in your masterpiece, and celebrate your win!
Frequently Asked Questions
How do I know if my chair's frame is actually sturdy enough to be reupholstered, or if it's a lost cause?
That is such a great question, and honestly, it’s the most important thing to check before you go spending money on beautiful new fabric. I always do a “wiggle test” first. Grab the frame and give it a good shake—if it creaks or feels loose, check the joints. If the wood is cracked or the metal is rusted through, it might be a lost cause. But if the bones feel solid, you’re good to go!
Is it worth investing in a heavy-duty staple gun, or can I get away with a cheaper one from the hardware store?
Honestly, if you’re serious about this project, go for the heavy-duty one. I know it’s tempting to grab the cheapest option at the hardware store, but there is nothing more frustrating than a staple gun that jams or fails to drive a staple halfway into a wooden frame. You’ll save yourself a massive headache (and a lot of hand fatigue) by investing in something reliable. Think of it as a one-time cost for much smoother progress!
What's the best way to handle tricky spots like curved backs or tight corners without the fabric bunching up?
Honestly, those curves and tight corners are where most people start to second-guess themselves, but don’t let them intimidate you! My trick is to work in tiny increments. Instead of trying to pull one big section tight, use your fingers to smooth the fabric toward the center of the curve first. Small, strategic staples and a pair of sharp upholstery shears to make tiny relief cuts will keep everything looking crisp rather than bunched.
