I was halfway through refinishing a mid-century dresser last weekend when my chisel finally gave up the ghost, tearing through a delicate piece of walnut instead of slicing it. It’s that incredibly frustrating moment where you realize your gear isn’t working with you, but against you. Most people think they need to drop hundreds of dollars on a fancy electric grinder or a professional service, but that’s just not true. Learning how to sharpen tools is actually one of those fundamental skills that turns a frustrating DIY session into a total breeze, and you don’t need a Silicon Valley budget to do it right.
In this guide, I’m stripping away the gatekeeping and the overly technical jargon to give you a straight-up, practical roadmap. I’ll walk you through the essential gear you actually need, the common mistakes that ruin a good edge, and my personal favorite techniques for getting a razor-sharp finish. My goal is to move you past the intimidation factor so you can stop fighting your equipment and start actually enjoying your projects. Let’s get your workspace back in top shape.
Table of Contents
- Step-by-Step Instructions
- Mastering Whetstone Sharpening Techniques for Professional Results
- Finding the Perfect Sharpening Angle for Different Tools
- Pro Tips to Keep Your Edge (and Your Sanity)
- Quick Wins to Keep Your Tools in Top Shape
- ## A Quick Thought on Maintenance
- Putting Your Sharp Skills to Work
- Frequently Asked Questions
Guide Overview
Tools & Supplies
- Knife (standard kitchen or utility)
- Garden shears (bypass style)
- Dual-grit whetstone (1 unit)
- Honing rod (1 unit)
- Sharpening oil or water (1 bottle)
- Microfiber cloth (1 unit)
Step-by-Step Instructions
- 1. First things first, you need to grab the right gear. I always recommend picking up a decent set of combination sharpening stones—you’ll want both a coarse grit for fixing nicks and a fine grit for that final, polished edge. Don’t forget a small container of water or honing oil, depending on what your stones require, because a dry stone is a recipe for a ruined edge.
- 2. Once you have your supplies, soak your stones if they’re water-based. I usually spend a few minutes letting mine sit in a shallow tray of water to ensure they’re fully saturated before I even touch a blade. If you’re using oil stones, just a light coating will do, but the goal is to keep a thin film of lubricant between the metal and the stone to prevent scratches.
- 3. Now, let’s talk about finding that perfect angle. This is where most people get intimidated, but it’s actually pretty intuitive once you get the hang of it. For most of my woodworking chisels and knives, I aim for about a 20 to 30-degree angle. A good trick I learned back in my early DIY days is to use a couple of old pennies stacked on top of each other to help gauge that tilt against the blade.
- 4. Start with the coarse side of your stone to reshape the edge. Hold the tool firmly and use steady, sweeping motions, moving the blade across the stone in a way that covers the entire bevel. You’re looking for a consistent burr to form along the opposite side of the edge—that little lip of metal is your signal that you’ve actually reached the very tip of the blade.
- 5. After you’ve done the heavy lifting with the coarse stone, switch over to the fine-grit side. This step is all about refinement and smoothing out those microscopic imperfections. Use lighter pressure here and focus on polishing the edge until that burr you created starts to feel much smoother and less pronounced under your thumb.
- 6. To finish it off, you need to “strop” the blade. I love using a piece of scrap leather with a bit of polishing compound stuck to it. Drag your tool backward across the leather in long, sweeping strokes. This is the secret sauce that gives you that razor-sharp finish that makes slicing through wood or vegetables feel like absolute magic.
- 7. Finally, give your tool a quick test before you dive into your project. I usually try a few light slices through a piece of paper or a scrap of soft wood. If it bites in easily without snagging, you’re golden! If it still feels a bit sluggish, just go back to step four and give it a little more love on the coarse stone.
Mastering Whetstone Sharpening Techniques for Professional Results
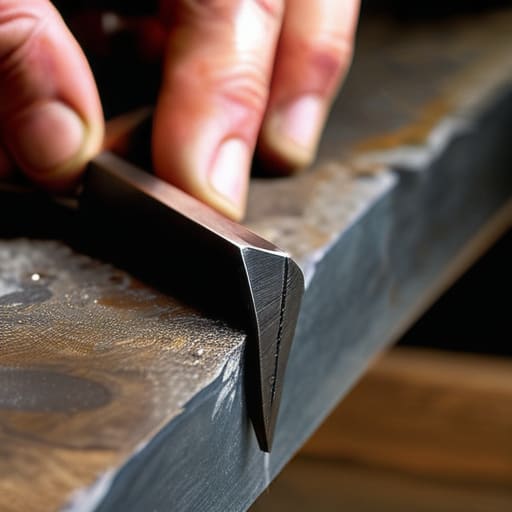
Once you’ve got the basics down, moving to a whetstone is where you’ll really start to see the difference between a “functional” edge and a professional one. I remember my first time trying this with an old chisel I found at a thrift store; I was so nervous about slipping, but it’s all about muscle memory. The secret lies in finding the consistent sharpening angle for different tools—you don’t want to treat a delicate carving knife the same way you treat a heavy-duty wood rasp. Take your time, and don’t rush the strokes.
One thing I’ve learned through years of tinkering in my workshop is that your choice of lubricant matters just as much as your technique. Whether you’re using the best sharpening oils and water or a specialized honing compound, keeping that surface slick prevents friction from overheating the metal. Also, a quick tip from my notebook: always wipe your blades down with a bit of mineral oil immediately after you’re done. It’s a tiny step, but preventing rust on metal tools is the easiest way to ensure your hard work actually lasts.
Finding the Perfect Sharpening Angle for Different Tools
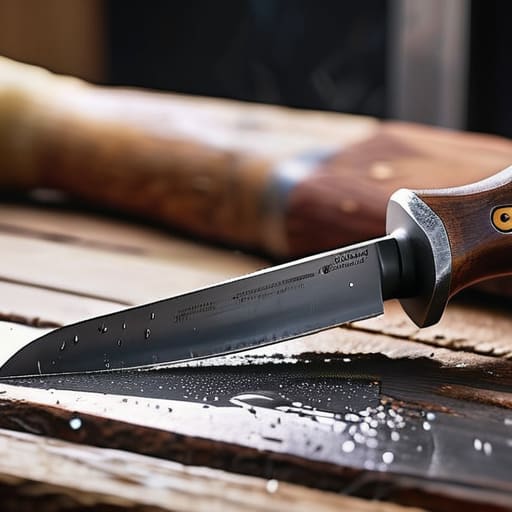
One thing I learned the hard way during my early woodworking days is that treating every blade like it’s the same is a recipe for frustration. You can’t just wing it; finding the right sharpening angle for different tools is what separates a clean cut from a jagged mess. For instance, your kitchen chef’s knife usually thrives at a 15 to 20-degree angle, whereas a heavy-duty chisel or an axe needs something much steeper—around 25 to 30 degrees—to handle the impact without chipping.
If you’re working with delicate precision tools, even a slight deviation can ruin the edge. I always tell my coaching clients that consistency is more important than perfection. Even if your angle isn’t mathematically exact, keeping it steady throughout the stroke is key to maintaining blade edge longevity. If you find yourself struggling to hold that angle manually, don’t sweat it; there are plenty of inexpensive guides you can use to help steady your hand while you’re still getting the feel for it.
Pro Tips to Keep Your Edge (and Your Sanity)
- Don’t overdo it—sharpening is about maintenance, not reconstruction. If you wait until your tool is completely blunt or chipped, you’re going to spend way more time (and grit) trying to fix it than if you’d just done a quick touch-up every few uses.
- Keep things wet or oiled. Whether you’re using a whetstone or a honing rod, lubrication is your best friend. It prevents metal particles from clogging up your abrasive surface and ensures you’re actually smoothing the edge rather than just scratching it.
- Listen to the sound. This sounds a bit “zen,” but as you get more comfortable, you’ll actually hear the difference between a tool that’s biting into the stone and one that’s just sliding over it. That “shhh” sound is your cue that you’re doing it right.
- Clean your tools immediately after. I’ve learned the hard way that leaving metal filings or stone slurry on a blade can lead to rust or corrosion. A quick wipe with a clean rag and a tiny drop of machine oil goes a long way in protecting your investment.
- Practice patience over pressure. It’s tempting to lean into the tool to speed things up, but heavy pressure actually ruins your angle and can lead to uneven edges. Let the grit do the heavy lifting; consistent, light strokes will always beat brute force.
Quick Wins to Keep Your Tools in Top Shape
Don’t wait until your tools are blunt to start maintenance; a quick, regular sharpening session saves you a massive amount of frustration and physical effort in the long run.
Consistency is your best friend when it comes to angles—once you find that sweet spot for a specific blade, stick to it to ensure a reliable, razor-sharp edge every single time.
Invest in a decent whetstone and take the time to learn the technique, because having gear you can actually trust makes every project, from woodworking to tech tinkering, feel way more rewarding.
## A Quick Thought on Maintenance
“Whether you’re debugging a messy line of code or working through a piece of reclaimed oak, the quality of your output always comes down to the quality of your tools—and taking ten minutes to sharpen them today will save you hours of frustration tomorrow.”
Sarah Mitchell
Putting Your Sharp Skills to Work
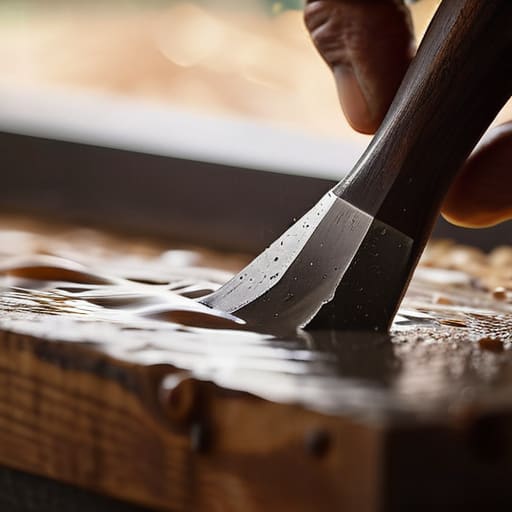
At the end of the day, sharpening your tools is about much more than just maintaining metal; it’s about respecting the craft. We’ve covered a lot of ground, from finding that elusive perfect angle to mastering the rhythmic patience required for whetstone work. Remember, whether you are working on a complex software build or upcycling a mid-century modern dresser, your success depends heavily on the quality of your gear. Don’t let a dull blade turn a quick weekend project into a frustrating afternoon of wasted effort. By taking a few extra minutes to maintain your equipment, you’re ensuring that every cut is precise and every task is significantly more efficient.
If you felt a little intimidated when we first started, don’t sweat it. I remember the first time I tried to sharpen a chisel and ended up with more scratches than a cat; it’s all part of the learning curve. The real magic happens when you stop seeing these tasks as chores and start seeing them as a way to invest in yourself. Every time you hone a blade or refine a skill, you are building the confidence to tackle bigger, more ambitious projects. So, grab your notebook, pick up your tools, and go create something amazing. You’ve totally got this!
Frequently Asked Questions
How often do I actually need to sharpen my tools versus just giving them a quick hone?
Think of it like this: honing is your daily maintenance, while sharpening is the deep clean. I usually grab a honing rod every time I sit down at my workbench to keep that edge biting. But if you notice you’re pushing harder just to get through a cut, or if you’re seeing tiny nicks in the metal, that’s your sign to pull out the whetstone. Don’t wait until they’re blunt!
Is it worth investing in an electric sharpener, or should I stick to the traditional manual methods?
Honestly, it depends on your goals. If you’re looking for that meditative, “zen” feeling and want total control over the edge, stick to manual stones. There’s something so satisfying about doing it yourself. But, if you’re like me and sometimes just want to get a project moving without a twenty-minute ritual, an electric sharpener is a total lifesaver. It’s about efficiency—get the manual skills down, but don’t feel guilty about using tech to save time!
What are the best ways to store my freshly sharpened tools so they don't lose their edge right away?
There’s nothing more frustrating than spending an hour perfecting an edge only to have it dull by next week. To keep those blades biting, avoid tossing them loosely into a heavy toolbox where they can bang against each other. I swear by dedicated tool rolls or even custom-made wooden racks. If you’re tight on space, just a thin coat of camellia oil or even mineral oil before storing them can prevent rust from eating your hard work.
