I was standing in my garage last Saturday, staring at a thrifted mid-century modern chair that looked more like a disaster zone than a piece of decor, clutching a can of spray paint like it was a ticking time bomb. I had tried this once before, and the result was a streaky, dripping mess that looked like a toddler had played with a paintbrush. If you’ve ever felt like you’re just one wrong move away from ruining a perfectly good piece of furniture, I get it. Most people think you need a professional studio setup to get a smooth finish, but the truth is that learning how to spray paint is actually more about your technique and patience than the gear you use.
In this guide, I’m stripping away all the fluff and giving you the real-world tactics I’ve picked up from years of upcycling old finds. We aren’t going to talk about theoretical perfection; instead, I’m going to walk you through the exact prep steps, the proper distance to hold that can, and how to avoid those dreaded drips. By the time we’re done, you’ll have the confidence to transform almost anything in your house with a pro-level finish that actually lasts.
Table of Contents
- Step-by-Step Instructions
- Essential Spray Painting Safety Gear for Confident Diyers
- Choosing the Best Spray Paint for Beginners and Projects
- Pro Secrets for a Flawless Finish (Without the Drips!)
- Quick Wins for Your Next Project
- ## The Secret to a Pro Finish
- Bringing Your Vision to Life
- Frequently Asked Questions
Guide Overview
Tools & Supplies
- Spray paint cans (the primary coating agent)
- Drop cloths (to protect surrounding surfaces)
- Painter's tape (to mask off areas not being painted)
- Sandpaper (to smooth surfaces before application)
- Surface cleaner or degreaser (1 bottle)
- Primer (1-2 cans depending on surface size)
- Protective mask (1 unit for safety)
Step-by-Step Instructions
- 1. First things first, you’ve got to prep your surface. I know, I know—it’s the part everyone wants to skip so they can get straight to the fun stuff, but if you don’t sand down any rough spots or wipe away dust and oils, your paint is going to peel faster than a bad sunburn. Grab a little fine-grit sandpaper and just smooth things out until the surface feels consistent.
- 2. Once your piece is clean and dry, it’s time to mask everything off. I always keep a roll of painter’s tape and some old newspapers in my workshop for a reason. Cover up any areas you don’t want color on—like hinges, handles, or even the floor underneath—because overspray is sneaky and can end up landing exactly where you don’t want it.
- 3. Now, give your spray can a really good shake. This isn’t just a suggestion; you actually need to rattle that ball inside for at least a full minute to make sure the pigment and the propellant are perfectly mixed. If you don’t, you’ll end up with a can that spits out clumps instead of a smooth, even mist.
- 4. When you’re ready to spray, remember the golden rule of distance. Hold the can about 8 to 12 inches away from your project. If you get too close, you’ll get those annoying drips, and if you’re too far, the finish will look grainy and thin. Aim for a steady, consistent motion rather than just pointing and clicking.
- 5. This is where most people trip up: apply thin, light coats. Instead of trying to cover the whole thing in one heavy pass, think of it like a light dusting. It’s much better to do three or four translucent layers than to try and drown the piece in paint in a single go. It takes a little longer, but the results are so much cleaner.
- 6. Between those layers, you’ll need to let it dry. I usually give it about 15 to 20 minutes depending on the humidity, but patience is your best friend here. If you try to rush into the next coat while the first one is still tacky, you’re going to ruin that beautiful, smooth finish you’ve been working so hard for.
- 7. Finally, once the last coat is dry, remove your masking tape carefully. I like to do this while the paint is still just slightly “soft” to avoid any chipping at the edges. Once that’s done, let the whole piece cure for a day or two before you start using it. It might feel dry to the touch, but giving it time to harden ensures your hard work lasts for years.
Essential Spray Painting Safety Gear for Confident Diyers
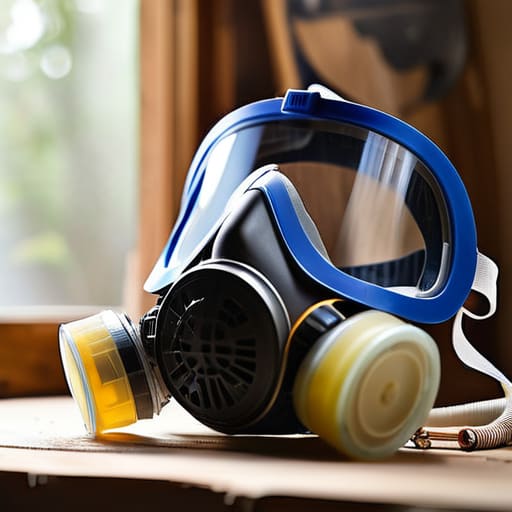
Before you even crack open that first can, let’s talk about something we often overlook in the excitement of a new project: your lungs and skin. I’ve learned the hard way that while a project might look fun, those tiny paint particles are no joke. Investing in some decent spray painting safety gear is non-negotiable. At a minimum, you’ll want a high-quality respirator mask—not just a simple paper dust mask—to keep those fumes out of your system. I also highly recommend wearing eye protection and some old clothes you don’t mind getting messy, because trust me, mistakes happen and those overspray clouds can drift further than you think.
Beyond just protecting yourself, think about your workspace. Always aim to work in a well-ventilated area, ideally outdoors or in a garage with the door wide open. If you’re working indoors, set up a makeshift windbreak using cardboard to help with controlling the spray pattern. This doesn’t just keep the fumes from settling in your living room; it actually helps with preventing spray paint drips by giving you more control over the airflow. Stay safe, stay protected, and then you can focus on the fun part!
Choosing the Best Spray Paint for Beginners and Projects
I’ll be honest: walking down the hardware aisle can feel a little overwhelming when you’re staring at fifty different cans that all look exactly the same. If you’re just starting out, my biggest tip is to look for a brand that offers a consistent, fine mist. I usually recommend looking for the best spray paint for beginners, which typically means a formula that flows smoothly without clogging. You want something that builds coverage quickly so you aren’t stuck doing twenty thin, frustrating layers.
Don’t fall into the trap of thinking a single can can do it all, though. If you’re working on something like an old wooden chair or a metal lamp, you really need to invest in a good spray paint primer and sealer. Using a primer first isn’t just an extra step; it’s the secret to making sure your color actually grips the material instead of peeling off a month later. It also helps you avoid those dreaded runs and puddles. Think of it like writing clean code—you want a solid foundation before you start adding the flashy features!
Pro Secrets for a Flawless Finish (Without the Drips!)
- Master the “Light Touch” technique. Instead of trying to cover the whole surface in one heavy pass, think of it like a light misting. It’s much better to do three thin, even coats than one thick one that ends up looking like a melted candle.
- Keep that can moving! This is the number one mistake I see. Never start or stop your spray right on the object; always start your motion just before you hit the surface and continue it until you’ve passed it. This prevents those dreaded paint blobs.
- Don’t forget the “Shake it Like You Mean It” rule. I know it sounds silly, but you need to shake that can vigorously for at least a full minute before you even think about pressing the nozzle. It ensures the pigments and solvents are perfectly blended for an even color.
- Mind your distance. If you’re too close, you’ll get runs and drips; if you’re too far, the paint will dry in mid-air and leave you with a grainy, sand-paper texture. Aim for about 8 to 12 inches away—it’s the sweet spot for a smooth look.
- Control your environment. I always check the weather before I head out to the garage. If it’s super windy or humid, your paint is going to behave badly. A calm, dry day is your best friend for getting that professional-grade finish we’re all after.
Quick Wins for Your Next Project
Never underestimate the prep work—a clean, smooth surface is the real secret to a finish that looks professional rather than DIY.
Patience is your best tool; it’s much better to apply several thin, light coats than to try and cover everything in one heavy, dripping layer.
Safety isn’t optional—always mask up and find a well-ventilated spot so you can focus on the fun part without worrying about the fumes.
## The Secret to a Pro Finish
“Honestly, the biggest mistake I see people make isn’t the painting itself—it’s rushing. If you can resist the urge to go heavy and instead focus on those light, even passes, you’ll end up with a finish that looks like it came from a factory rather than a DIY project.”
Sarah Mitchell
Bringing Your Vision to Life
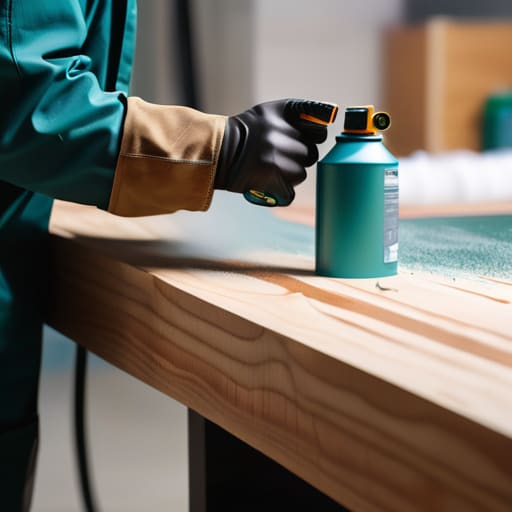
At the end of the day, mastering spray paint is all about respecting the process. We’ve covered a lot of ground, from picking out the right cans and ensuring you have your safety gear ready, to the actual technique of moving that nozzle in steady, even strokes. Remember, the secret isn’t in a single magic pass, but in those multiple light layers that build up a professional finish without the dreaded drips. Don’t let the fear of a messy mistake hold you back; even when things don’t go perfectly, you’re learning the nuances of how the paint reacts to your surface and your environment. Just keep your workspace ventilated, your prep work thorough, and your movements consistent, and you’ll see the difference immediately.
I know that starting a new DIY project can feel a little intimidating, especially when you’re staring at a piece of furniture that looks like it’s seen better days. But honestly? The most rewarding part isn’t just the finished product sitting in your living room—it’s the confidence you gain every time you pick up a tool and say, “I can do this.” Whether you’re upcycling a thrift store find or just refreshing a small decor piece, you’re proving to yourself that you can learn, adapt, and create something beautiful. So, grab your mask, find a breezy spot, and just start spraying. I can’t wait to see what you create!
Frequently Asked Questions
How do I know if I'm holding the can too close or too far away to avoid those annoying drips?
This is such a common frustration, but honestly, it’s all about finding your “sweet spot.” If you’re too close, the paint pools and creates those dreaded drips; if you’re too far, you’ll end up with a grainy, sandpaper texture. Aim for about 8 to 12 inches from your surface. A good trick I use? Practice a few quick strokes on a piece of scrap cardboard first to get a feel for the distance and flow!
Is it okay to spray over an old coat of paint, or do I really need to sand everything down first?
I get asked this all the time, and honestly, it’s the million-dollar question! The short answer? You can spray over old paint, but there’s a catch. If the existing finish is glossy or peeling, your new coat won’t grab hold, and you’ll end up with a frustratingly flaky mess. I always recommend a quick sand with some fine-grit sandpaper just to scuff the surface. It creates the “teeth” your new paint needs to actually stick!
How long should I actually wait between coats before I start adding more color?
This is such a common question, and honestly, it’s where most people trip up! You’ll want to check the back of your specific can for the manufacturer’s “recoat time,” but as a general rule, I usually wait about 15 to 30 minutes between light coats. The key is to avoid “wetting” the surface too much; you want a fine mist rather than a heavy soak. If you rush it, you’ll end up with those dreaded drips!
