I remember sitting on my living room floor a few years ago, staring at a half-finished bookshelf and a power tool that felt more like a weapon than a helpful gadget. I was convinced that you needed a background in engineering or a massive workshop to actually be successful with home projects, but that’s just not true. The truth is, learning how to use a drill isn’t about having innate mechanical talent; it’s simply about understanding the relationship between your hands and the tool. Once you move past that initial fear of making a mistake, you’ll realize that this single device is the ultimate gateway to building a home you actually love.
In this guide, I’m stripping away all the intimidating jargon and complex manuals to give you the straight talk you actually need. I’ll walk you through everything from selecting the right bits to mastering the pressure of the trigger, so you can stop feeling hesitant and start feeling completely capable. Whether you’re trying to hang a heavy mirror or upcycle an old dresser I found at a thrift store, I promise to give you the practical, no-nonsense steps to get the job done right the first time.
Table of Contents
- Step-by-Step Instructions
- Essential Cordless Drill Safety Precautions for Confident Diyers
- Choosing Your Tools Navigating Drill Bit Types and Uses
- Pro-Tips from My Workbench: Small Tweaks for Big Results
- Quick Wins for Your Next Project
- ## A Little Confidence Goes a Long Way
- You're Ready to Build Something Great
- Frequently Asked Questions
Guide Overview
Tools & Supplies
- Power Drill (Cordless or corded drill)
- Drill Bits (Set of various sizes for drilling and driving)
- Safety Glasses (1 pair)
- Workpiece (Wood, metal, or plastic depending on project)
Step-by-Step Instructions
- 1. First things first, you’ve got to pick the right bit for the job. If you’re just driving a screw into some reclaimed wood from my latest upcycling project, you’ll want a driver bit; if you’re actually making a hole, grab a drill bit. I always tell my friends to double-check the size before they even touch the trigger, because nothing is more frustrating than a bit that’s too small or too big for the task at hand.
- 2. Once you have your bit, it’s time to pop it into the chuck. This is that adjustable part at the very front of the drill. You’ll usually twist it to open the “jaws,” slide your bit in, and then tighten it back up. If you’re using a keyless chuck—which most modern drills have—you can just tighten it by hand, but make sure it’s snug so the bit doesn’t slip mid-way through your project.
- 3. Before you start drilling, find your mark. I’m a huge fan of using a pencil to draw a tiny “X” exactly where you want the hole to go. If you’re working with harder materials, I highly recommend using a center punch or even a nail to make a tiny little divot first. This prevents the bit from “wandering” across the surface and ruining your beautiful piece of wood.
- 4. Now, get into a comfortable position and grip the drill firmly. You want one hand on the handle and your other hand supporting the back of the drill or holding the workpiece steady. Think of it like finding your balance—you want to be stable so you can apply steady, even pressure without feeling like the drill is going to jump out of your hands.
- 5. Here’s where the magic happens: squeeze the trigger slowly. Don’t just go full throttle immediately! Start with a light touch to let the bit bite into the material, and once you feel it’s got a good grip, you can increase the speed. I always find that slow and steady wins the race here, especially when you’re working on something you really care about.
- 6. Keep an eye on your depth. If you only want a shallow hole, don’t just drill blindly! You can wrap a little bit of painter’s tape around the drill bit at the desired depth to act as a visual guide. It’s a super simple trick that saves so much heartache when you’re trying to keep things precise.
- 7. Finally, once you’ve reached your depth, pull the drill straight out while it’s still spinning slowly. This helps clear out the sawdust or debris from the hole, making it much cleaner. Once you’re done, pull the bit out of the chuck and give it a quick wipe down. Keeping your tools clean is one of those small habits that makes a massive difference in the long run!
Essential Cordless Drill Safety Precautions for Confident Diyers
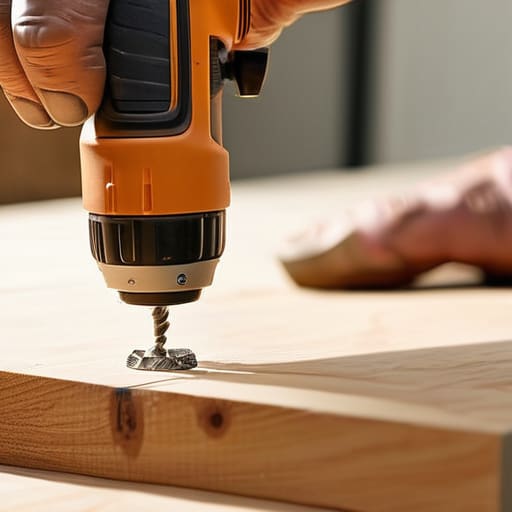
Before you even pull the trigger, let’s talk about the stuff that keeps your project (and your fingers) intact. I know that feeling when you first pick up a power tool—it’s a little intimidating—but mastering a proper drill stance and grip is the best way to stay in control. Always plant your feet firmly and hold the drill with both hands if you can; this prevents the tool from “walking” or jerking unexpectedly if the bit catches on something. I always keep my eyes on the point of contact, and honestly, wearing some basic eye protection is a non-negotiable for me.
Another thing I’ve learned the hard way is that not all materials are created equal. You’ll want to pay close attention to adjusting drill speed and torque depending on what you’re working on. For instance, if you’re transitioning from drilling into wood vs metal, you’ll notice the resistance feels completely different. If you go too fast on a delicate surface, you might burn the material or snap a bit. Take it slow, listen to the motor, and trust your instincts—if something feels off, just pause and reset!
Choosing Your Tools Navigating Drill Bit Types and Uses
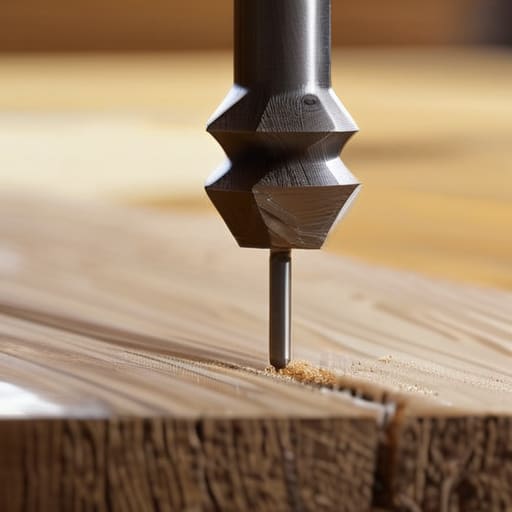
Now, once you’ve got your drill in hand, the real magic—and the potential for frustration—lies in your bits. I remember my first attempt at upcycling an old oak dresser; I tried using a standard bit meant for drywall, and let’s just say the wood didn’t take it kindly. Understanding different drill bit types and uses is a total game-changer. For most of my woodworking projects, I stick to high-speed steel or brad-point bits because they leave such a clean finish. If you’re moving between materials, you really need to be mindful of drilling into wood vs metal; metal requires slower speeds and often a bit of lubricant to keep things from overheating, whereas wood can handle a bit more speed.
Don’t forget that the material dictates the bit, too. If you’re tackling a brick patio or a concrete foundation, you’ll need a masonry bit with a carbide tip to actually make progress. It can feel a bit daunting at first, but once you match the right bit to the job, you’ll feel so much more in control of your project.
Pro-Tips from My Workbench: Small Tweaks for Big Results
- Mark your spot twice, drill once! I always grab my pencil and make a tiny ‘X’ exactly where I want the hole to go. It sounds simple, but it stops you from accidentally drifting across the wood when the bit first bites in.
- Don’t go full throttle right away. I’ve learned the hard way that starting with a slow, steady trigger pull helps the bit find its center. Once you’re settled into the material, then you can ramp up the speed.
- Keep your body weight in check. Instead of just pushing with your arms, try to lean your body weight slightly into the drill. It gives you way more control and keeps you from having to fight the tool.
- Listen to the sound of the motor. If it starts sounding strained or high-pitched, you’re likely pushing too hard or using the wrong speed. A happy drill hums; a struggling drill whines, so give it a second to breathe!
- Clear out the debris as you go. If you’re drilling deep, pull the bit out halfway through the process to clear out the sawdust. It prevents the hole from getting clogged and keeps your drill bit from overheating.
Quick Wins for Your Next Project
Don’t let the technical jargon scare you—the most important thing is to match your drill bit to your material so you don’t end up with a mess.
Safety isn’t just a chore; once you get into the habit of wearing eye protection and checking your work area, you’ll feel way more confident taking on bigger projects.
Start small and embrace the learning curve; even if your first few holes aren’t perfect, every mistake is just a step toward becoming a pro in your own workshop.
## A Little Confidence Goes a Long Way
“I used to think a power drill was just a scary piece of hardware meant for pros, but honestly? Once you get that first hole perfectly centered, it stops being a tool and starts being an extension of your own creativity.”
Sarah Mitchell
You're Ready to Build Something Great
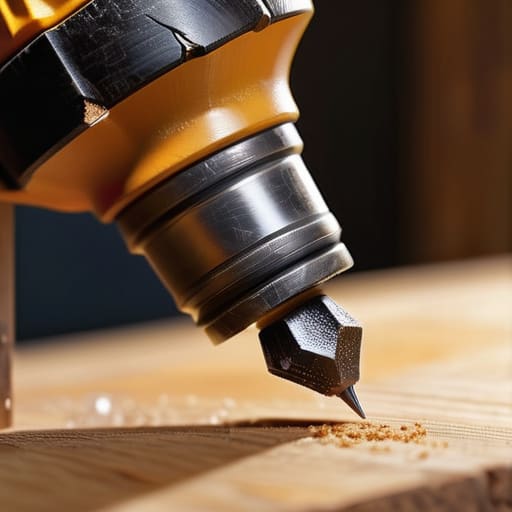
We’ve covered a lot of ground today, from mastering the basic mechanics of the drill to navigating that overwhelming wall of drill bits at the hardware store. Remember, the secret to a successful project isn’t just having the right tool, but knowing how to use it safely and choosing the specific bit for the material in front of you. Whether you’re driving a screw into a piece of reclaimed oak or just hanging a simple picture frame, keeping your safety precautions at the forefront and maintaining steady control will make all the difference. It might feel like a lot of technical details right now, but once you get that first hole perfectly centered, everything starts to click.
At the end of the day, I want you to remember that every expert woodworker or seasoned engineer started exactly where you are: standing in a garage or a small apartment, feeling a little bit unsure about a new tool. Don’t let the fear of making a mistake stop you from starting. Every crooked screw or slightly off-center hole is just a stepping stone toward mastery. Technology and tools are meant to be used, not just admired on a shelf. So, grab your drill, clear off your workspace, and go create something that makes you proud. I can’t wait to see what you build!
Frequently Asked Questions
I'm worried about making a mess—how do I stop the drill bit from slipping and scratching my wood when I start?
I totally get it—there is nothing more heartbreaking than seeing a jagged scratch ruin a beautiful piece of wood right at the start. To stop that “skating” effect, I always use a center punch or even a sharp nail to make a tiny pilot indentation first. That little divot gives your drill bit a home to sit in so it stays exactly where you want it. You’ve got this!
Is there a difference between "drill mode" and "driver mode," and when should I actually switch between them?
Think of it like this: “Drill mode” is all about raw power for making holes, while “driver mode” is all about control for driving screws. When you’re drilling into wood or masonry, switch to drill mode to let that motor run full tilt. But when you’re actually driving a screw, toggle over to driver mode—that clutch setting is a lifesaver! It prevents you from over-driving the screw and stripping the head, which is a total headache to fix.
How do I know if I'm applying too much pressure and potentially stripping a screw or breaking a bit?
Honestly, I’ve been there more times than I’d like to admit! The biggest giveaway is the sound—if you hear a high-pitched slipping or “skipping” noise, stop immediately. That’s the bit losing its grip on the screw head. You’ll also feel a sudden lack of resistance in your hand. If it feels like you’re just spinning in place without actually driving the screw deeper, back off, reset, and try applying more downward force rather than more trigger pressure.
