I was sitting on my living room floor last Tuesday, wrapped in a thick wool blanket and shivering, when I realized my heating bill wasn’t high because of the weather—it was high because of my front door. It’s one of those annoying little things we tend to ignore until it becomes a legitimate problem, but letting drafts swirl through your entryway is basically like throwing money out the window. I used to think that weatherstripping a door was some complicated construction project that required a contractor and a massive budget, but honestly? That’s just a myth.
In this guide, I’m stripping away all the technical jargon and getting straight to the practical stuff. I’ll walk you through exactly how to identify where your leaks are coming from and show you the most efficient ways to tackle weatherstripping a door without breaking a sweat (or your bank account). Whether you’re a total DIY novice or just someone looking for a quick weekend win, I’m going to give you the exact, no-nonsense steps I use in my own home to keep the warmth in and the stress levels low.
Table of Contents
- Step-by-Step Instructions
- Choosing the Best Types of Door Weatherstripping Materials
- Reducing Heating Costs With Door Seals and Smart Diy
- Pro-Tips for a Seamless Seal: My Little Secrets for Success
- Quick Wins for a Draft-Free Home
- Why the Small Stuff Matters
- Final Thoughts Before You Close the Door
- Frequently Asked Questions
Guide Overview
Tools & Supplies
- Measuring tape for determining door dimensions
- Scissors or utility knife for trimming materials
- Screwdriver for securing door sweeps or hardware
- Weatherstripping roll (foam, rubber, or V-strip) 1 pack
- Door sweep 1 unit
- Adhesive remover or cleaner 1 bottle
Step-by-Step Instructions
- 1. First things first, you’ve got to do a little reconnaissance work. Grab a flashlight and a piece of paper, and on a windy day, run your hand around the edges of the door to feel exactly where the drafts are sneaking in. I usually find that the culprits are either the top corners or that pesky gap at the very bottom. Once you’ve identified the “leak” zones, grab some isopropyl alcohol and a clean rag to wipe down the surfaces where the new stripping will go; if there’s dust or old adhesive in the way, nothing is going to stick, and you’ll be doing this all over again next week.
- 2. Next, you need to head to the hardware store and pick your “hardware.” Since I tend to look at everything through a bit of an engineering lens, I always recommend checking the profile of your door frame. If you’re going for the self-adhesive foam or rubber strips, make sure they are thick enough to compress slightly but not so thick that they make the door a nightmare to latch. If you’re dealing with a massive gap at the bottom, you might want to look into a screw-on door sweep instead of just the stick-on stuff.
- 3. Once you have your materials, it’s time to measure twice and cut once—literally. Take your measuring tape and get the exact length of the door jambs and the bottom edge. I like to use a sharp utility knife or a pair of heavy-duty scissors to cut the strips. Pro tip: If you’re doing the side strips, try to cut them at a slight angle where they meet the top header so you don’t end up with a visible gap in the corner.
- 4. Now, let’s get to the actual installation. Peel the backing off your adhesive stripping slowly, starting from the top corner and working your way down. I find it’s much easier to apply steady pressure as you go rather than trying to slap the whole thing on at once. If you’re using a foam strip, make sure you aren’t stretching it while you apply it, or it’ll eventually snap back and leave a gap. Just press it firmly into place, following the line of the frame like you’re routing a path on a circuit board.
- 5. If you’re installing a door sweep on the bottom, this is where you’ll need to be a little more precise with your tools. Hold the sweep up to the bottom of the door to find the sweet spot—you want it to make contact with the threshold without dragging too hard. Mark your screw holes with a pencil, drill some pilot holes so you don’t split the wood (especially if you’re working with an older door), and then screw it in tight.
- 6. Finally, it’s time for the “stress test.” Close the door and see how it feels. Does it latch easily? Is there any resistance? You want a snug, airtight seal without feeling like you’re fighting a heavy vault door every time you want to walk into the kitchen. If you still feel a draft, don’t sweat it—just grab a tiny extra piece of foam to patch that specific spot. It’s all about iterative improvement, just like debugging a new piece of code!
Choosing the Best Types of Door Weatherstripping Materials
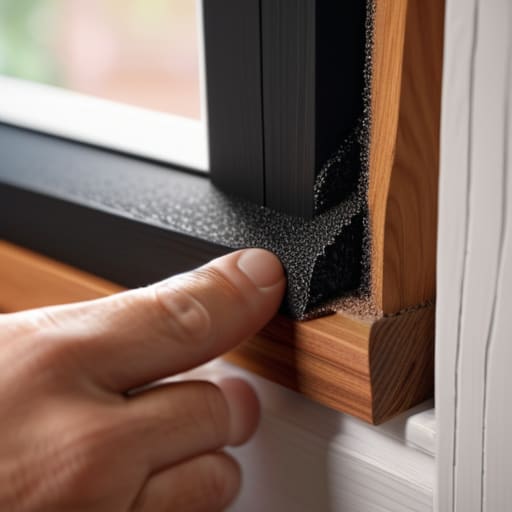
Before you head to the hardware store, you’ll realize there isn’t a one-size-fits-all solution. When looking at the various types of door weatherstripping materials, I like to think of it like choosing the right hardware for a project—you need the right tool for the specific gap you’re trying to fill. For those large, annoying gaps around the sides and top of the frame, I usually recommend adhesive-backed foam or V-strip tension seals. They’re incredibly forgiving and easy to apply, making them a staple for anyone focused on preventing air leaks around doors without needing a massive toolkit.
If you’re dealing with the gap at the very base of the door, that’s a different beast entirely. This is where a solid door bottom seal installation becomes a game-changer. You can go with a simple screw-on sweep or a more robust U-shaped rubber seal that slides right onto the bottom of the door. It might feel like a small tweak, but these little upgrades are some of the most effective energy efficient home improvements you can tackle on a weekend. Trust me, once you feel the difference in your home’s temperature, you’ll wonder why you didn’t do this sooner!
Reducing Heating Costs With Door Seals and Smart Diy
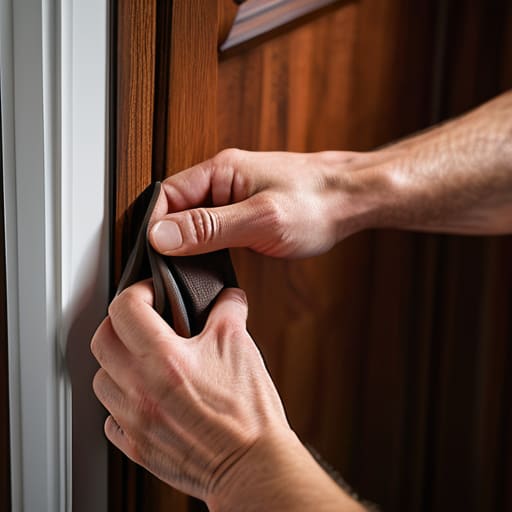
Once you’ve got the physical materials sorted, it’s helpful to look at the bigger picture. I always tell my friends that these little upgrades are some of the most rewarding energy efficient home improvements you can tackle on a weekend. It’s not just about stopping a draft; it’s about taking control of your environment. When you’re focused on reducing heating costs with door seals, you’re essentially optimizing your home’s “operating system” to run much more efficiently. Think of it like optimizing a piece of code—you’re cutting out all that wasted energy that’s just leaking out of your system.
If you notice a persistent chill near the floor, don’t skip over the door bottom seal installation. Even if the sides of your door are perfectly sealed, a gap at the base can act like an open window for cold air. I usually recommend a sturdy door sweep for these spots. It’s a quick, satisfying win that makes a massive difference in how cozy your living space feels. Taking these small, proactive steps is what turns a drafty house into a truly comfortable, high-performing home.
Pro-Tips for a Seamless Seal: My Little Secrets for Success
- Do a “light test” before you even start buying materials. Turn off the lights in your hallway and have someone stand on the other side of the door with a flashlight; anywhere you see light peeking through is a major leak that needs your attention.
- Don’t skip the cleaning phase. I know it sounds tedious, but if you try to stick new weatherstripping onto a dusty or oily door frame, it’s going to peel off within a week. Wipe everything down with some rubbing alcohol first to ensure a solid bond.
- Aim for a “snug, not stuck” fit. A common mistake I see is overcompensating by using super thick foam, which actually makes the door harder to latch and can warp your frame over time. You want a tight seal that still lets the door swing smoothly.
- Pay extra attention to the threshold. Most people focus on the sides of the door, but the bottom gap is usually where the real drafts live. Make sure your door sweep is level and making consistent contact with the floor.
- Think like an engineer and test the tension. Once you’re finished, close the door and give it a gentle tug or push. If you feel any resistance or hear a “crunching” sound, you’ve likely applied too much pressure in one spot and need to adjust your alignment.
Quick Wins for a Draft-Free Home
Don’t overthink the material choice; just match the seal type to your door’s specific gaps and movement to ensure it actually lasts.
Treat weatherstripping like a small software patch for your house—it’s a low-effort, high-impact fix that pays for itself in energy savings almost immediately.
Always do a quick “light test” after you’re done; if you can see light peeking through the edges, you’ve still got a leak that needs a little more love.
Why the Small Stuff Matters
“In software, we talk a lot about optimizing code to prevent leaks, but I’ve learned that the same logic applies to your home—weatherstripping isn’t just a quick DIY fix; it’s about closing those tiny, inefficient gaps so you can stop wasting energy and start feeling more comfortable in your own space.”
Sarah Mitchell
Final Thoughts Before You Close the Door
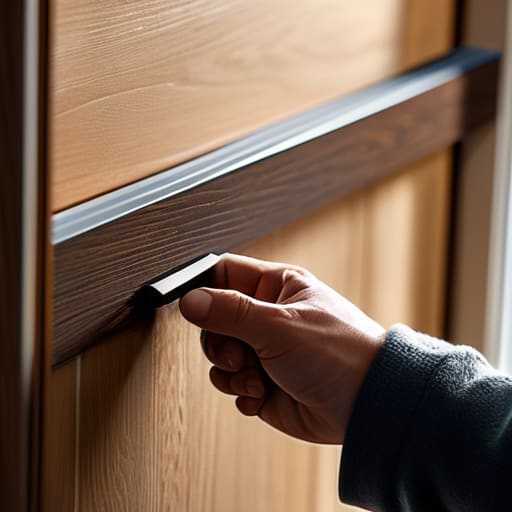
At the end of the day, weatherstripping isn’t just about stopping a draft; it’s about taking control of your environment through a little bit of smart, intentional work. We’ve walked through everything from picking out the right materials—whether that’s a sturdy silicone seal or a classic foam strip—to the actual installation process that keeps your energy bills from skyrocketing. It’s one of those rare projects where the effort-to-reward ratio is incredibly high. You spend a single afternoon with some basic tools, and in return, you get a home that feels more stable, more comfortable, and significantly more energy-efficient for years to come.
I know that sometimes a DIY project can feel a bit daunting, especially if you aren’t used to getting your hands dirty with home maintenance. But I promise you, once you feel that immediate difference when you close the door and realize the whistling wind has finally stopped, you’ll feel that same rush of satisfaction I get when a new piece of code finally runs perfectly or a woodworking project comes together. Don’t be afraid to tackle these small, practical wins. Embracing these little tasks is how we build confidence in our own abilities, and honestly, there is nothing quite as rewarding as knowing you built a better life one small project at a time.
Frequently Asked Questions
How do I know if I actually need to replace my old weatherstripping or if it just needs a quick cleaning?
Think of it like debugging a piece of code—sometimes it’s just a bit of “noise” (dust), and other times the logic is fundamentally broken. Give it a good wipe down with a damp cloth first. If the material feels brittle, cracked, or flattened like a pancake, cleaning won’t fix that. If you can see daylight through the gaps even when the door is latched, it’s time to scrap the old stuff and start fresh.
Is there a specific way to measure the gaps around my door so I don't end up buying the wrong thickness of seal?
This is such a common pitfall! I’ve definitely bought seals that were way too thick, making the door a nightmare to latch. To get it right, grab a couple of business cards or even some thin scraps of cardboard. Slide them into the gaps around the door frame. If the card falls right through, you need something beefier; if it’s a tight squeeze, you’ve found your ideal thickness. It’s a quick, low-tech way to avoid a trip back to the hardware store!
Will adding thick weatherstripping make my door harder to latch or lock properly?
That’s a great question, and honestly, it’s one I’ve run into a few times while working on my own doors. The short answer is: yes, it can. If you go too thick, you might find yourself fighting the door just to get it to latch. My advice? Start with a thinner profile and test the fit. You want a snug seal that blocks drafts, but you definitely don’t want to be wrestling with your deadbolt every single night!
